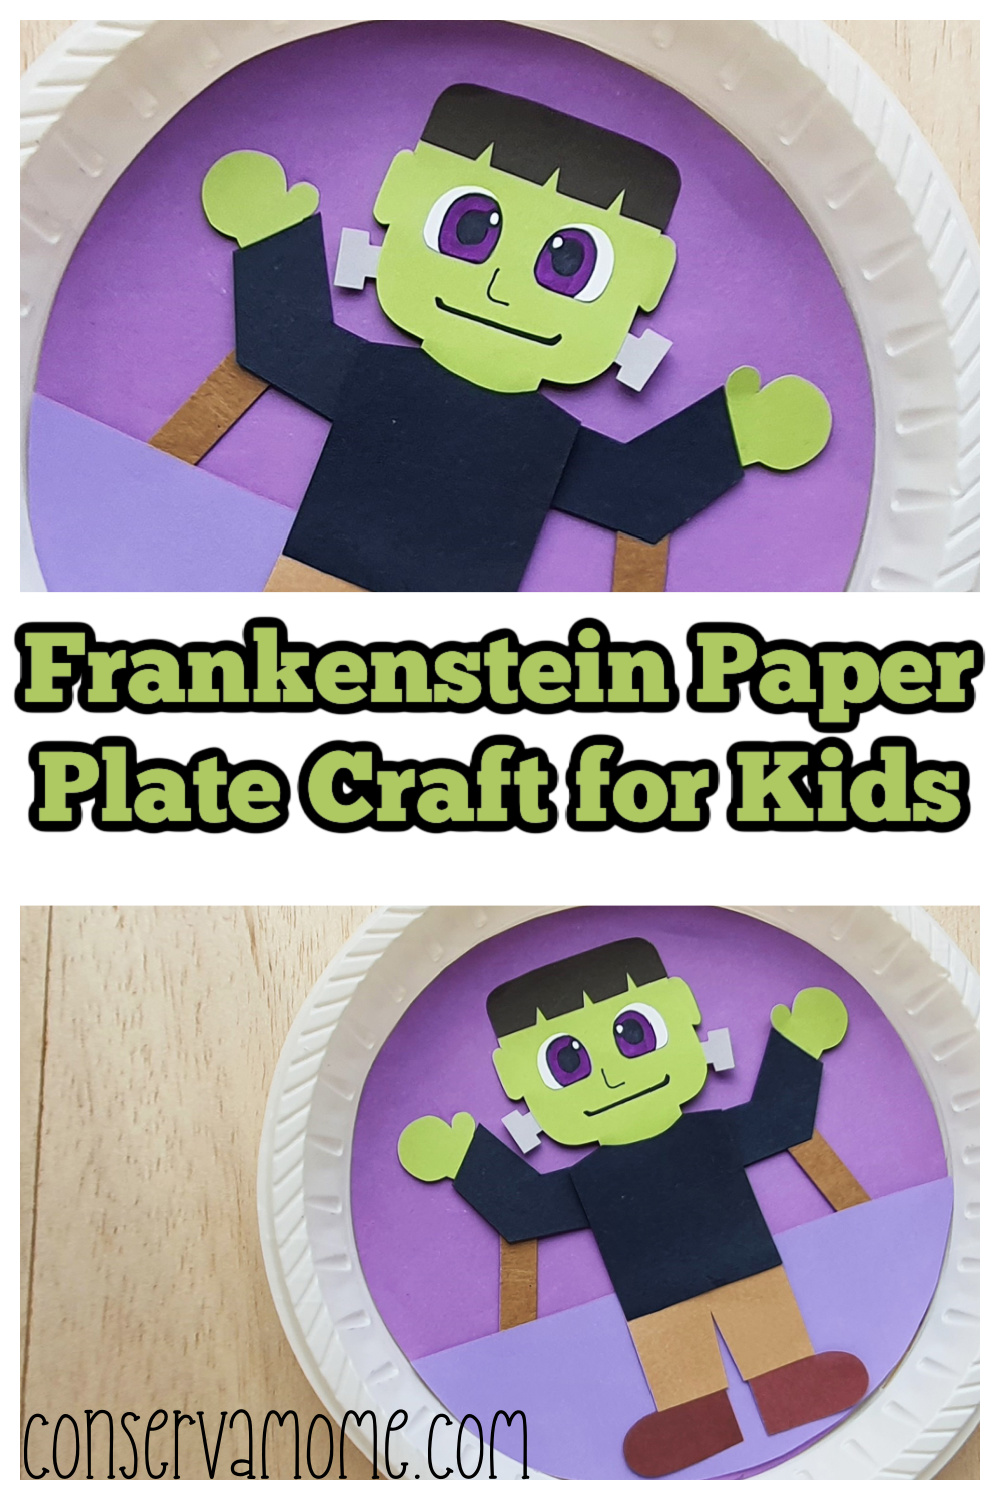
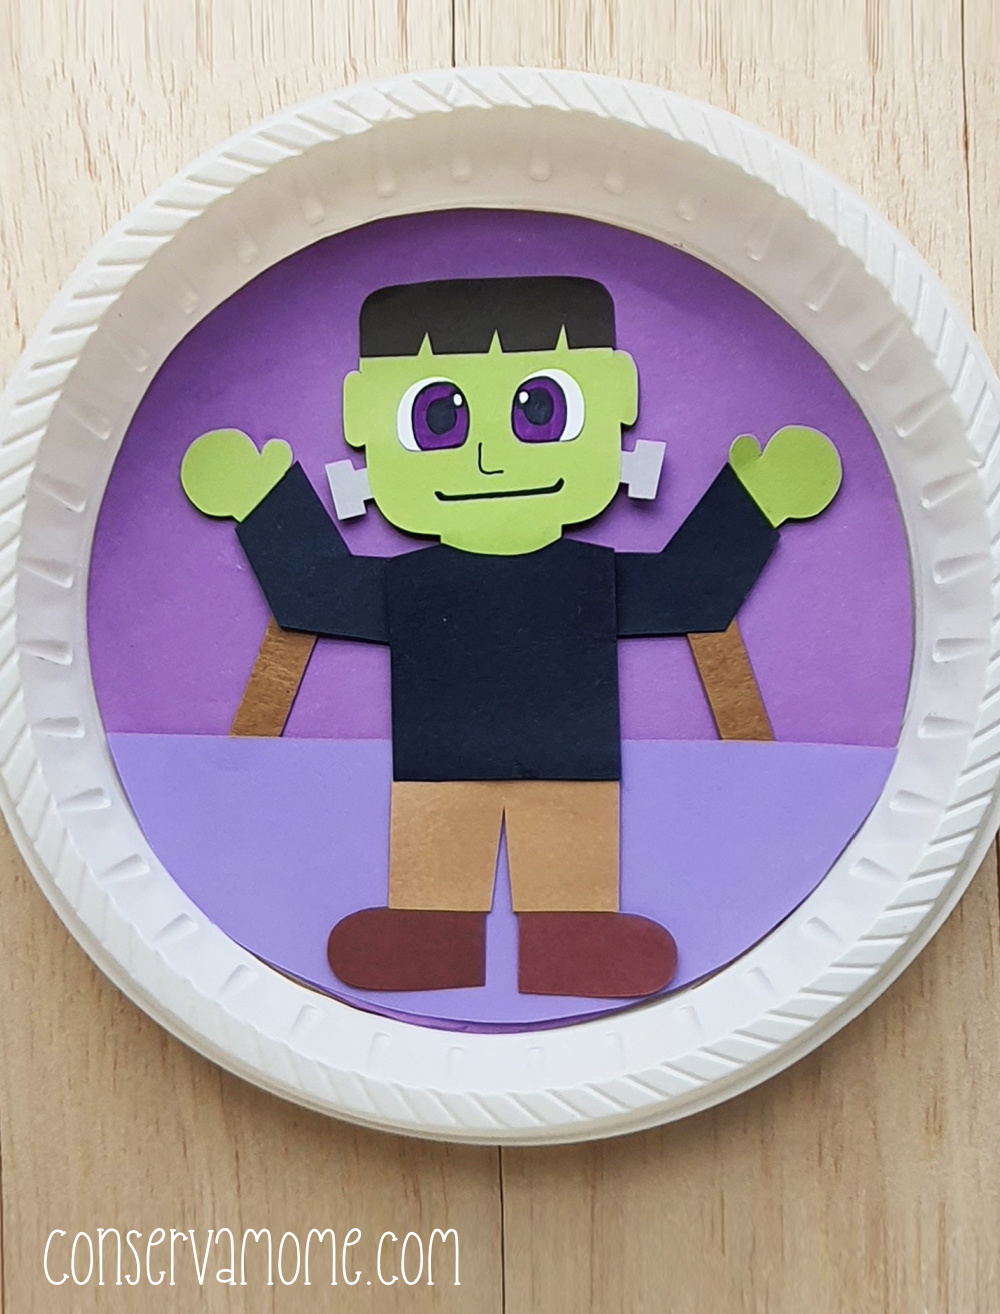
Here’s a fun Frankenstein Paper Plate Craft for Kids that’s going to be lots of fun to make and the perfect & easy Halloween craft for kids. Best of all you have this comes with a free template so all you need is fun!
Frankenstein Paper Plate Craft for Kids
Frankenstein is almost here and I’m excited to bring you another fun craft you can make with your kids. This is another fun Frankenstein Themed Craft that your kids will love. A few days ago I shared this fun Frankenstein Toilet paper roll craft that was crazy easy to make. This one is just as easy! Make sure and sit back with a tasty treat like these Frankenstein Rice Krispie treats or these Ghost brownies .
Before you begin maybe read a fun Halloween themed story. You can grab some Free Halloween E Books here!
Then enjoy a fun afternoon of crafting thanks to this fun and easy Frankenstein craft.
So read on to see how easy these are to make!
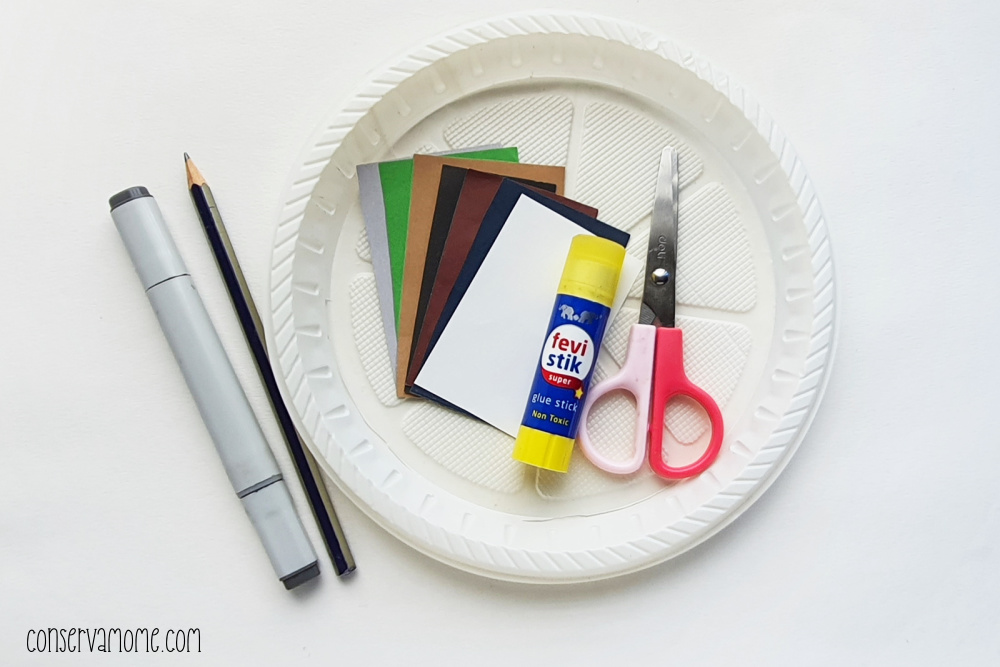
What you’ll need to make this Halloween paper plate craft
- Colored craft papers
- Paper plate
- Cardstock paper
- Brad pins
- Sharpie (black and purple)
- Craft glue
- Pencil
- Scissors
- Template
How to make this Halloween paper plate craft
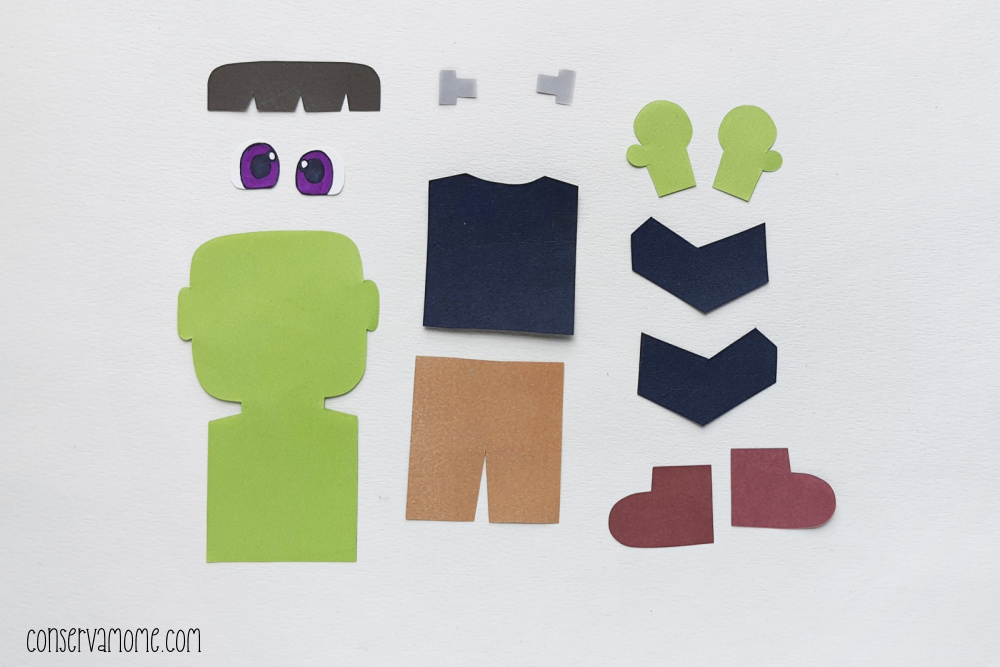
Select green craft paper for the head and the hand patterns; select gray paper for the bolt pattern. For the rest of the patterns you can select colored craft papers of your choice. The other patterns include sleeves, shirt, trousers, shoes, hair and eyes.
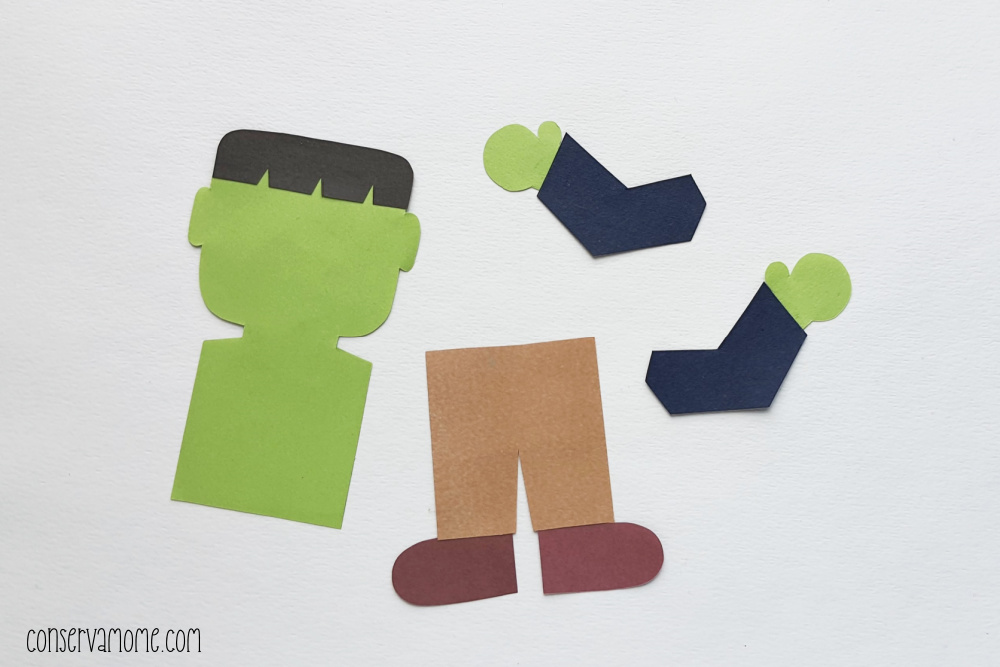
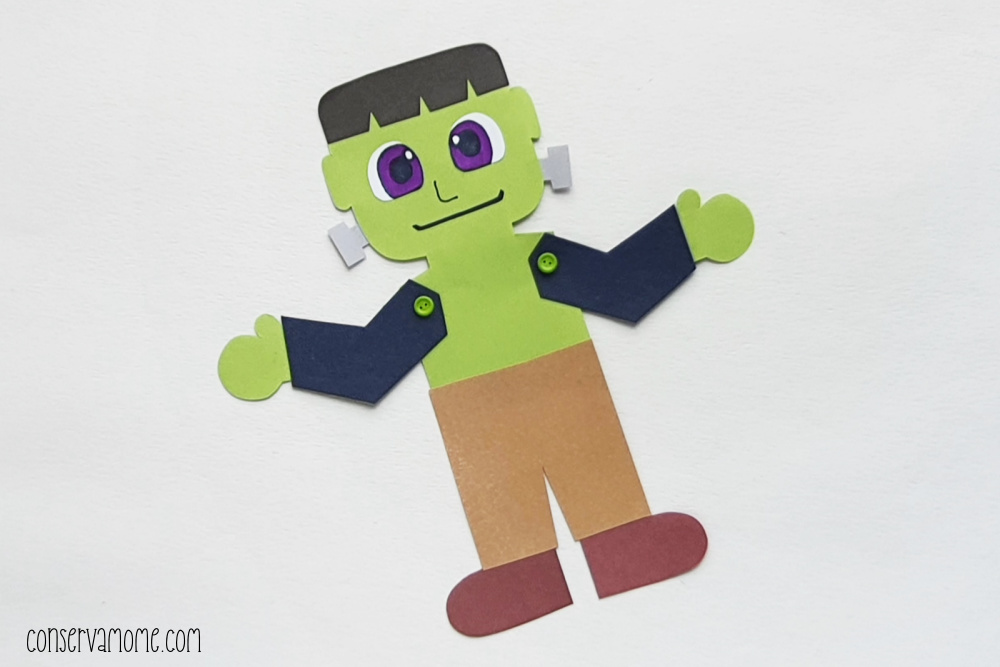
Attach the hair pattern on the top side of the head pattern, attach the hand patterns on the straight sides of the sleeve patterns; and attach the shoe patterns on the bottom sides of the trouser pattern.
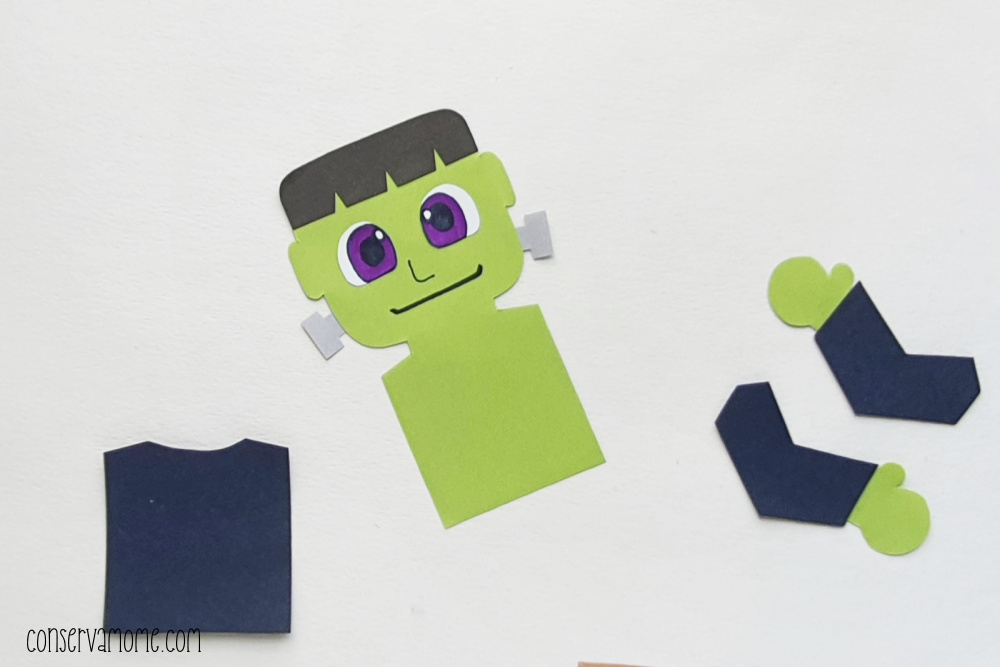
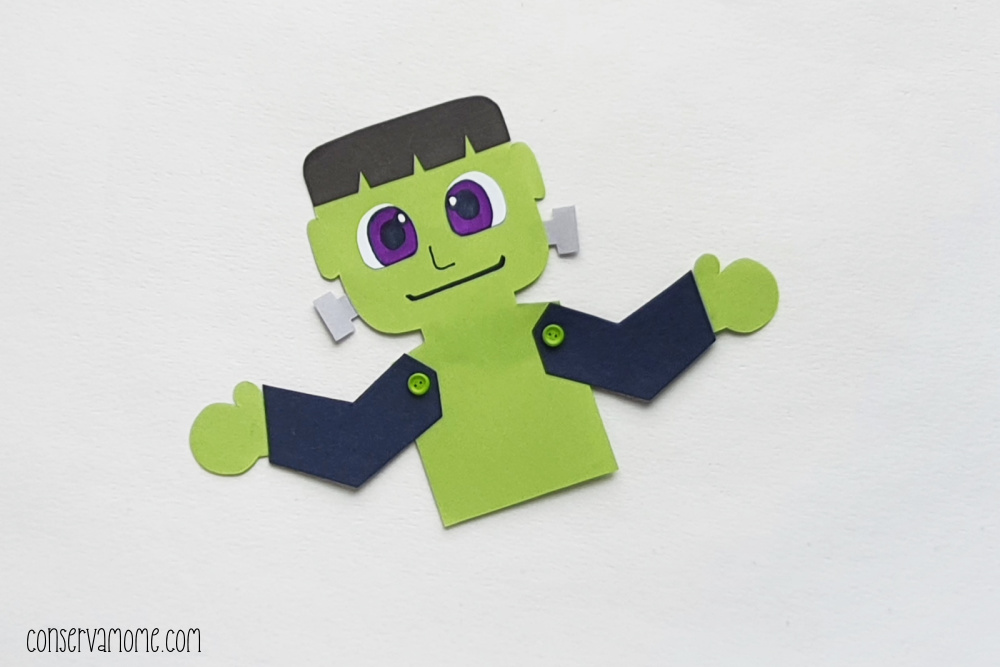
Attach the bolt patterns on both sides of the head pattern, below the ears. Attach the eyes and use a sharpie to draw the nose and mouth.
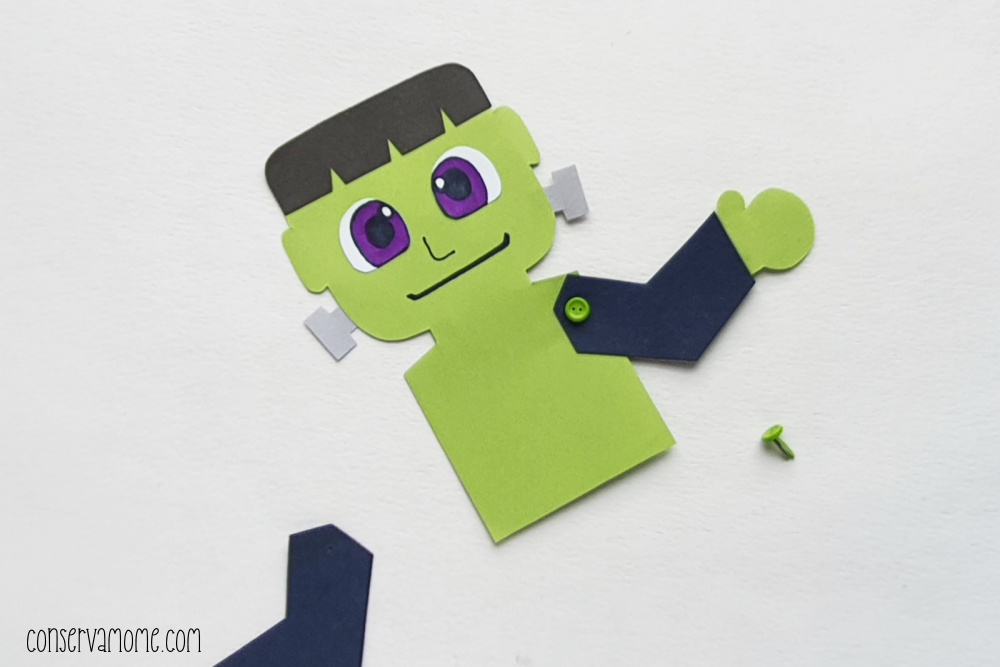
Take the arm patterns and the brad pins. Use a pin to make a hole on the open end of the arm patterns and make holes on sides (shoulder) of the shirt pattern; on the points where the arms will be attached to the shirt.
Place the arm on the side of the shirt and align the 2 holes nicely, insert the brad pin through the holes and then draw the 2 parts of the brad pin to 2 opposite direction and flatten them. This will secure the arm pattern with the shirt pattern.
Similarly, attach the other arm pattern.
Attach the pant patterns along the bottom side of the shirt pattern.
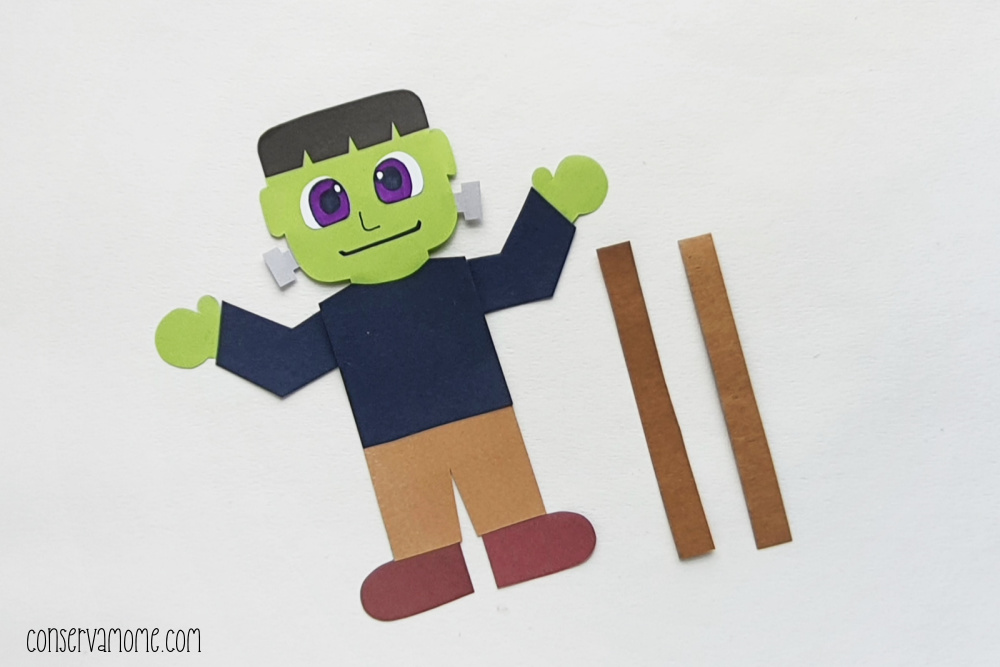
Cut out 2 strips from cardstock paper, about 1cm x 8 inches or more will do.
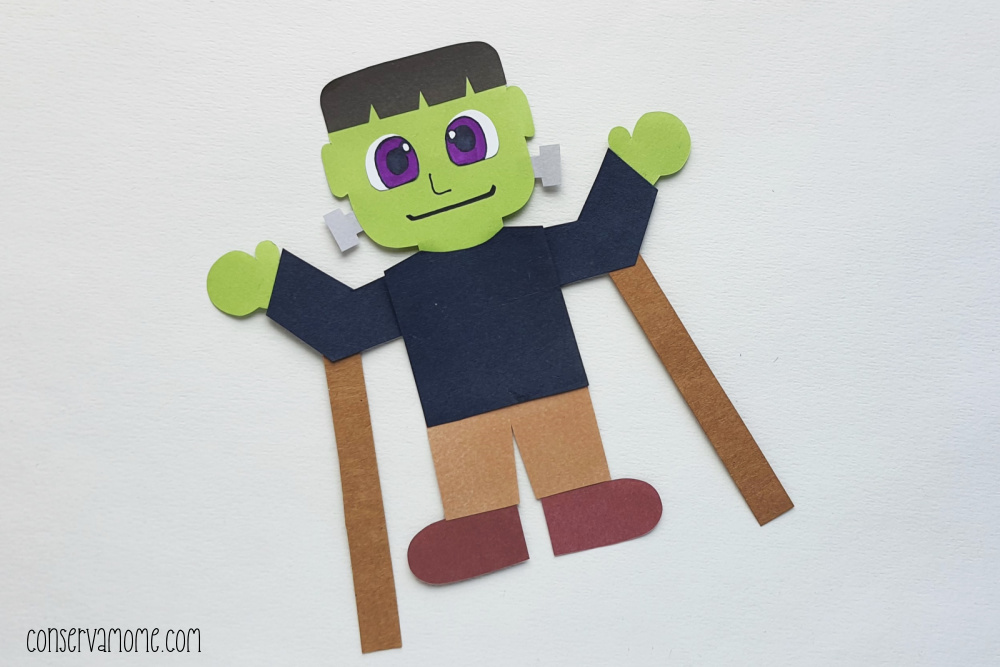
Attach the 2 cardstock strips with the arm patterns as shown in the picture of this step.
Take a paper plate and cover the bottom side of the paper with a colored craft paper. Cover the bottom 1/3 of the surface of the paper plate with the same colored craft paper. Place the Frankenstein puppet on the paper plate with the cardstock trips to the backside of the short paper. Make 2 slits on both sides (left and right) of the paper plate, making sure that the slits are below the arm so that we can insert the cardstock strips through them.
Finally, Draw the strips out through the slits and use your hands to move them. Moving the strips will help to move the arms as well.
Paper Plate Craft for kids
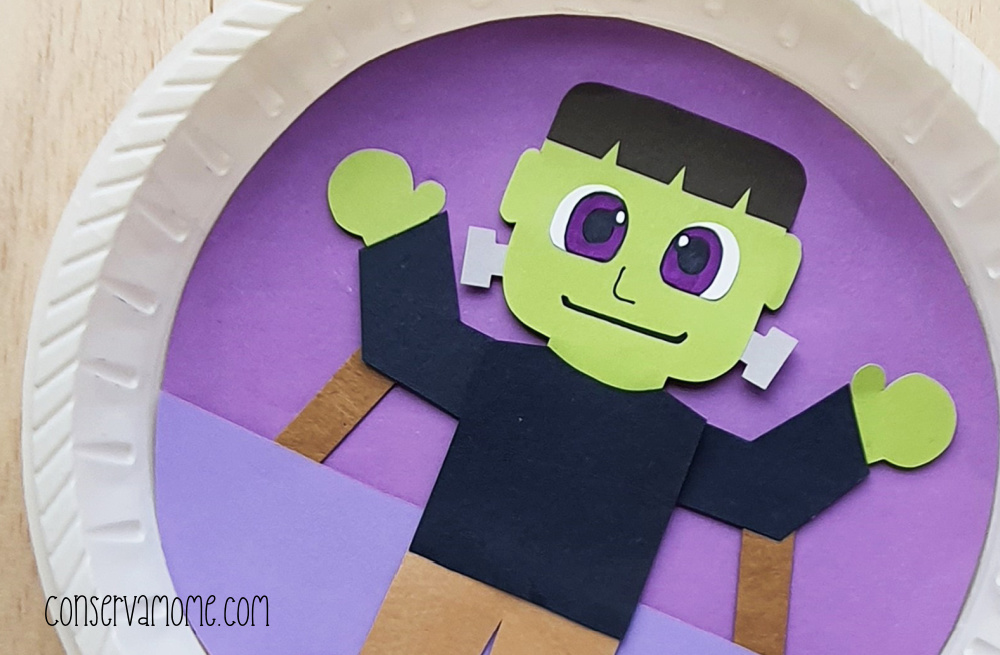
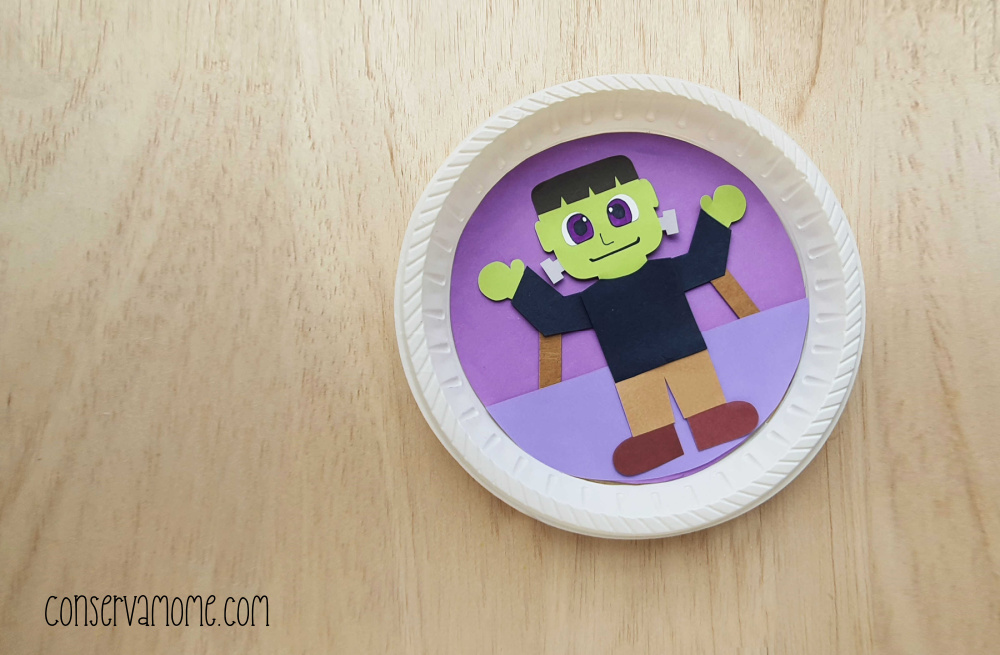
This paper plate craft for kids is so easy to make and best of all will be a fun decoration for any spooky home or room. The kids can get all sorts of creative when making this fun craft making it the perfect Halloween craft.
This is super easy to make and the product is simply adorable! Looking for more Halloween craft ideas for kids? Head to the other projects I have here on my page! Like this fun plastic cup bat craft for kids looking for something a little less scary? Check out these fun Scarecrow crafts!
Leave A Reply!