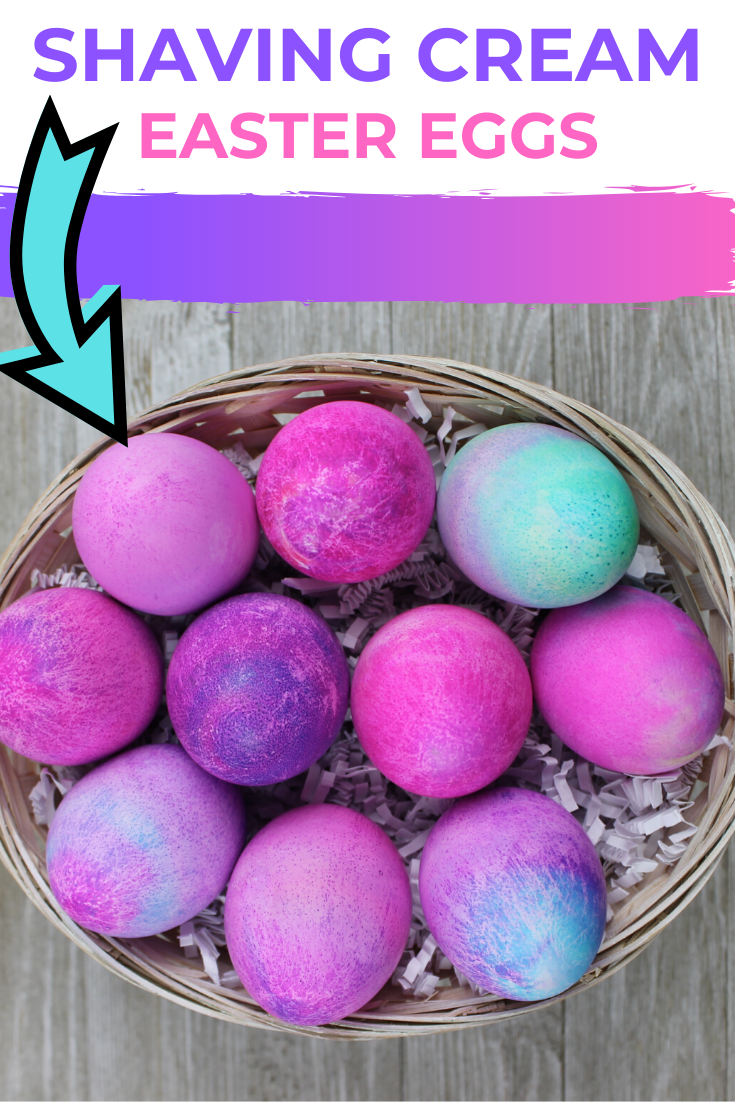
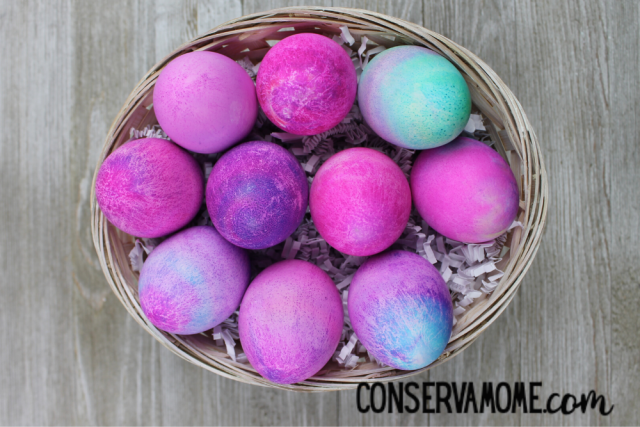
These Shaving Cream Easter Eggs are a really cool way to dye those Easter Eggs easily. Not only do they create some totally awesome color combinations, but it’s a really fun way to add beautiful colors that literally come out differently for every single egg.
*This post contains affiliate links. That means that if you make a purchase after clicking on a link I may earn a small commission at no extra cost to you.
Shaving Cream Easter Eggs
We’ve all spent time dying eggs with our kid and not had them turn out, right? Well, that is about to change. The easiest way to dye eggs that will actually get you results is to combine shaving cream and fun neon food coloring.
It’s a winning combination that will cause every single egg to be bright and full of unique colors. We love to use the neon coloring because it really gives it that extra pop. (but if you don’t have neon you can really use any type of food coloring that you have)
Once you start dying your eggs with this simple shaving cream activity, you’re never going to want to go back to another way ever again. It’s really that cool!
If you’ve been looking for a new way to bring some awesome colors to your Easter eggs, this simple shaving cream option is one that is going to work time and time again.
Shaving Cream Easter Eggs
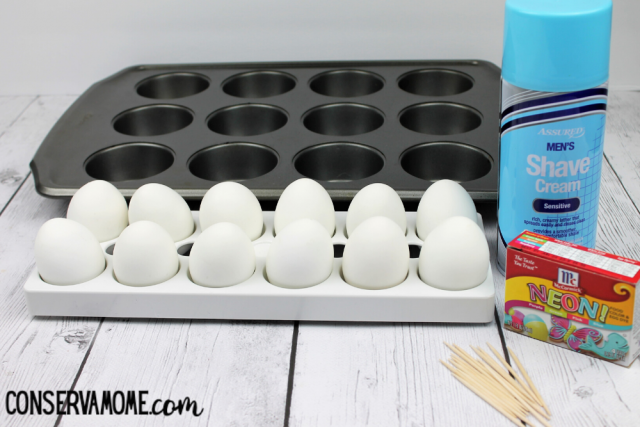
As you can see, the list of ingredients isn’t all that long. And you might even have most of the ingredients in your home already!
Supplies needed to make these shaving cream Easter eggs:
- 12 boiled eggs
- Shaving cream
- large muffin pan
- neon or primary food coloring (for this project I used neon)
- toothpicks
- plastic spoon (not pictured)
- paper towels for easy cleanup (not pictured)
- Pan or container lined with a paper towel
- Optional: plastic gloves (not pictured)
How to Make Shaving Cream Easter Eggs
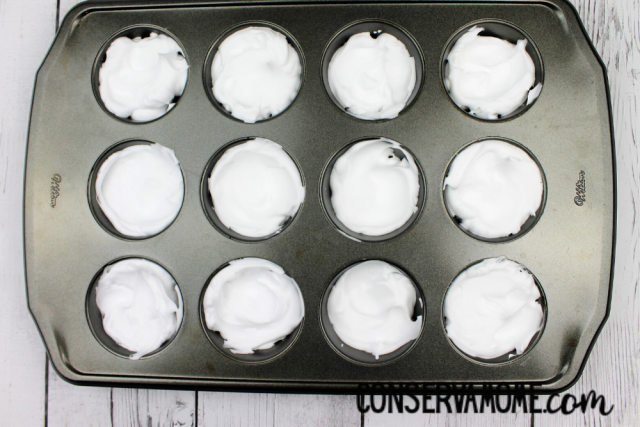
Squirt a thin layer of shaving cream in each muffin cup.
Use the plastic spoon to even out the shaving cream in each cup.
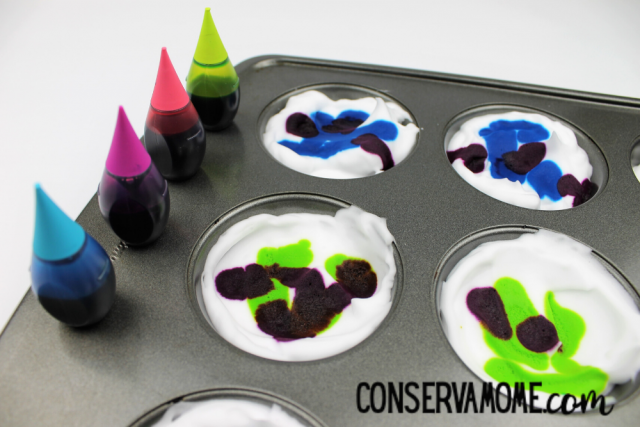
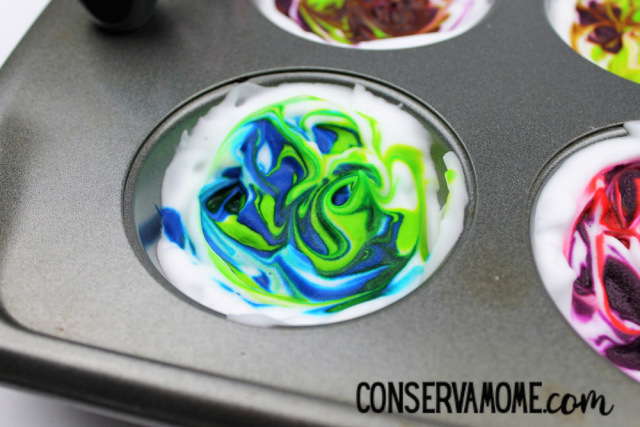
Drop 5-10 drops of food coloring of choice into each cup. You can create different color combinations.
Use a toothpick to swirl the colors around in each cup, creating a tie-dye effect.
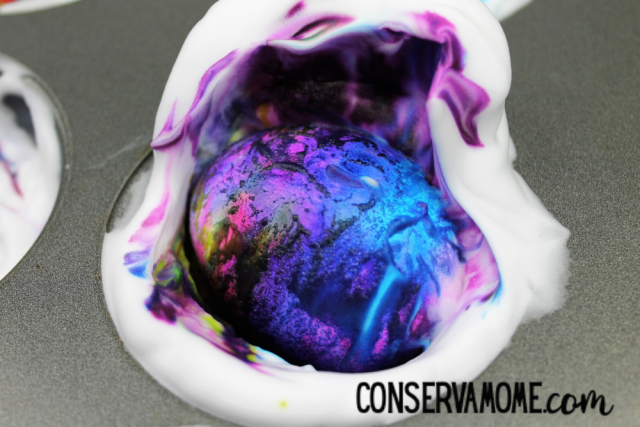
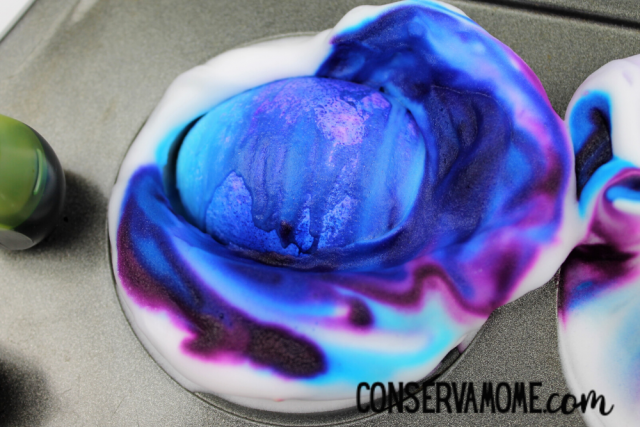
Put on gloves. Carefully place an egg into each muffin cup and rotate the egg into the muffin cup, covering the whole egg.
Repeat this step for all eggs.
Allow eggs to sit for 10-15 minutes.
Rinse each egg off under cold water.
Place eggs to dry on the lined pan or container.
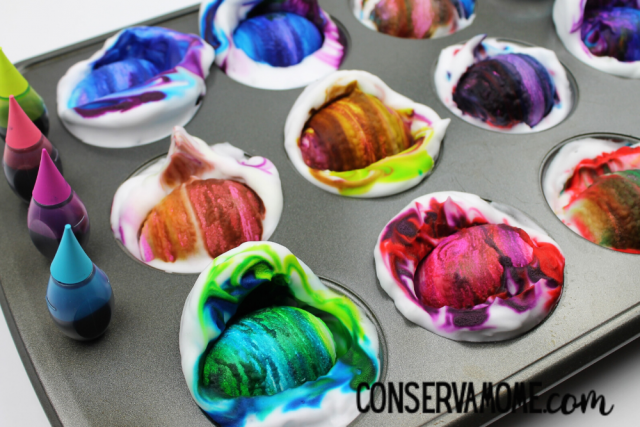
See how beautiful these colorful eggs turn out? And the best part is that each one comes out differently every single time. No two Easter eggs are the same! You’ll never have to worry about having plain old Easter eggs every again. (and if you use the neon food coloring, they’re going to really be unique and shine!)
Looking for another unique Easter Egg Coloring Idea? Check out my Tissue Paper Easter Egg Tutorial.
Are you looking for more Easter activities and ideas?
Make certain to check out these Fun & Easy Easter Treat Ideas!
Leave A Reply!