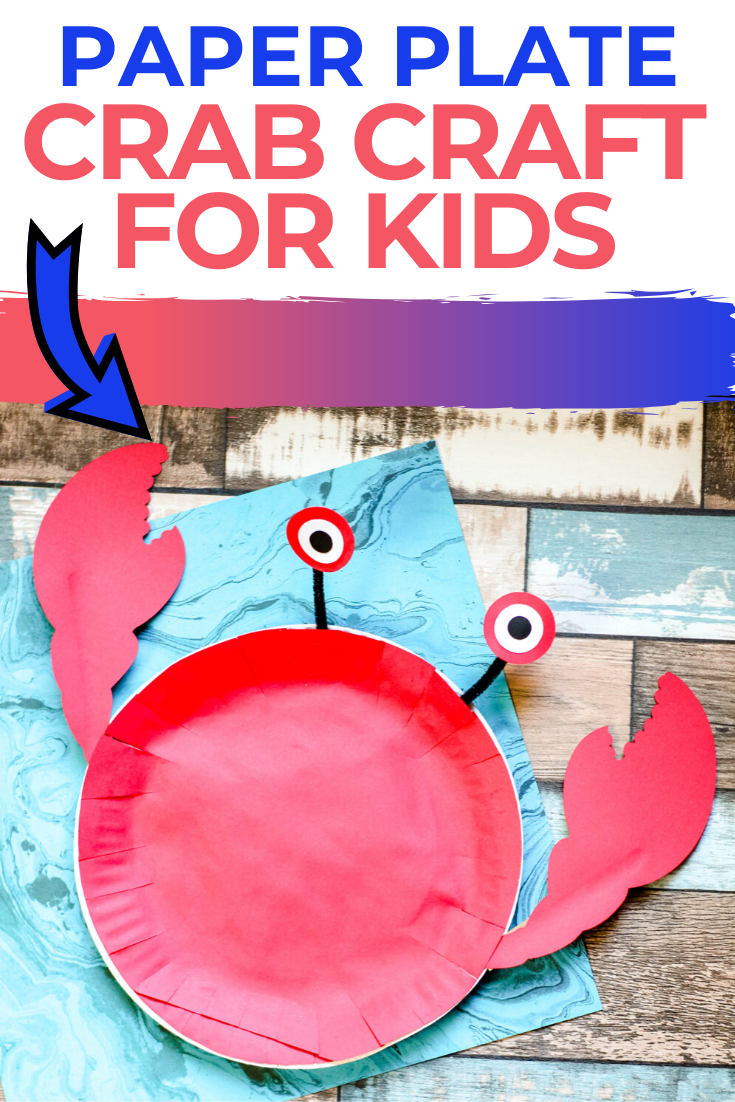
Looking for a simple activity that the kids are going to love? Check out these adorable Crab Paper Plate. So fun to make and easy, too! You probably have everything in your house that you need to get started as well! This fun craft for kids will be the perfect fun activity.
*This post contains affiliate links. That means that if you make a purchase after clicking on a link I may earn a small commission at no extra cost to you.
How to Make a Crab Paper Plate
I think we can all agree that crabs are pretty dang cute. I mean, just look at those google eyes and those little claws? As long as they’re not real and pinching, they’re adorable and fun to think about. However, real crabs are fascinating creatures.
When you decide to make this simple crab paper plate, the kid are going to have a blast. Not only is it a craft that they can take charge of and make without worry, but it’s then something that they can use to foster their creativity and imagination as well. You can also make this a fun learning experience. There are some great fun facts about crabs here.
This is a great crab craft to get excited for the summer months or can easily be tied in with another beach learning activity or way to get excited about heading to the beach, too.
Supplies needed for this Crab Paper Plate
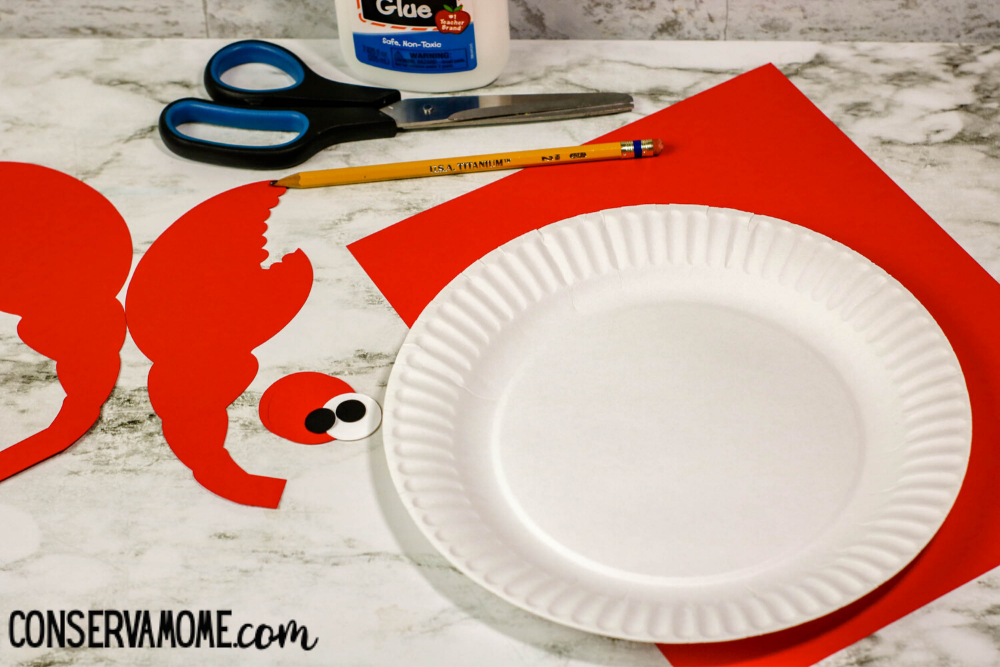
Remember when I said that this crab activity was easy? All you need are the simple supplies listed below!
- 1 paper plate
- Red paper
- Pencil
- Glue
- Scissors
- Chenille stem
- Popsicle stick, if desired
- Crab Paper Plate Template
How to make this Crab Paper Plate
To use a print and cut device (such as Cricut Explore or Joy), use the PNG images. Upload to your machine software and cut according to the manufacturer’s instructions. Size the pieces as follows:
-
- Crab claws = 7 inches in height
- Red eye = 3 inches in width
- White eye = 2 inches in width
- Black eye = 1 inch in width
If not using the print and cut option, print the PDF and cut pieces apart.
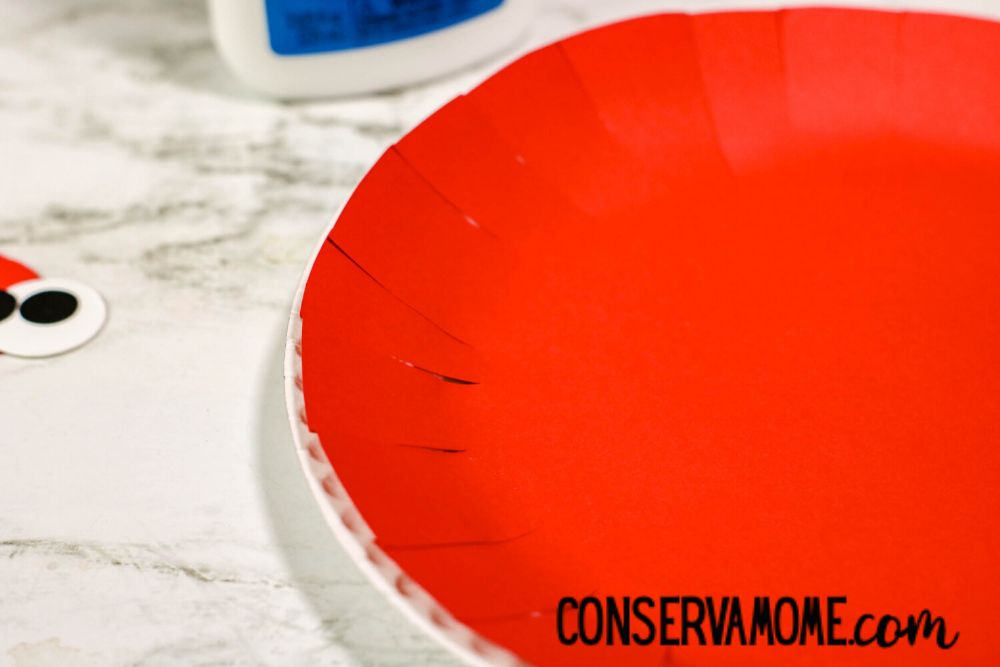
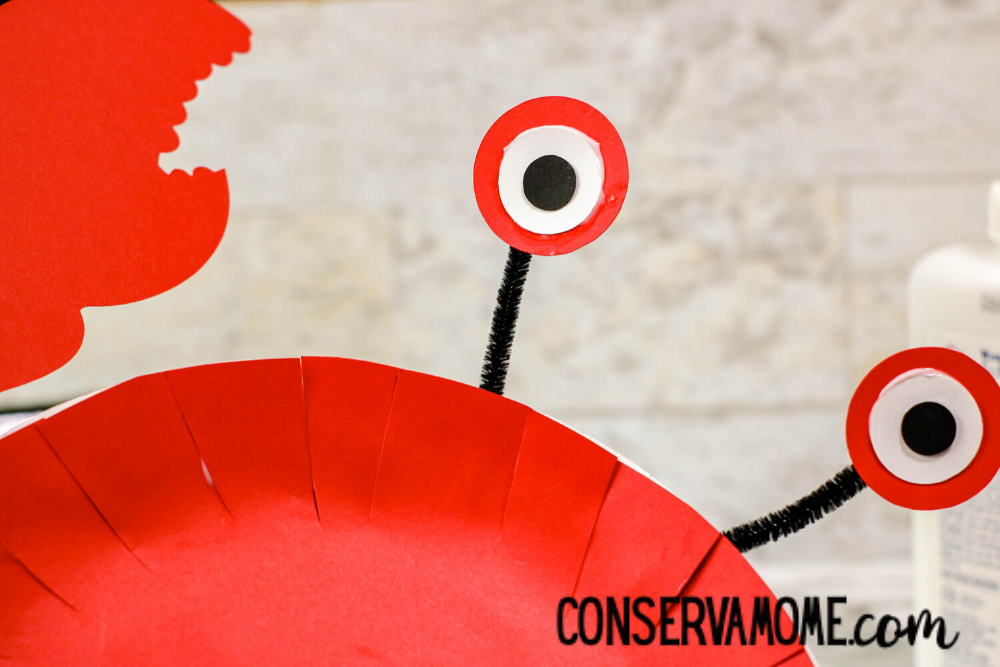
Trace the paper plate on a piece of red paper. Cut the circle from the paper.
Cut slits around the edge of the edge.
Glue the paper to the paper plate with the edges overlapping as needed to fit the curve of the paper plate. Allow the plate to dry completely.
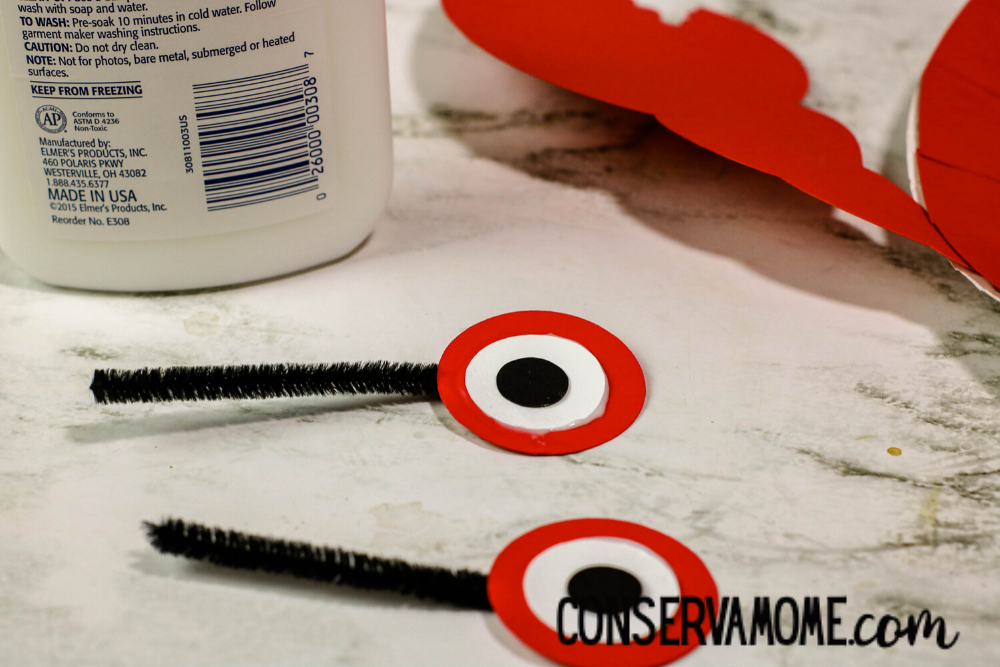
Create the eyes by gluing the round pieces in a stack with the red under the white and the black in the middle of the white. Cut a chenille stem in half and attach one eye to each piece.
Decorate the paper plate by attaching pieces with glue.
Glue or tape the paper plate to the popsicle stick, if desired.
Allow the craft to dry completely before playing or displaying.
Tips for making this Fun Craft for kids
The biggest takeaway to remember for this crab craft is to make certain to let the glue dry completely. If not, there’s a chance that some of the pieces will fall off. (and while it’s no big deal and can be redone, the kids might not like that outcome!)
Looking for more Ocean Crafts? Check out these Ocean Crafts kids will love!
Leave A Reply!