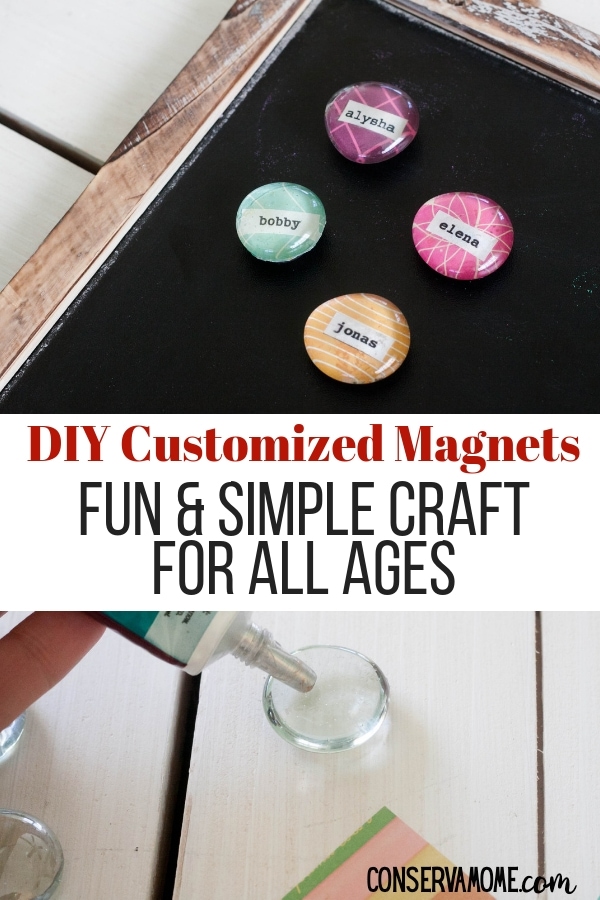
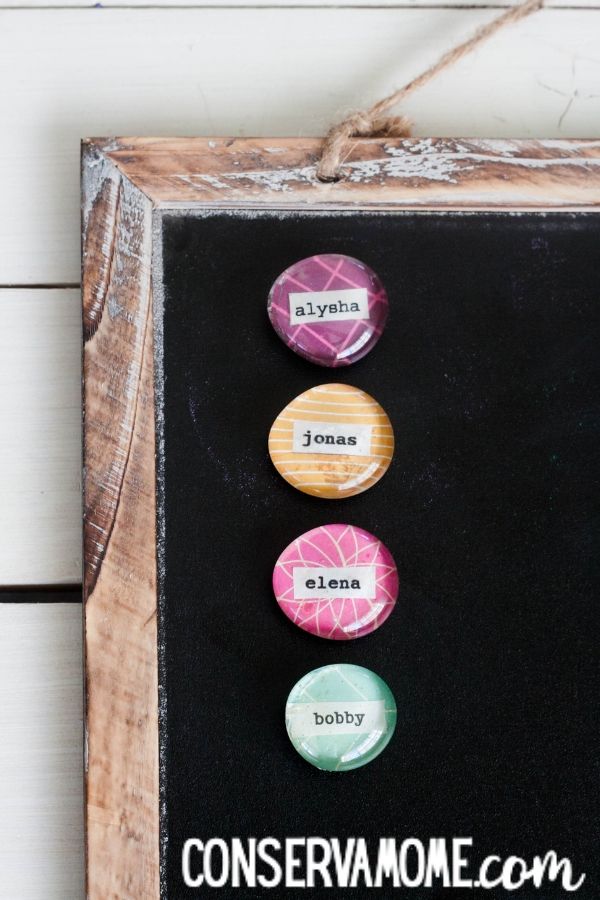
These DIY Customized Magnets are so much fun to make! What better way to label all your stuff than with your very own creative and colorful magnets?! Perfect for an at-home craft day or a fun back to school craft for decorating lockers.
Crafting is so much fun. It’s one of those activities that can make all the worries and stresses of the day just go away. And this DIY magnet craft is no exception. Not only are you in control from start to finish but you can truly customize it to look however you want it to look.
Perfect for labeling things in your home or for creating for locker decorations for school, this is one craft that everyone in the family can enjoy!
If you like this DIY craft, you’ll love this option as well:
DIY Customized Magnets
This craft is so simple. You’ll just need a few supplies to get started.
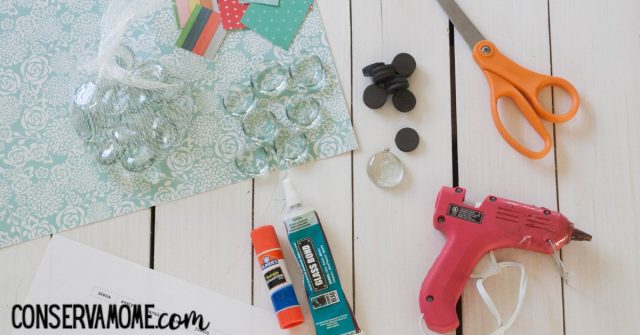
Supplies needed for these DIY magnets
- Scissors
- colored card stock
- clear cabochon beads
- button magnets
- glue stick or glue
- Glass Bond adhesive
- hot glue gun
- glue sticks
- plain printer paper for printable template
How to make these DIY customizable magnets
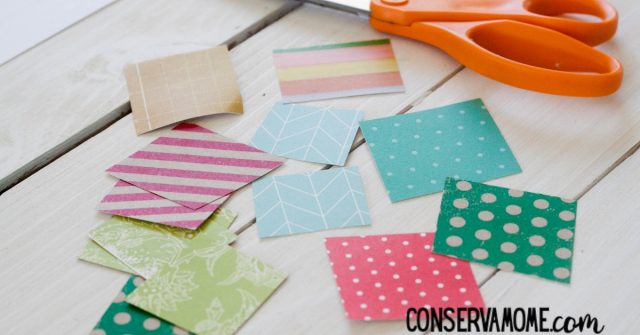
Rough-cut pieces of colored cardstock in 2-inch squares for the background of your magnet. Note: Choose dark or vibrant colors that make the white paper name piece pop!
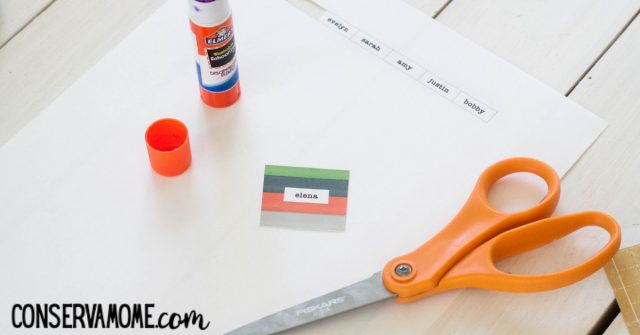
Customize and print name template; cut out names, trimming off excess on right and left sides if you have a short name.
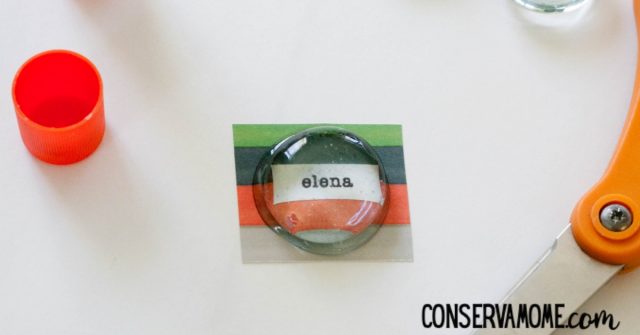
Use glue stick on the back side of your printed name and glue it down in the center of one of your pre-cut cardstock squares.
Apply Glass Bond on the flat side of a cabochon bead; cover the whole back with a thin layer – don’t blob it on but make sure you have enough to fill nooks and crannies of the bead! If it’s too thin, you’ll leave air bubbles; put glass cabochon bead on the cardstock/name piece and press down. Let air dry for at least 12 hours! (If you’re in a hurry, you can always hot glue the cabochon to the cardstock, but it doesn’t bond as well and will peel right off if you pick at it!)
Once dry, take scissors and snip the paper outside of the bead, little by little, trimming as close to the edge of the bead as possible to remove excess cardstock.
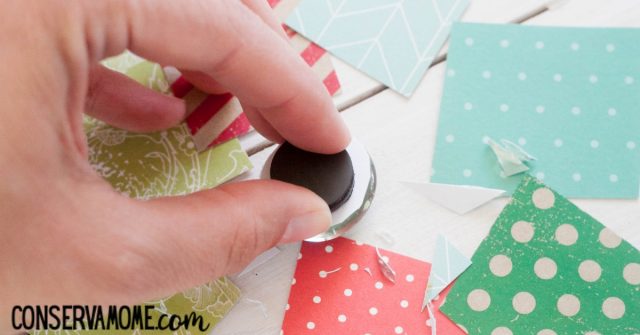
Hot glue the magnet to the backside of the bead; let cool completely.
Enjoy!
Looking for more DIY fun? Check out these fun 20 Washi Tape Crafts
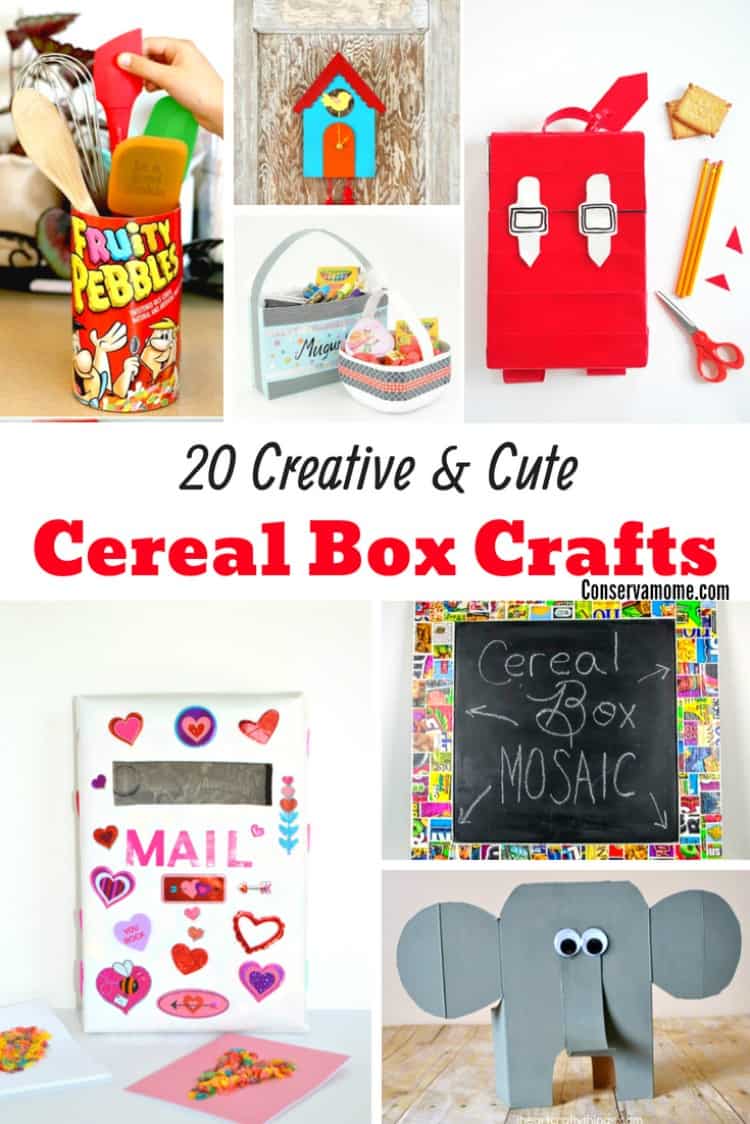
Have leftover cereal boxes? Why not turn them into something fun!
Comments & Reviews
I would love to make some customized magnets for my daughter for her locker this year she is starting middle school. Thanks for the cute idea.