These Red Velvet Cake Balls are the perfect tiny treat! Moist and delicious, everyone will be craving more! Whip up a batch for Valentine’s Day or have these handy for a quick snack after the kids are done with school.

*This post contains affiliate links. That means that if you make a purchase after clicking on a link I may earn a small commission at no extra cost to you
Red Velvet Cake Balls – How To Make Cake Mix Cake Balls
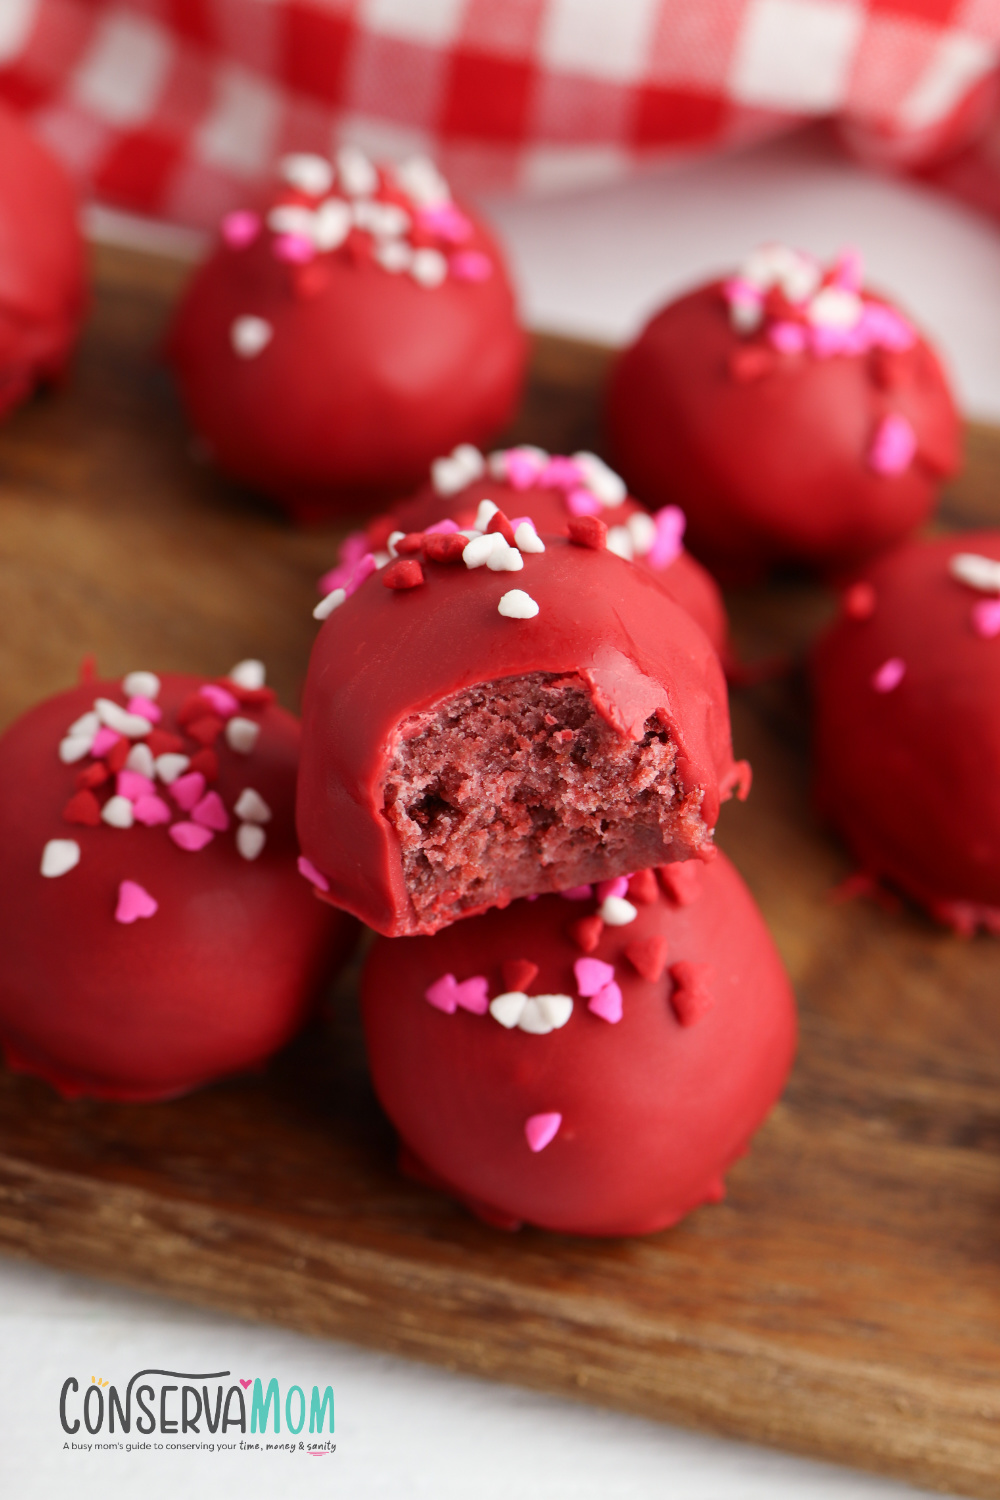
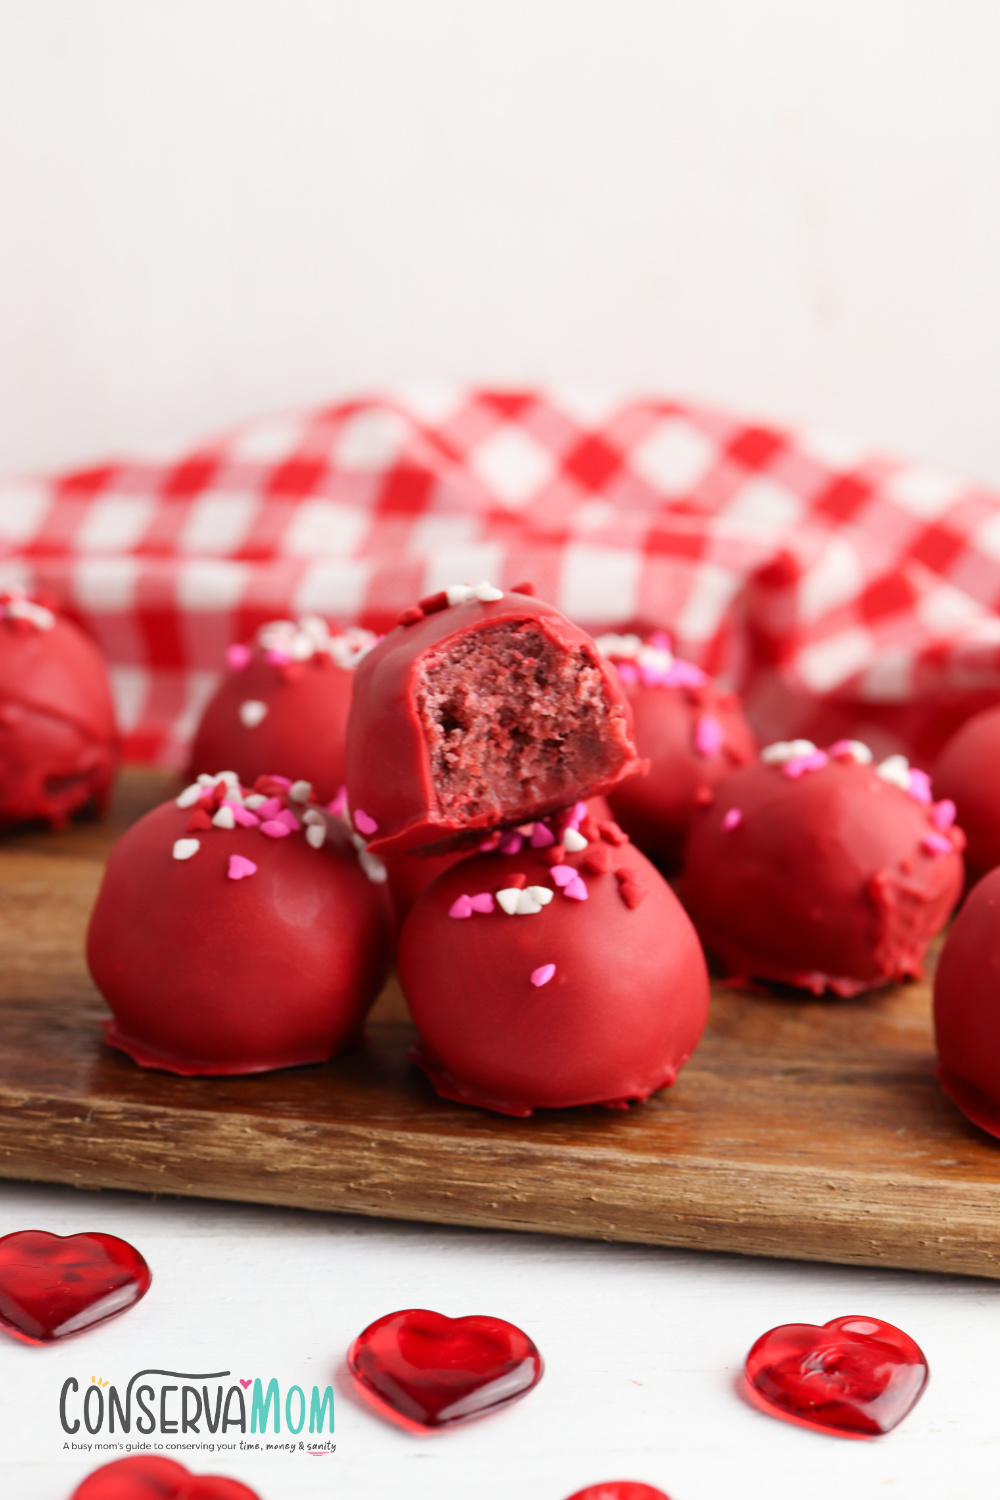
There’s something undeniably delightful about Red Velvet Cake Balls. These bite-sized treats are the perfect combination of rich, moist red velvet cake crumbs and a luscious white chocolate coating. Whether you’re making them for Valentine’s Day, a special occasion, or just to satisfy a sweet craving, these red velvet truffles will have everyone reaching for more.
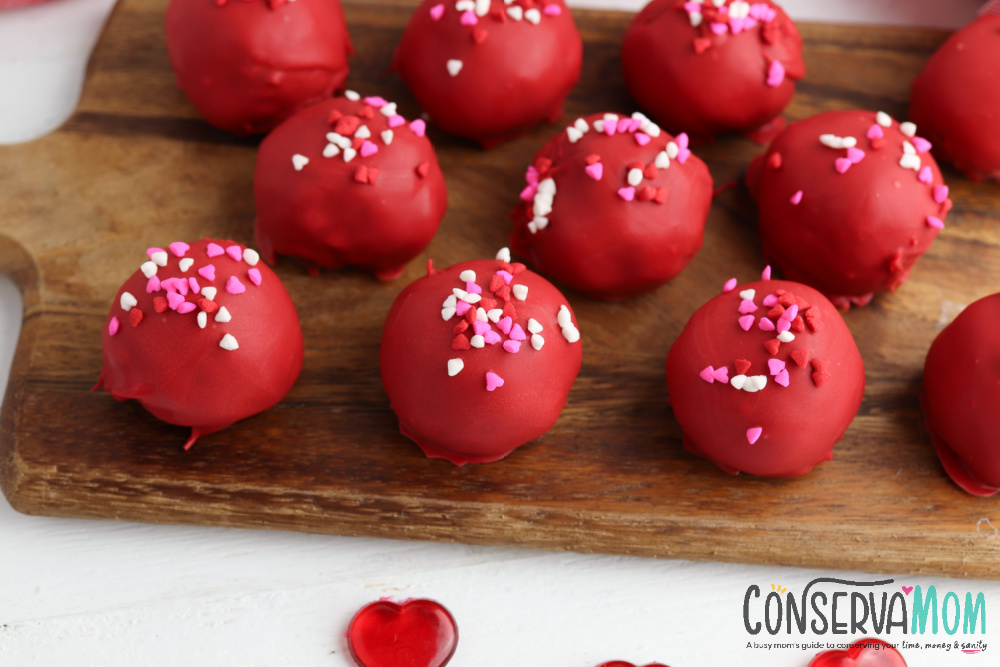
These treats will be a huge hit not just because of the delicious flavor but how adorable they look.
Why You’ll Love These Red Velvet Cake Balls
Red Velvet Cake Balls are not only delicious but also incredibly easy to make. With just a few simple ingredients like boxed cake mix, cream cheese frosting, and candy coating, you can create a batch of these bite-sized treats in no time. They are perfect for class parties, birthday celebrations, or as edible gifts wrapped in plastic wrap with a little edible glitter for extra flair.
The best way to enjoy them is to make sure they are fully chilled before dipping them into melted wafers or white chocolate coating. This ensures a smooth, even layer of chocolate over the cake truffles, making them look just as good as they taste.
Makes 45 cake balls
Prep time: 30 minutes
Chill time: 2 hours 30 minutes
Ingredients:
1 box red velvet cake mix, prepared according to package directions
2 containers cream cheese frosting
1 package red candy melts or white chocolate wafers
Sprinkles or blue sprinkles for decoration
Lollipop sticks (optional for cake pops)
Instructions:
Prepare the Cake: Bake the red velvet cake according to the boxed cake mix instructions. Let the cake cool completely before handling.
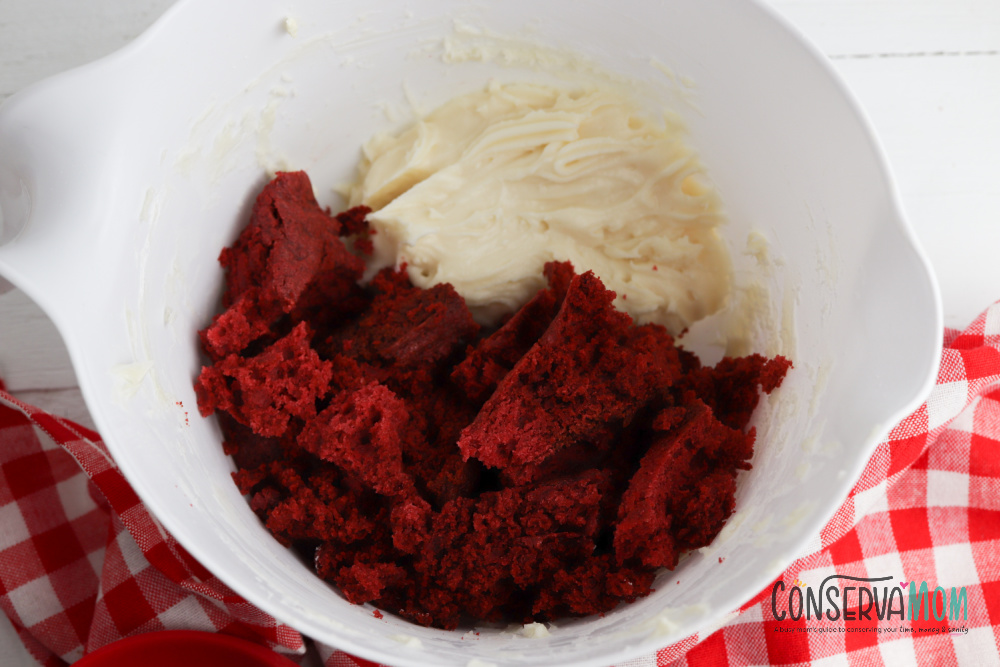
Crumble the Cake: Using your hands or an electric mixer, crumble the cooled cake into fine red velvet cake crumbs in a large bowl.
Mix with Frosting: Add softened cream cheese frosting to the cake crumbles and mix until well combined. The mixture should be moist enough to hold its shape when rolled into dough balls.
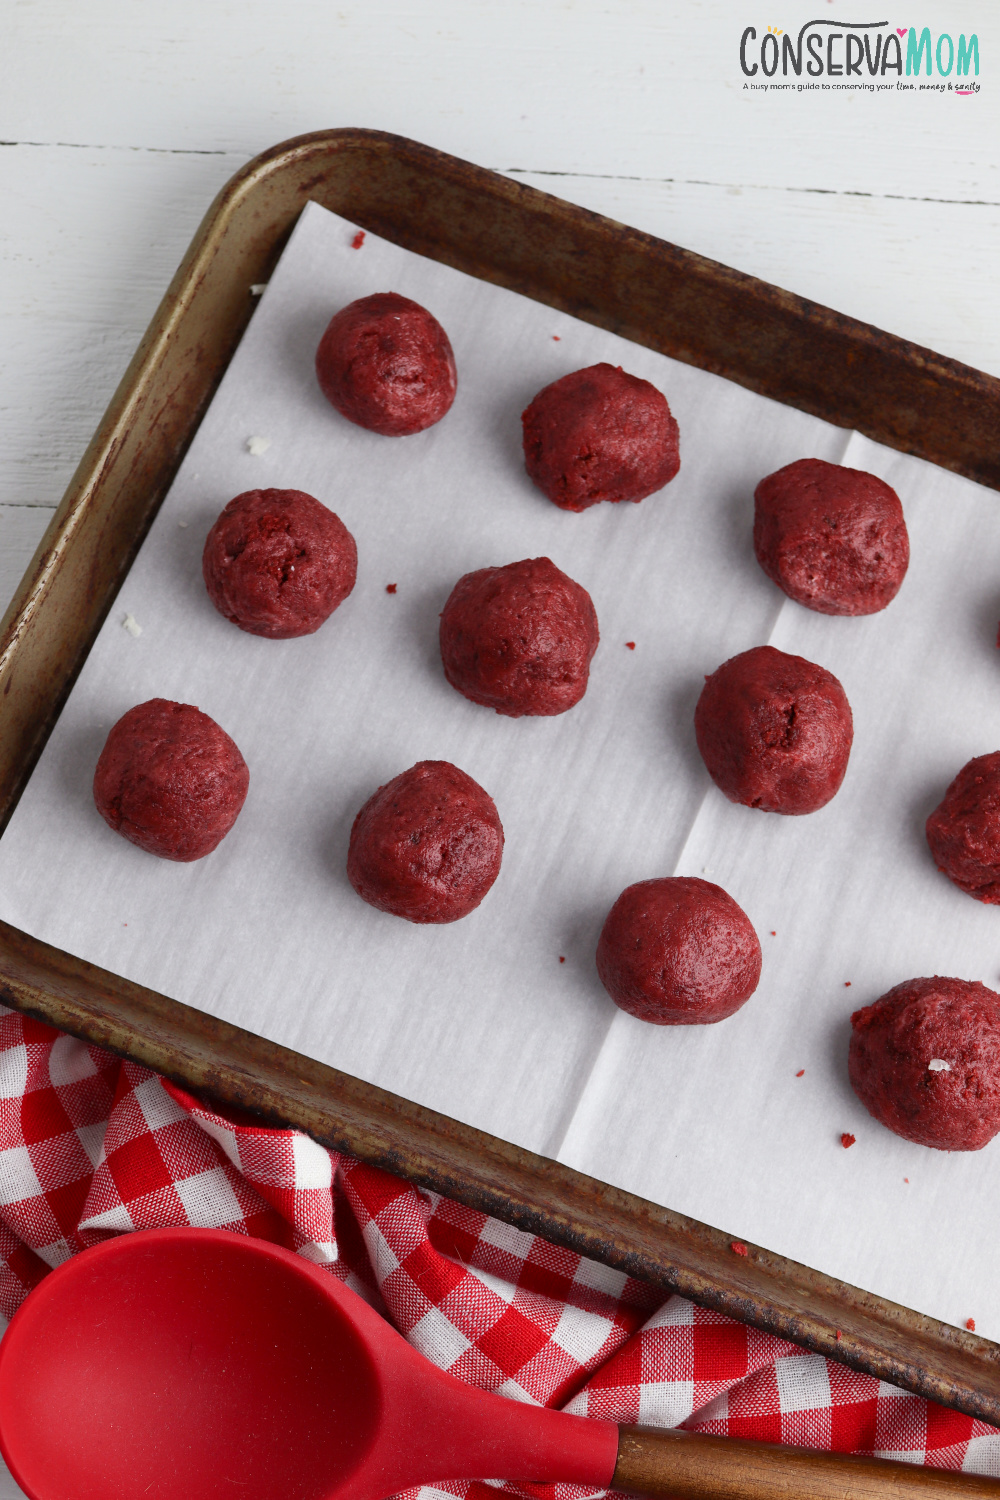
Roll Into Balls: Use a tablespoon cookie scoop to scoop out portions of the cake mixture and roll them into 2-inch balls. Place them on a parchment-lined baking sheet.

Chill: Cover with plastic wrap and place the baking sheet in the refrigerator for at least 2 hours or until firm.
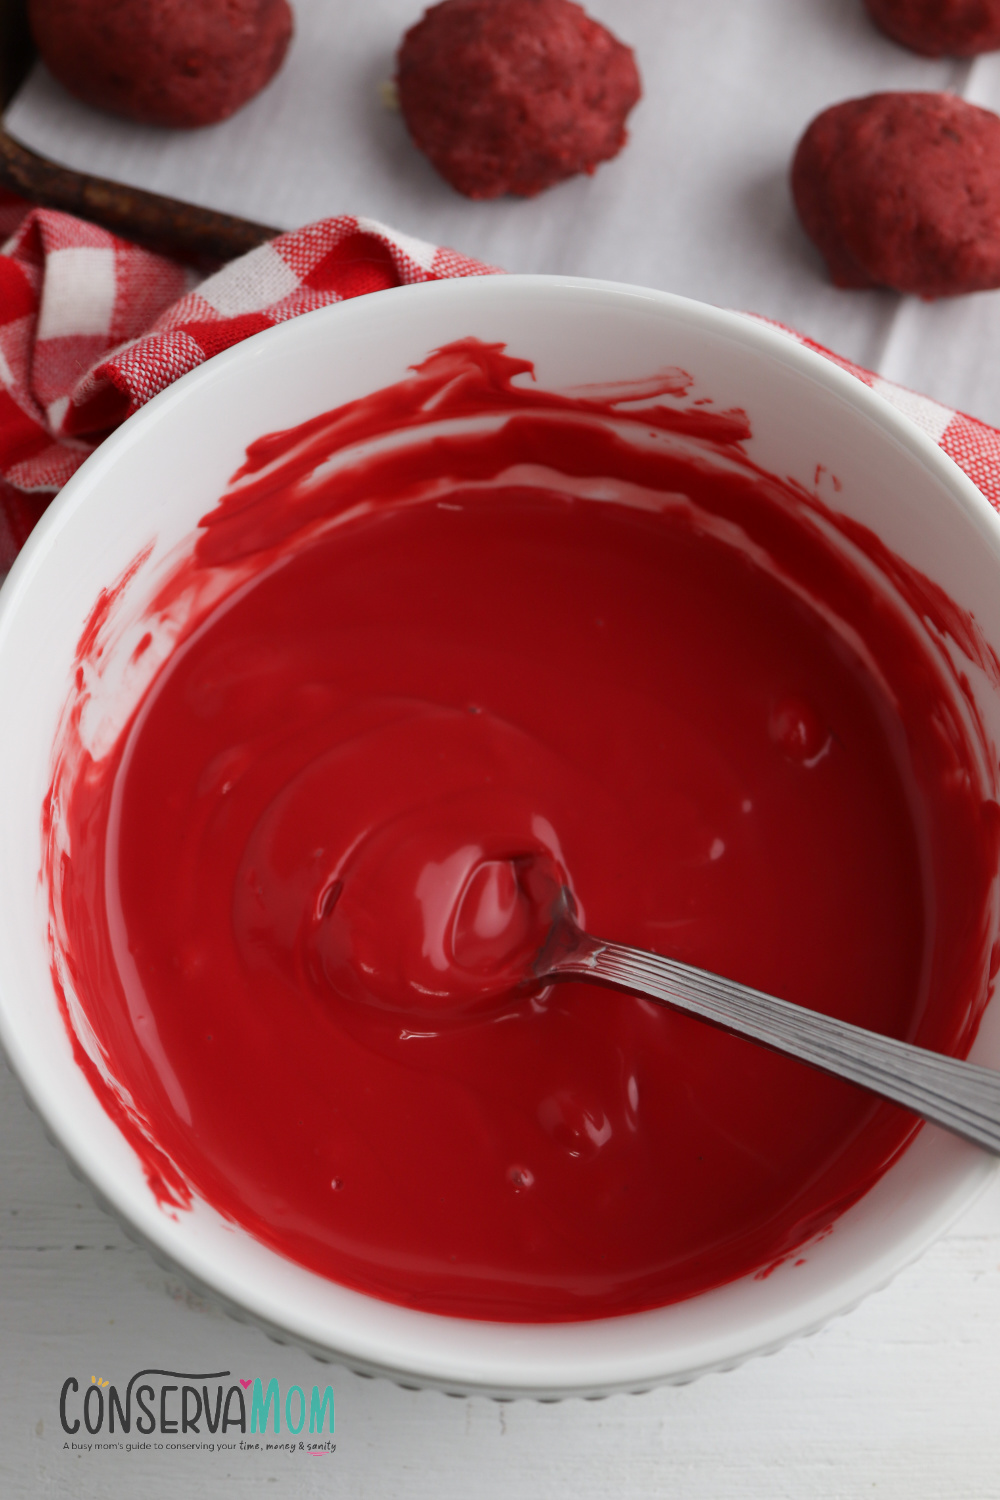
Melt Candy Coating: In a microwave-safe bowl, melt candy melts or white chocolate chips in 30-second intervals, stirring after each until smooth. If needed, add a little coconut oil to achieve a thinner consistency.
Dip & Decorate: Using a fork or lollipop sticks, dip each cake ball into the melted chocolate, letting the excess drip off before placing it back onto the parchment paper.

Immediately sprinkle your favorite sprinkles or edible glitter on top.
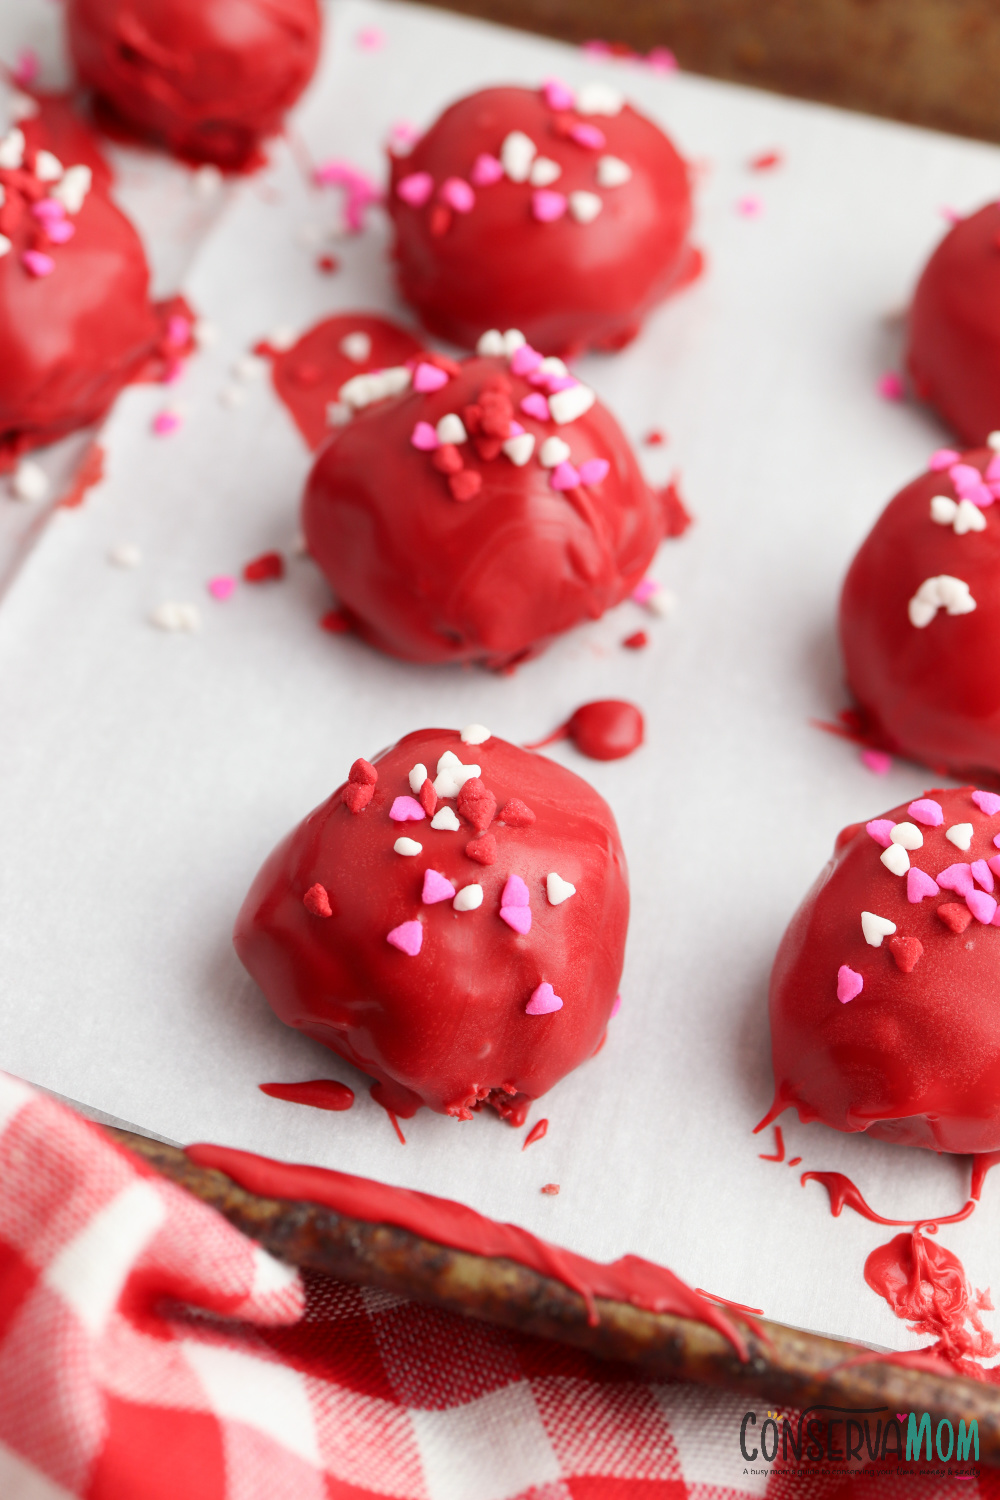

Final Chill: Let the coated cake balls set on the baking sheet for another 30 minutes in the refrigerator until the chocolate hardens.
Cake Balls Tip and Tricks
Tips for the Best Results:
-
Use an airtight container to store leftover red velvet cake balls in the refrigerator for up to a week.
-
For a different twist, try using milk chocolate or dark chocolate coating instead of white chocolate.
-
If your candy coating is too thick, adding a teaspoon of vegetable oil can help achieve a smoother consistency.
-
Want to make Oreo truffles? Swap out the red velvet cake for crushed Oreos and follow the same process!
Fun Variations:
-
Red Velvet Cake Pops: Insert lollipop sticks into each ball before dipping for an easy-to-eat treat.
-
Red Velvet Brownies: If you love red velvet treats, why not bake a batch of red velvet brownies alongside your cake balls?
-
Cocoa Powder Dusting: Instead of sprinkles, lightly dust the coated cake balls with cocoa powder for a more sophisticated look.
-
Different Chocolates: Experiment with different chocolates like almond bark or dark chocolate coating for a variety of flavors.
Frequently Asked Questions:
Can I freeze red velvet cake balls?Yes! Store them in an airtight container with parchment paper between layers. They can last up to three months in the freezer. Let them thaw at room temperature before serving.
Do I need a double boiler to melt chocolate?Not necessarily. A microwave-safe bowl works just fine if you melt in short second intervals and stir frequently.
Can I use homemade red velvet cake?Absolutely! If you have time, a homemade red velvet cake using baking soda and cocoa powder will enhance the flavor even more.
Why These Are Perfect for Special Occasions
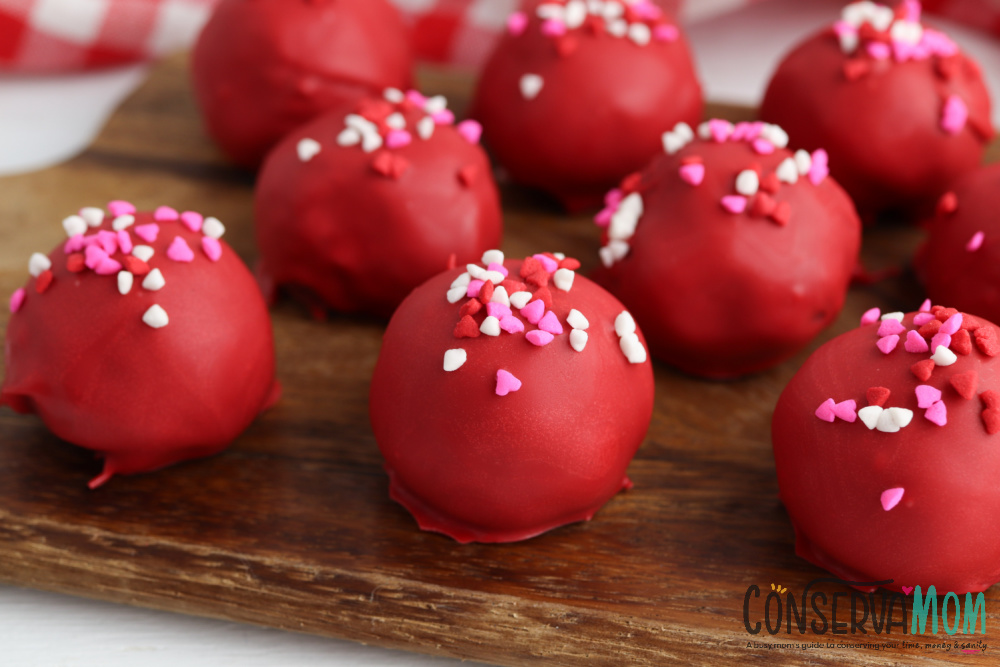
Red Velvet Cake Balls are great for any time of year, but especially for Valentine’s Day! Their gorgeous red color makes them a festive choice, and they make wonderful edible gifts. Pair them with red velvet cupcakes or red velvet donuts for an impressive dessert spread.
This recipe is also a great way to use up leftover red velvet cake. If you’ve baked a cake and have extra crumbles, don’t let them go to waste—turn them into cake truffles instead!
Conclusion
Making Red Velvet Cake Balls is a fun and rewarding baking project that results in a delicious, bite-sized treat. Whether you’re making them for Valentine’s Day, a birthday party, or just because, these red velvet truffles are sure to be a hit. So next time you’re craving something sweet, grab your ingredients and whip up a batch of these irresistible cake balls!
Be sure to check out my Red Velvet Donuts Recipe for another fun treat as well! I also am pretty much obsessed over these 14 Really Good Red Velvet Recipes, too!

Red Velvet Cake Balls
These Red Velvet cake balls made from a cake mix are some of the best!
Ingredients
- 1 box red cake mix, prepared according to box instructions
- 2 containers cream cheese icing
- 1 package red candy melts
- Sprinkles
Instructions
- Prepare and bake the cake mix in any type of pan. Allow to cool completely.
- Scoop the baked cake into a bowl and add both containers of cream cheese icing.
Stir until the cake and icing are well combined and begin to stick together. - Use a 1-inch cookie scoop to scoop out the batter.
Roll it into a ball between your hands and place the balls on a parchment or wax paper lined baking sheet. Continue rolling until all the cake has been used. - Place the baking sheet in the refrigerator to chill for at least two hours.
- When ready to decorate, melt the red candy melts according to the package instructions.
- Place one of the cake balls on top of fork.
Holding the fork over the bowl of red candy, spoon the melted chocolate over the top of the ball until it’s fully coated. Lightly tap the handle of the fork on the side of the bowl to knock off the excess chocolate, then transfer the coated cake ball back to the baking sheet. Immediately decorate with sprinkles. - When all the cake balls are coated in chocolate, return the pan to the refrigerator to chill for an additional 30 minutes, until the chocolate has hardened.
Leave A Reply!