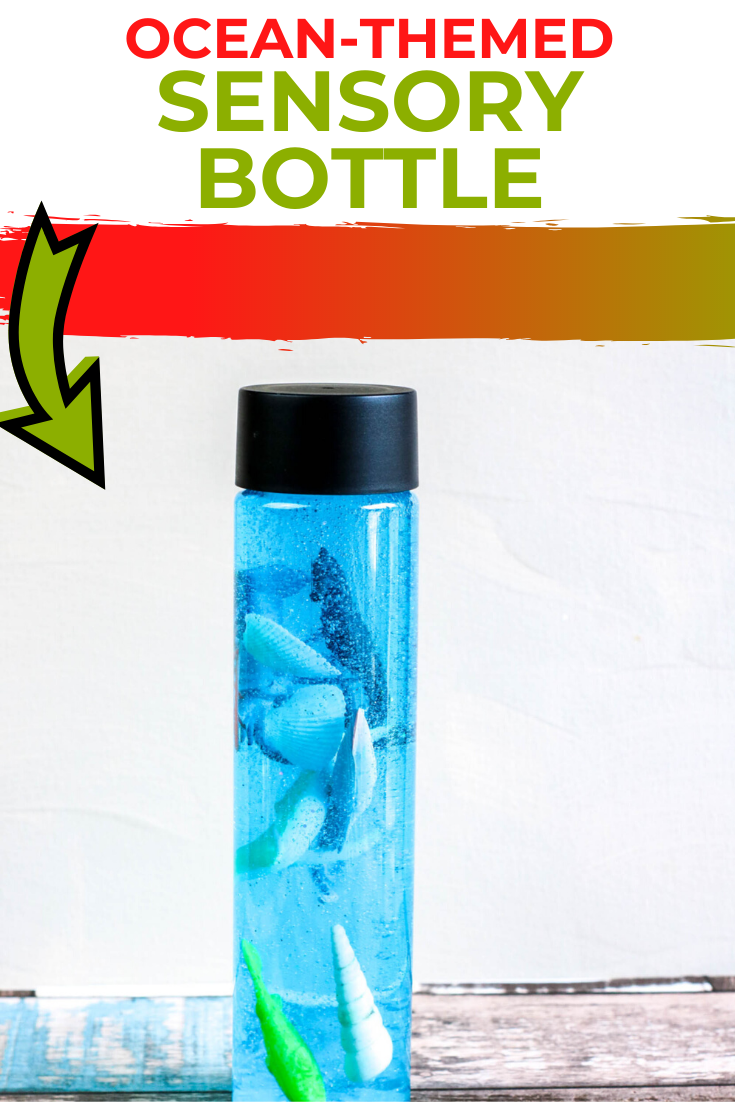
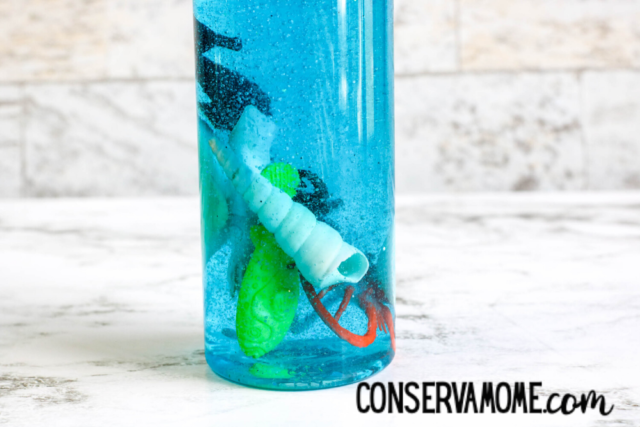
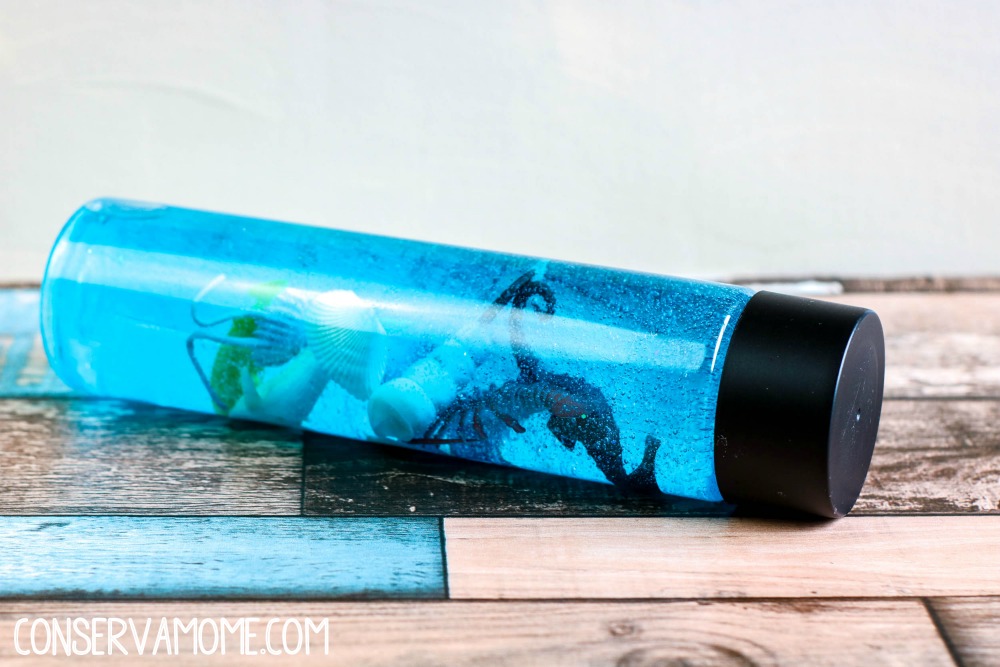
Are you looking for a fun and simple way that the kids can use their senses and be creative? This Ocean Sensory Bottle takes minimal effort but will result in hours of hands-on fun with this Ocean Themed Sensory Activity !
This post contains affiliate links. That means that if you make a purchase after clicking on a link I may earn a small commission at no extra cost to you.
Ocean Sensory Bottle
The great part about this ocean sensory bottle is that you only need a handful of supplies as well. And when you’re looking for a fun summer project that the kids can easily help with, you’re not going to be disappointed by this one.
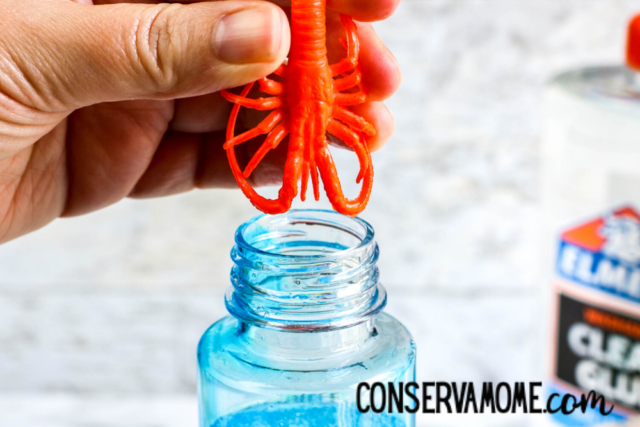
Since they can decide what toys to put inside this sensory bottle, have that be part of their contribution. Make certain that they choose toys that they’re not going to “miss” because once they put them inside, they’re going to be in there for visual play instead of physical.
And if glitter isn’t allowed in your house, don’t fret. This is just an optional supply that you can either add or not. It doesn’t make or break the overall craft so you can add it if you want to.
What I love about this fun fine motor craft is that once you make it up, you can easily take it along with you wherever you go. It’s great in the car and it’s really fun for the kids.
Why are Sensory Bottles are Great for Kids
Sensory bottles or calm down bottles aren’t just fun to make and look out. They are also great to help regulate emotions.When a sensory bottle has items such as glitter in it that move slowly, children (and adults) are often mesmerized by watching their slow descent. This helps them calms their breathing and helps them regulate themselves and their emotions.
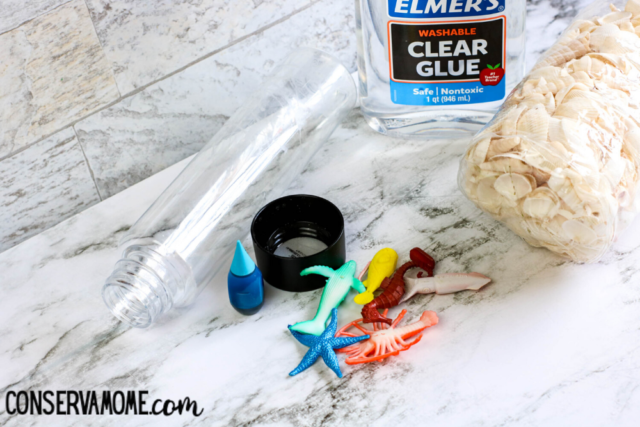
Supplies needed for this Ocean Sensory Bottle
- 1 (13 ounces) plastic storage/sensory bottle
- 2 to 3 (6 ounce) bottles Elmer’s Glue in clear
- About 1 cup of warm water
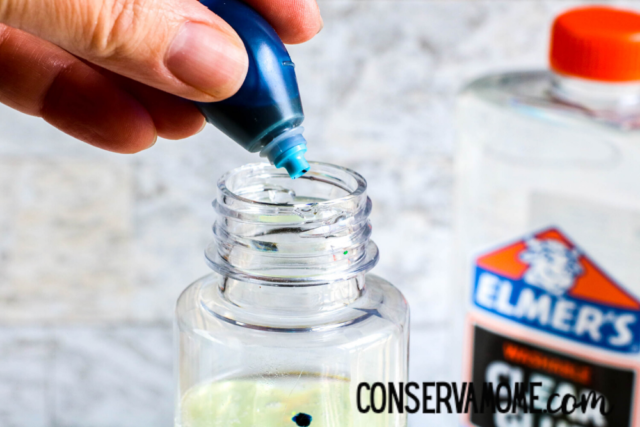
- 1 drop blue food coloring
- About 1 tablespoon glitter or confetti (if desired)
- Toys (if desired)
For this project, we used:
How to make your very own Ocean Themed Sensory Activity
Empty one bottle of glue into the bottle.
Fill the empty glue bottle about half full with warm water (about ¼ cup) and seal with the lid. Shake well to combine the remaining glue with the water. Pour into jar with glue and shake or stir to combine.
If you are adding glitter or toys, add part of the glitter and toys into the glue mixture.
Seal the jar and shake well. If the glitter or confetti does not move easily, add more warm water. If the glitter or confetti moves too quickly, add additional glue. Continue adding in layers with the glitter and toys until you achieve your desired effect.
When the contents of the bottle move according to your preference, seal the bottle and glue the lid closed to avoid spills.
If desired, cover the lid with duct tape or additional decorations.
Other Fun Ways To Spruce Up This Sensory Bottle
Since you’re making this DIY sensory bottle, have fun with what you’re adding! A couple of fun ideas would be to add in some glow in the dark ocean toys and glow in the dark glitter as well!
Make certain that you check out our 15+ Ocean Crafts For Kids that they will love, too! And after a day of crafting, whip up a batch of these No-Bake Under the Sea: Ocean Themed cookies!
Or looking for more water fun? Check out Water Play Activities for kids!
Leave A Reply!