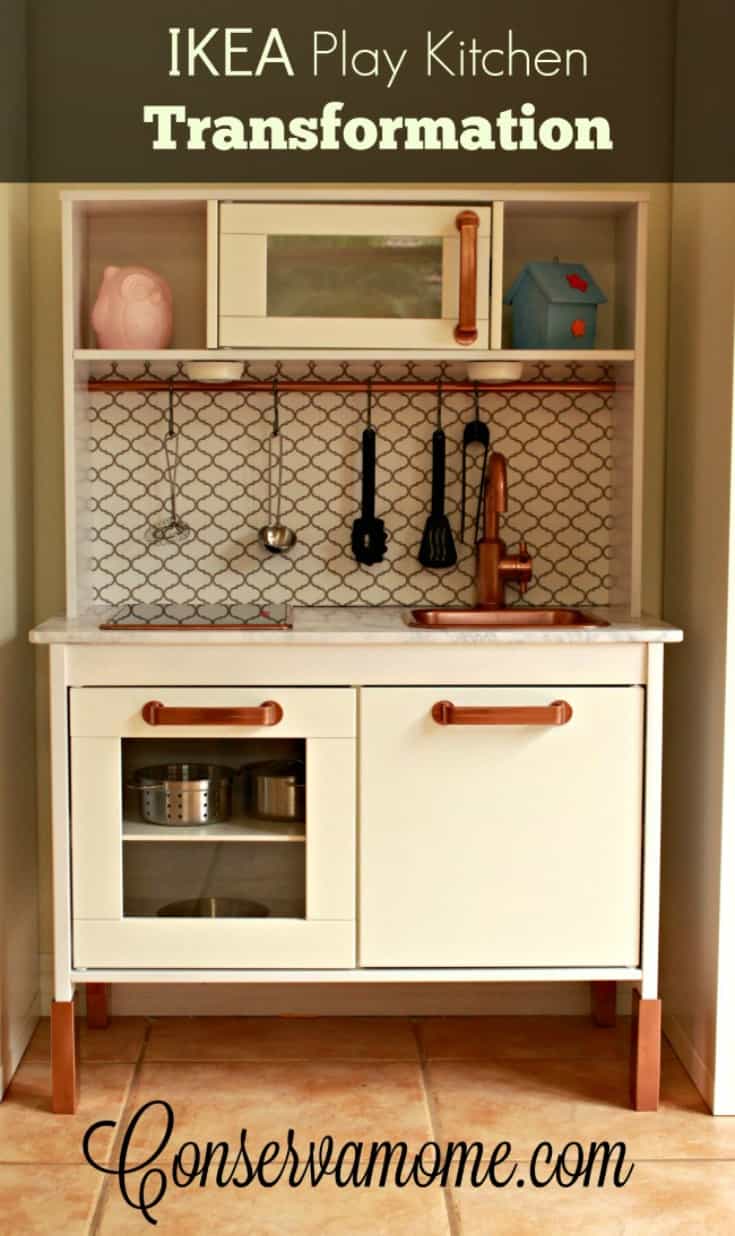
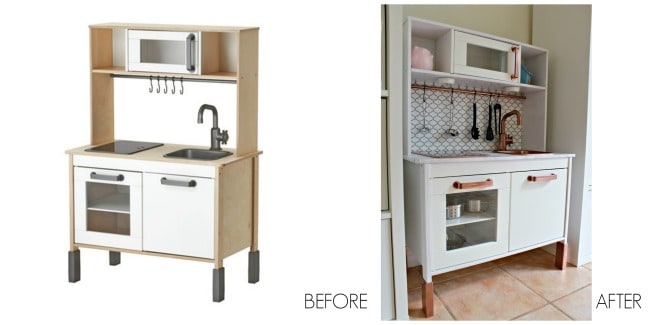
This easy and fun IKEA Play Kitchen Transformation will take the IKEA Play Kitchen from plain to fab in just a few easy steps.
IKEA Play Kitchen Transformation Tutorial
For my daughter’s second birthday, we wanted to give her a play kitchen. I searched all the options and couldn’t decide on anything until I found the IKEA DUKTIG play kitchen.
I loved the simplicity of the IKEA kitchen but I wanted something a little more personalized and unique for her. So, I decided to undertake this little kitchen re-do to make it a unique gift for her!
What you’ll need to transform the IKEA Play Kitchen
- IKEA DUKTIG play kitchen
- Foam board from the dollar store (for backsplash)
- Rust-oleum Painter’s Touch Flat White Primer
- Nails (We used nails from a picture frame hanging kit from the dollar store)
- Rust-oleum Metallic Finish in copper.
- Con-tact Paper Peel & Stick in grey granite
- Rust-oleum Gloss protective enamel (white)
- Con-tact Paper Peel & Stick (for backsplash)
- IKEA RAMSTA undercabinet lights
- The 5-Piece IKEA DUKTIG toy cookware set
- IKEA DUKTIG 5-pieace toy kitchen utensil set
Step 1: Paint
Before you start building this kitchen, make sure you paint anything you have decided to paint. I painted the parts that are originally birch-colored using white spray paint. Make sure you prime your pieces first. After the primer has dried (overnight is fine), then spray the white paint (or your chosen color) on and allow to dry.
Step 2: Paint Accents
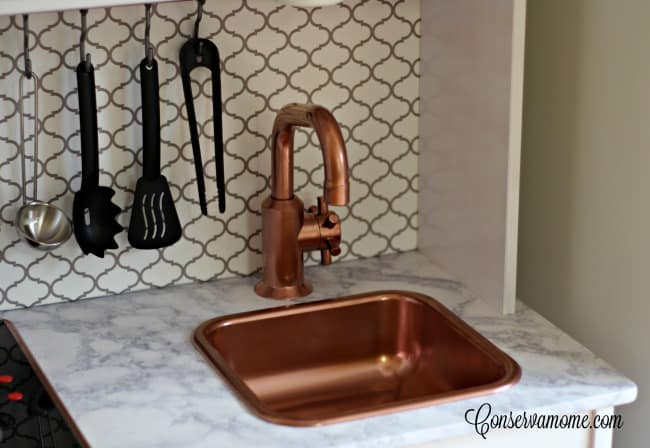
We used the white primer on the microwave door handle, cabinet door handles, legs, rod, sink and the faucet. Once dry, we painted the pieces using a metallic copper spray paint.
Step 3: Line Backsplash and Countertop
The IKEA DUKTIG play kitchen does not include a backsplash. You can find foam boards at the dollar store which are perfect for this project. Measure the foam board and cut to size. Next, line the backsplash using the Con-tact Paper. Now, line the countertop. If you have a little bit of trouble with the corners of the countertop looking smooth, you can use a blow dryer for just a few seconds to soften the adhesive which will cause the Con-tact paper to sort of mold itself around the corners.
Step 4: Build According to IKEA instructions
Next, build the play kitchen using the provided instructions. Just make sure to nail on your backsplash, since this is not part of the original kitchen.
Step 5: Add Undercabinet Lights
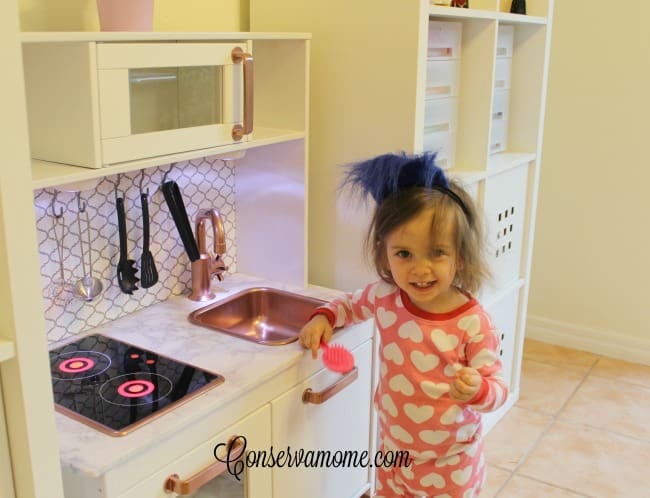
Use the IKEA RAMSTA under cabinet lights to make this look like a real kitchen! The lights are adhesive so they are easy to install and are battery operated.
You can make this kitchen using any colors and details for the countertop, backsplash, etc. that you like. The possibilities are endless and this is a fun opportunity to match the kitchen to your existing decor or to the decor in your child’s room or playroom.
This is such an easy and fun transformation you can do with your little one’s IKEA Play kitchen.
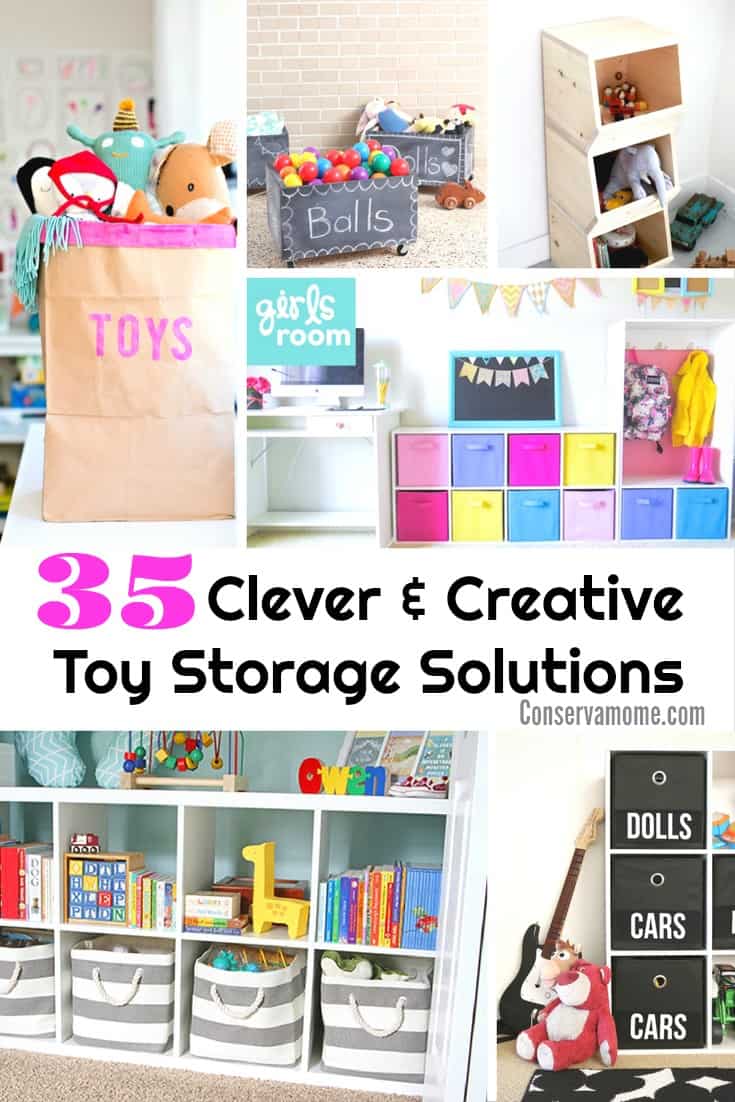
Looking for more play room inspiration? Head over here to check out 35 Creative & Clever play room storage solutions.
Comments & Reviews
This play kitchen is just so cute! I love how you personalized it for your daughter. My grandniece would be thrilled to have something like this so maybe we can do something similar for her birthday. Plus, I didn’t know IKEA had play kitchens! So I learned something new 🙂 Thanks!
How cute! I wish I was a little girl again 🙂
I love the copper sink. It is so cute!
That came out fantastic. I really love furniture makeovers and transformations. I love the contact paper you chose for the backsplash.
Wow! That’s a great transformation and hack!
What a perfect gift for a 2 year old. I imagine she will have hours and hours of fun with this.
Wow! Such an awesome job. My kids had sooo much fun with their play kitchen. Lots and lots of happy memories.
My daughter has been trying to come up with an idea for a play kitchen for her 4 year old daughter – something different than the plastic bulky types pre-made. I am going to share this with her as I know she will absolute love it. You did an amazing job of building it! (I especially love the copper sink!)
This is so nice, I need one for my house for the Grandkids. They love playing house and cooking.
Great job finding such a wonderful kitchen for your little one.not an easy.task.congratulations.
You truly did a great job and I love how you can personalize it for any child.
OH I just love it!! You really made it hers and its adorable!!!