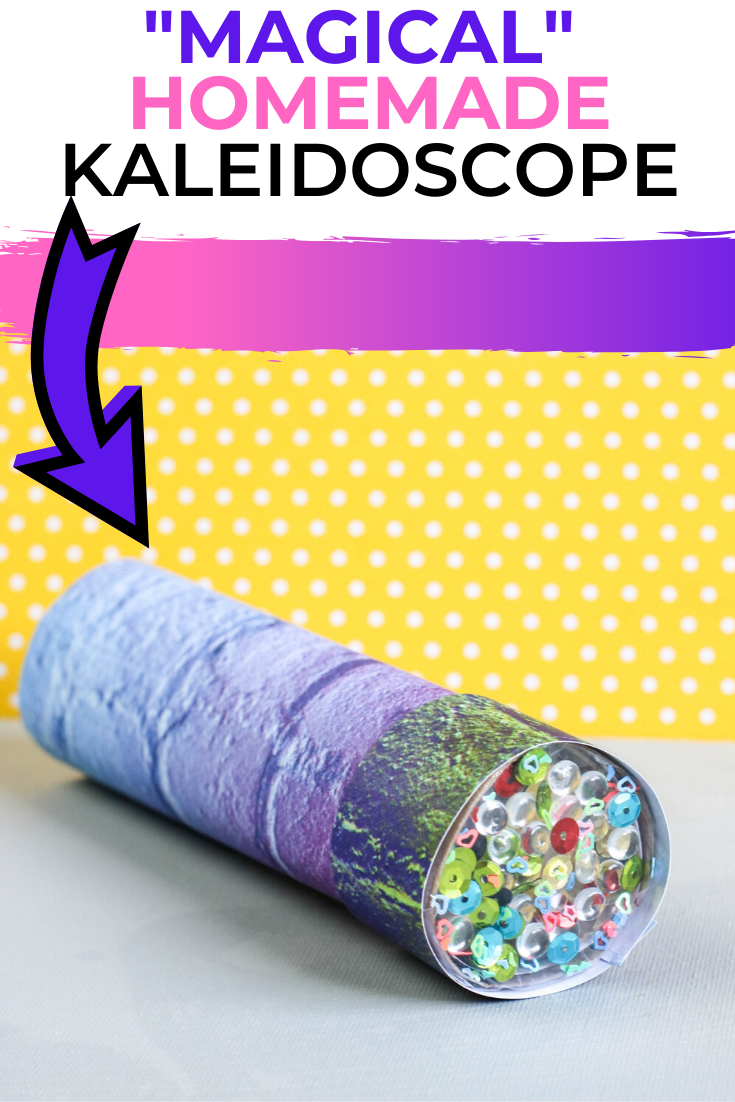
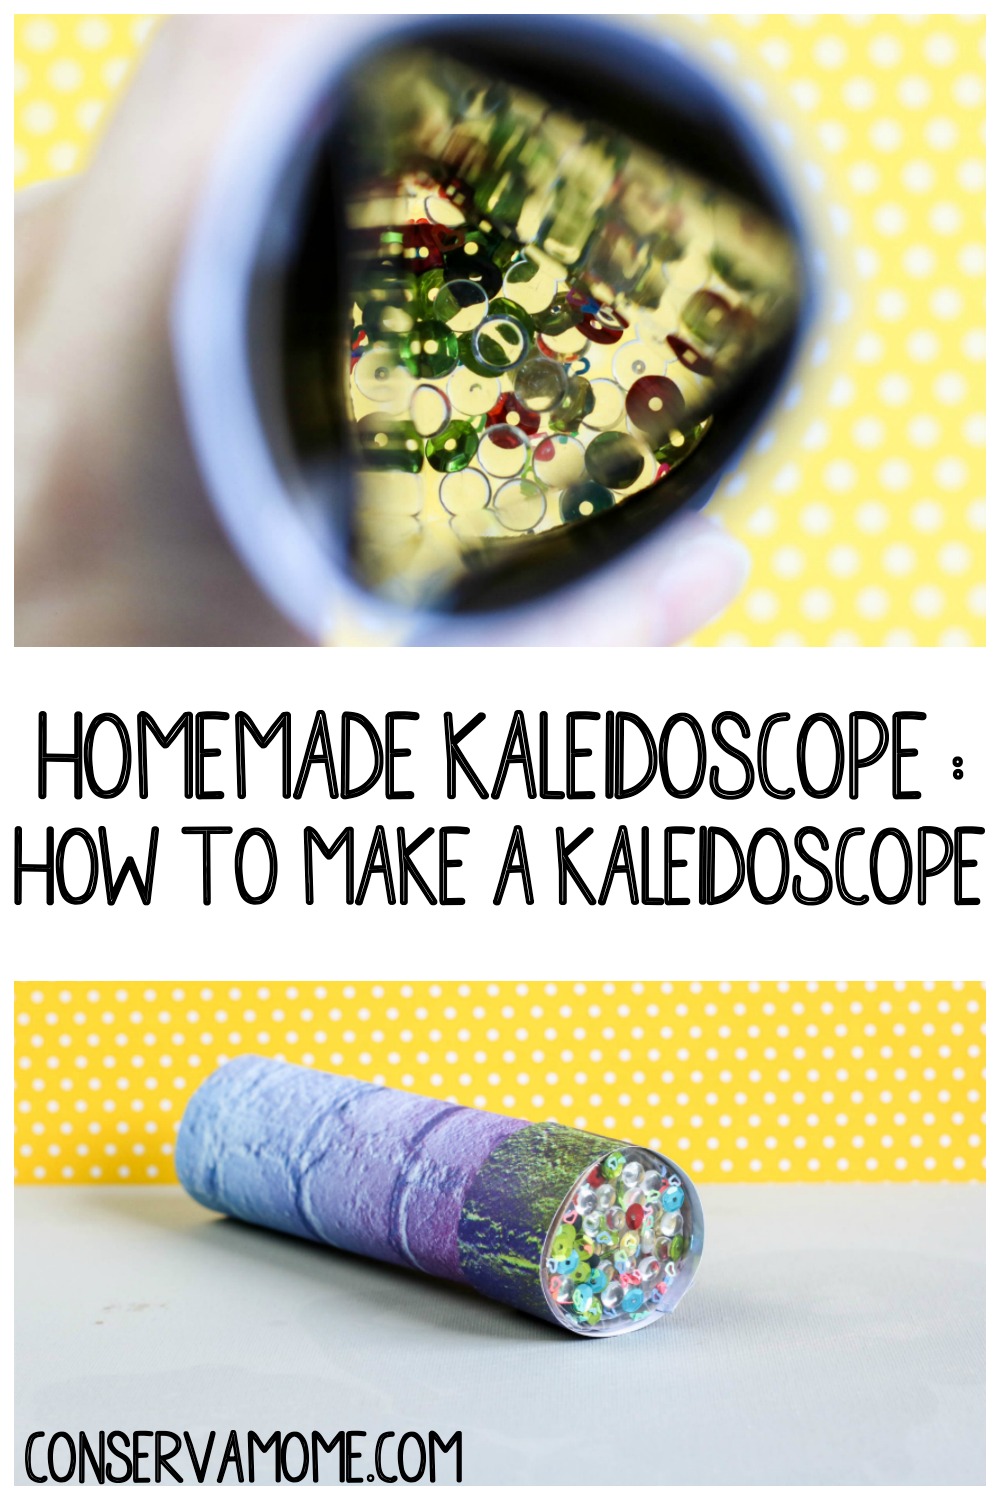
Having the kids make their own Homemade Kaleidoscope is so much fun! It’s a throwback toy to my own childhood years and a great STEM activity, too! This is an easy tutorial on how to make a Kaleidoscope.
How to make a Homemade Kaleidoscope
*This post contains affiliate links. That means that if you make a purchase after clicking on a link I may earn a small commission at no extra cost to you.
We all have a lot of time on our hands right now. It’s amazing how creative many of us have gotten as parents. We’re looking for fun ways to keep our kids entertained and engaged. That’s why I love this activity, it’s a two parter : A fun activity that will keep your kids entertained for a while making it and a great lesson in Science.
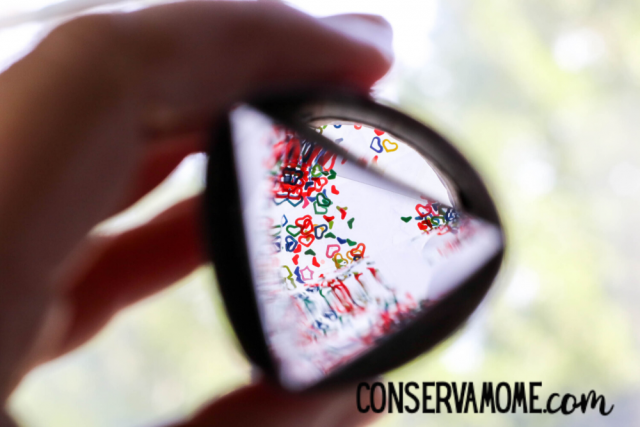
A kaleidoscope creates beautiful images by using colored, translucent objects and reflective surfaces inside a long tube. It works when light waves enter the tube by first passing through colored objects and then are reflected inside the tube to create colorful patterns.
I’ll be the first to admit that I couldn’t wait to make this activity with the kids. I mean, just look at it! It’s so much fun! There’s just something magical about peeking into a kaleidoscope and seeing all the colors. There are so many great lessons you can grab using a kaleidoscope.
So this homemade Kaleidoscope is such a fun project that your whole family will love from big to small they will get a kick out of making this!
While you could order one online or pick one up at the store, this is a great way to have some quality creative time with the kids that results in them having their very own homemade toy.
It just doesn’t get much better than that. It’s also fun to see how different the “views” will be from one another. Looking inside of the homemade kaleidoscopes will be fun because everyone you make will be different.
Don’t forget to check out our Rocket Ship Toilet Paper Roll Craft as well. It’s another fun activity that will have the kid’s imagination going wild!
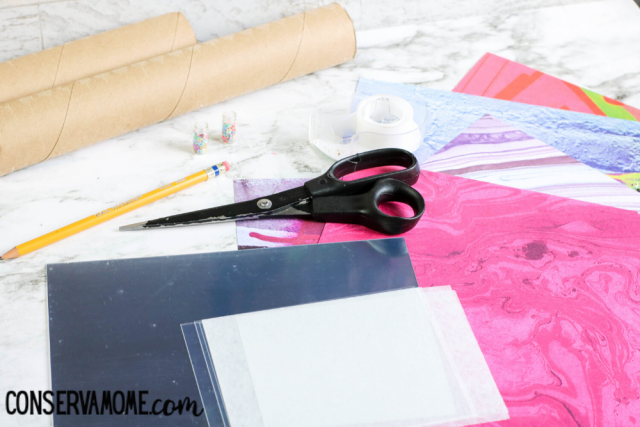
What you’ll need to make this Homemade Kaleidoscope
Just gather up the simple supplies below to get started.
- One long cardboard tube (or 2 short tubes)
- (1)12×12 inch sheet decorative paper
- 1 plastic sheet but clear plastic from a fruit container will work
- 1 flexible mirror sheet but any reflective paper will work
- Permanent marker or pen
- Clear tape
- Scissors
- Assorted small beads, buttons, or sequins
How to Make a Homemade Kaleidoscope
Cut the cardboard tube to match the length of the flexible mirror sheet. This will be the main tube for the kaleidoscope.
Cut the flexible mirror sheet to be 3 inches wide. On the flexible mirror sheet, measure, and mark in 1-inch increments across the width to know where the two folds will be. Fold the sheet into a long triangular tube. Tape the sides together where they meet to form the tube. Slide the triangular tube into the cardboard tube and secure it with tape.
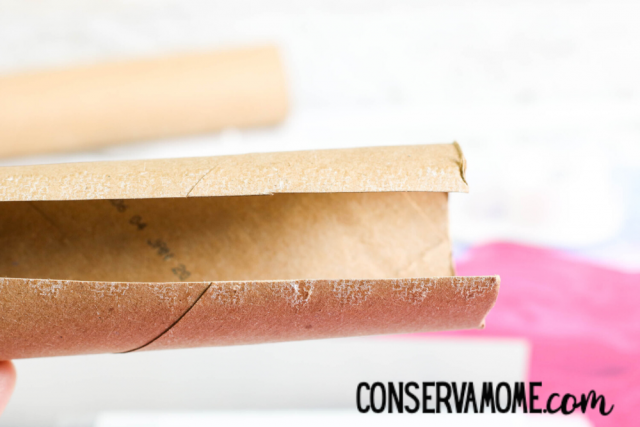
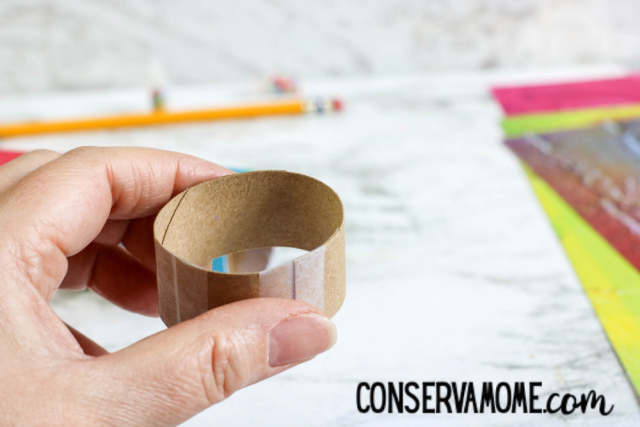
From the remaining piece of the tube, you will create the outer ring of the kaleidoscope. Cut TWO 1 inch sections. Cut each section to create a strip instead of a circle. Place the two strips together to fit loosely around the cardboard tube and join together with tape.
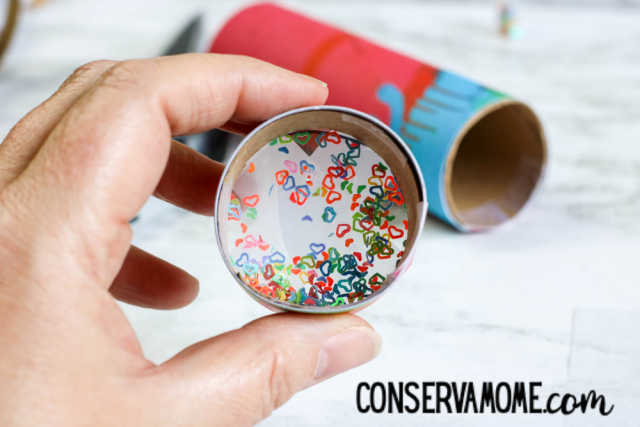
Using the newly formed ring, trace two circles on the plastic sheet. Cut out the circle with scissors. Attach one circle to the ring using clear tape. Trim the remaining circle to be slightly smaller than the ring so it will fit inside.
Place a layer of beads or sequins at the bottom of the ring. Slide the remaining clear circle over the layer of beads.
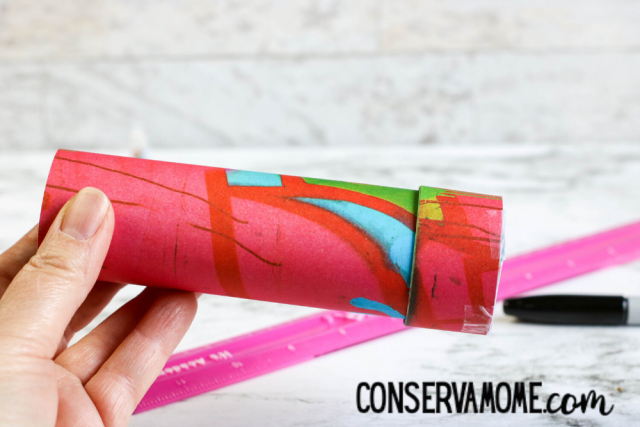
Cover the cardboard tube and outer ring with decorative paper using tape to attach.
Slide the longer tube inside the ring.
With the clear window facing a window or light, look through the tube and gently turn the outer ring.
Please make certain to share this fun activity below.
Like this fun DIY activity for the kids? Check out this DIY Sidewalk Foam Paint: How to make Sidewalk foam paint as well!
Leave A Reply!