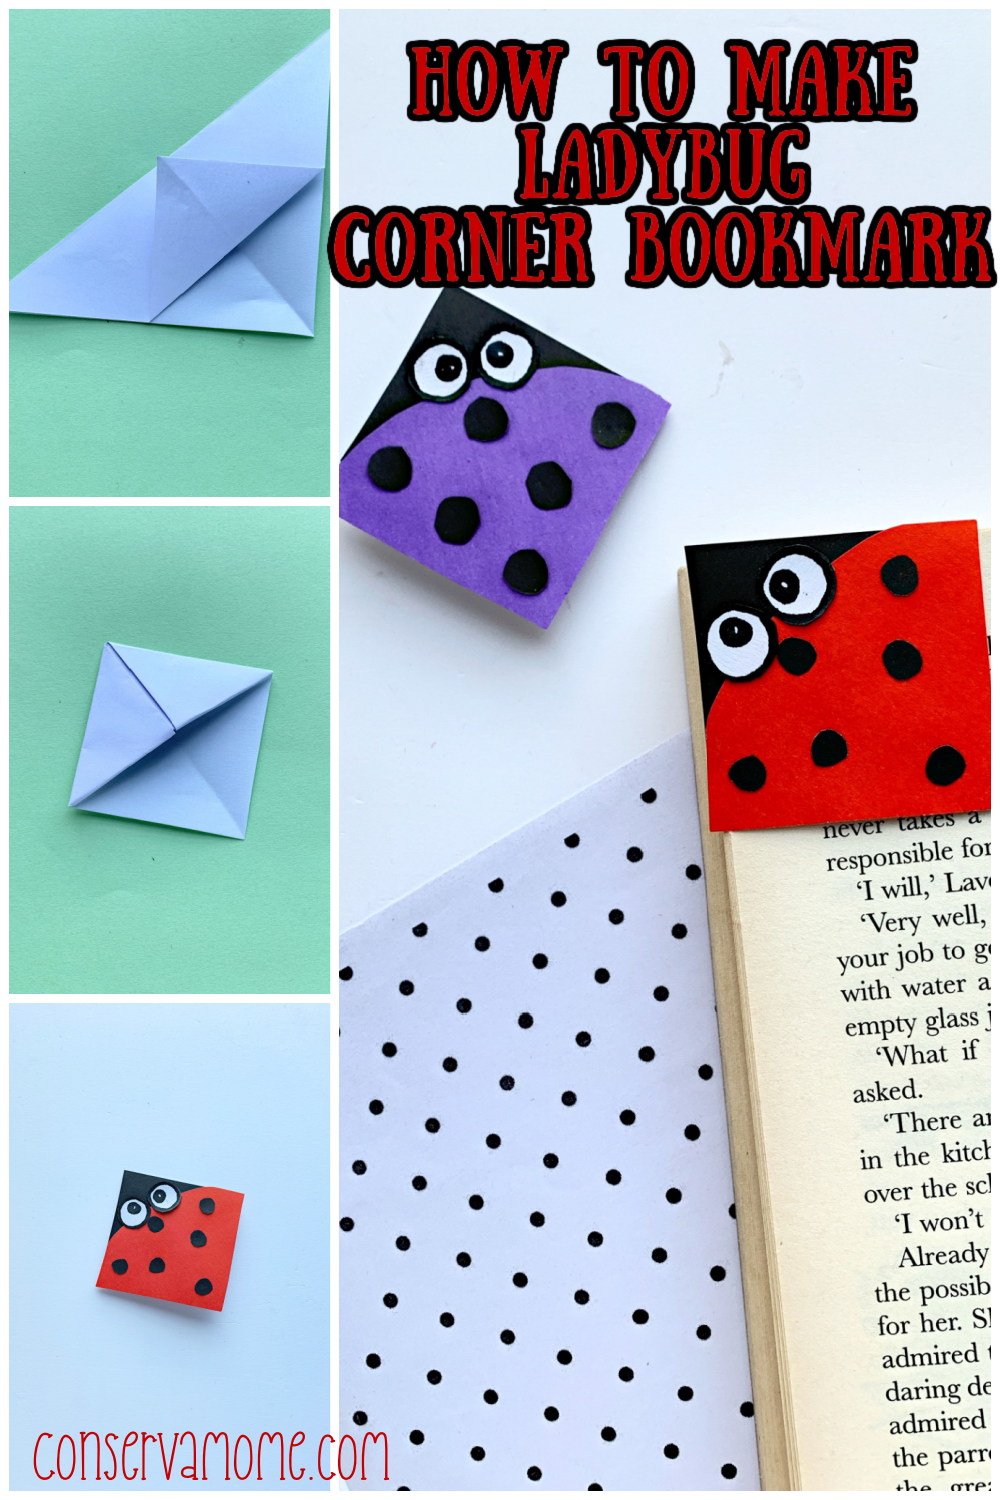
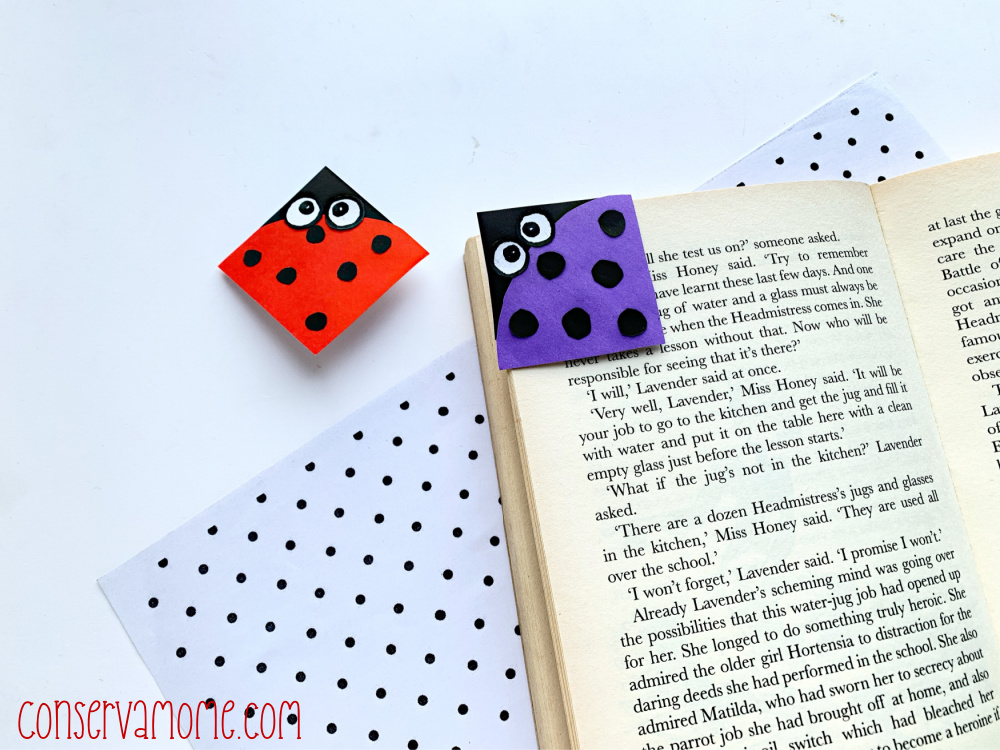
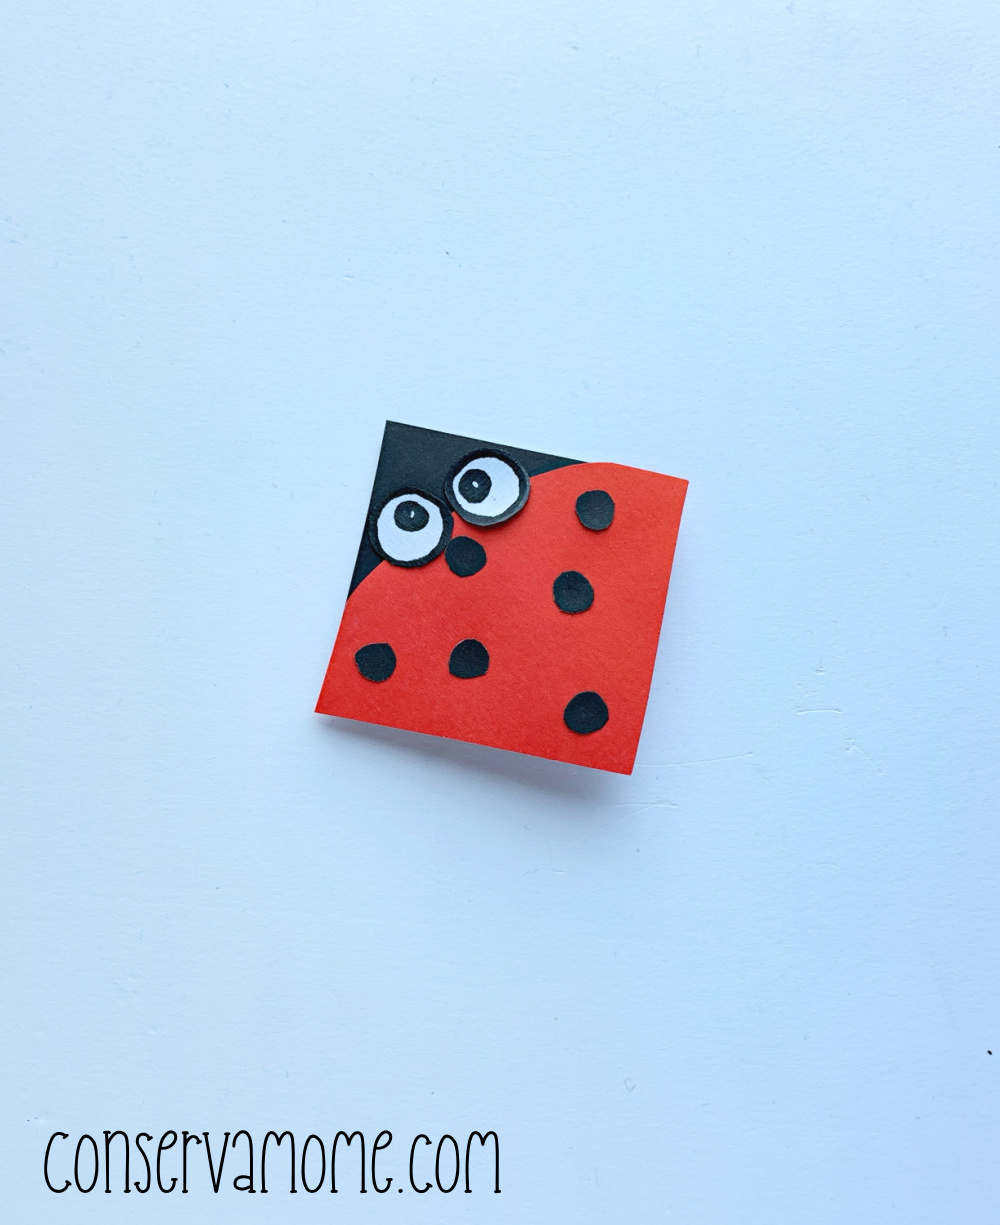
Here’s a fun and easy to make ladybug corner bookmark. It’s an easy origami tutorial that will teach you step by step directions on how to make a ladybug corner bookmark.
*This post contains affiliate links. That means that if you make a purchase after clicking on a link I may earn a small commission at no extra cost to you.
Origami Ladybug Corner Bookmark:
Ever since I was a little girl I’ve been in love with ladybugs. They are such fun and gorgeous little bugs that somehow just fill me with happiness. Ladybugs are considered a sign of good fortune and are treated as such in many cultures. There are so many great lady bug crafts out there,like this Ladybug paper plate craft, that are a perfect way to celebrate these adorable creatures. This is such a fun and easy craft to make and perfect for anyone who loves origami.
Best of all you can easily make a few. All you have to do is break out the origami paper and get to work on making this easy to make ladybug corner bookmark.
So read on to see how easy it is to make these fun bookmarks.
What you’ll need to make ladybug corner bookmarks
- Origami Craft Paper
- Paper Glue.
- Marker Pens.
- PDF Template
- Glue
- Scissors
How to make a Ladybug Corner Bookmark
Step 1:
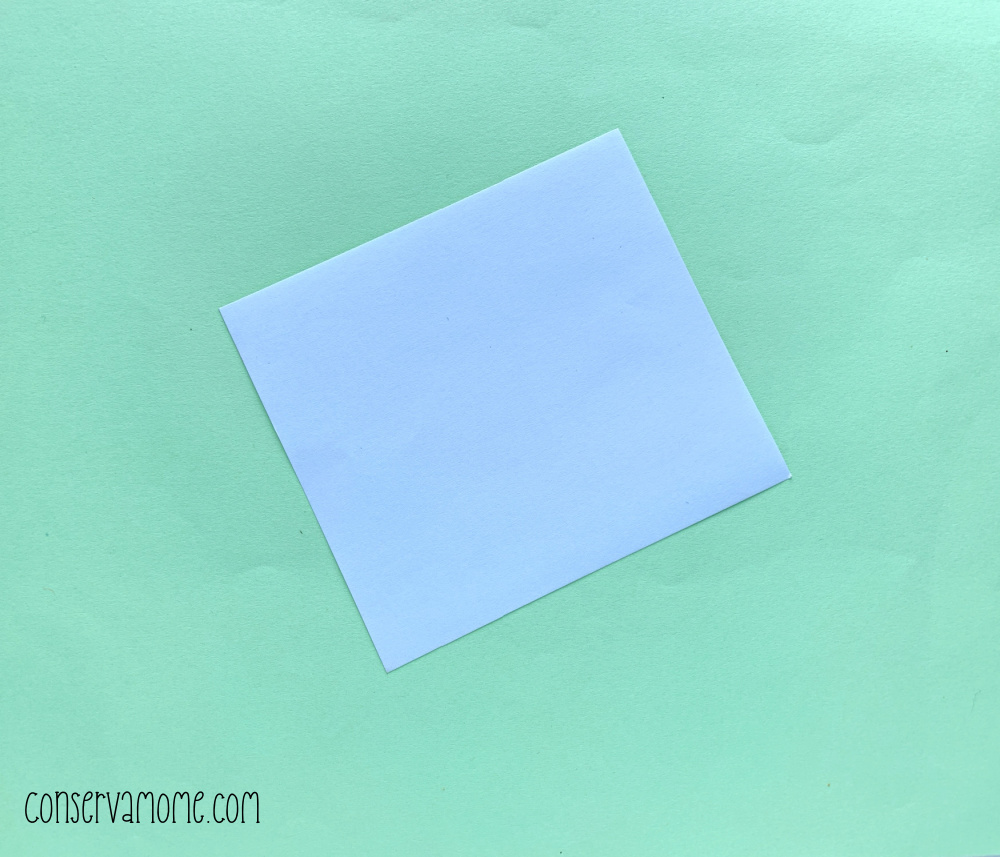
Take an origami craft paper.
Place it diagonally.
Step 2:
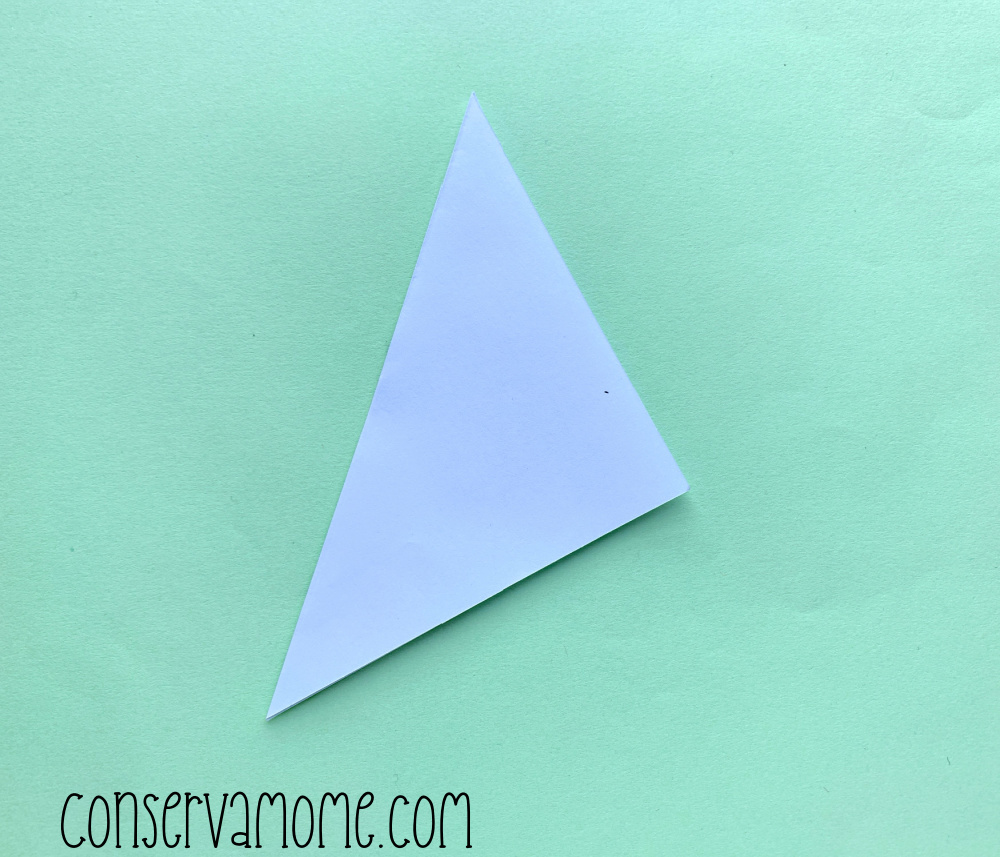
Bring the left corner towards the right corner, and fold it in the middle.
This will create a triangular shape.
Step 3:
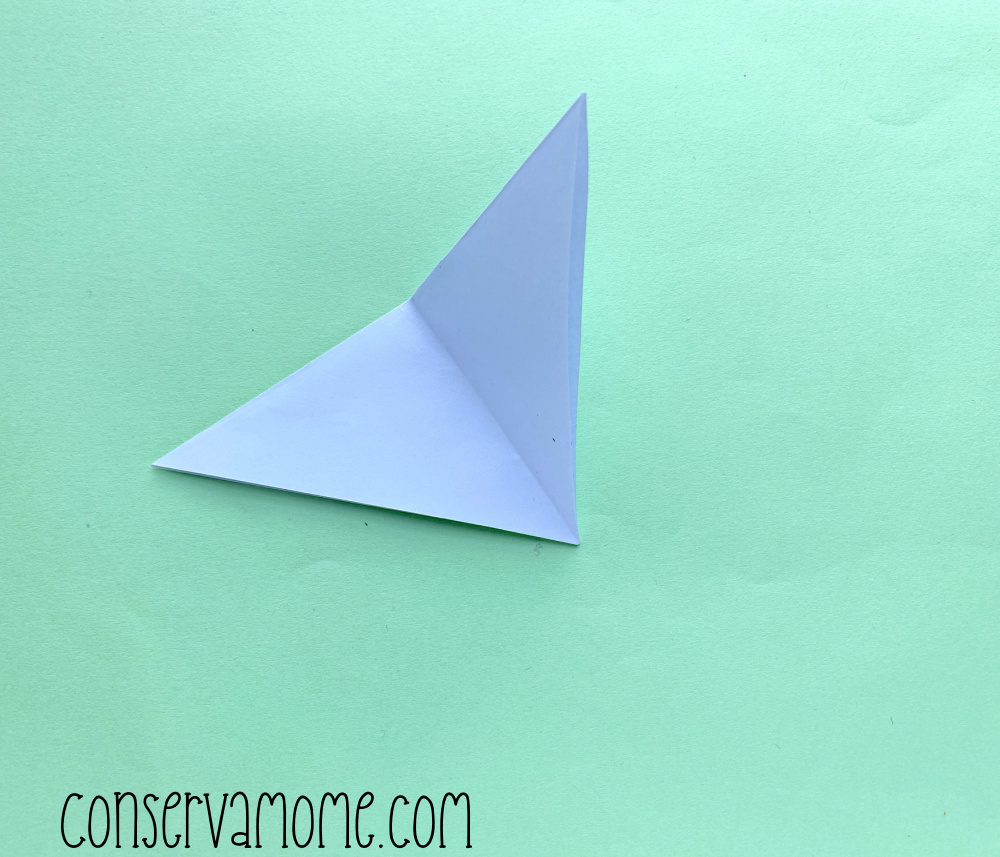
Then fold the triangular shape right on the middle vertically.
And then open up the fold, this will create a straight crease on the middle.
Step 4:
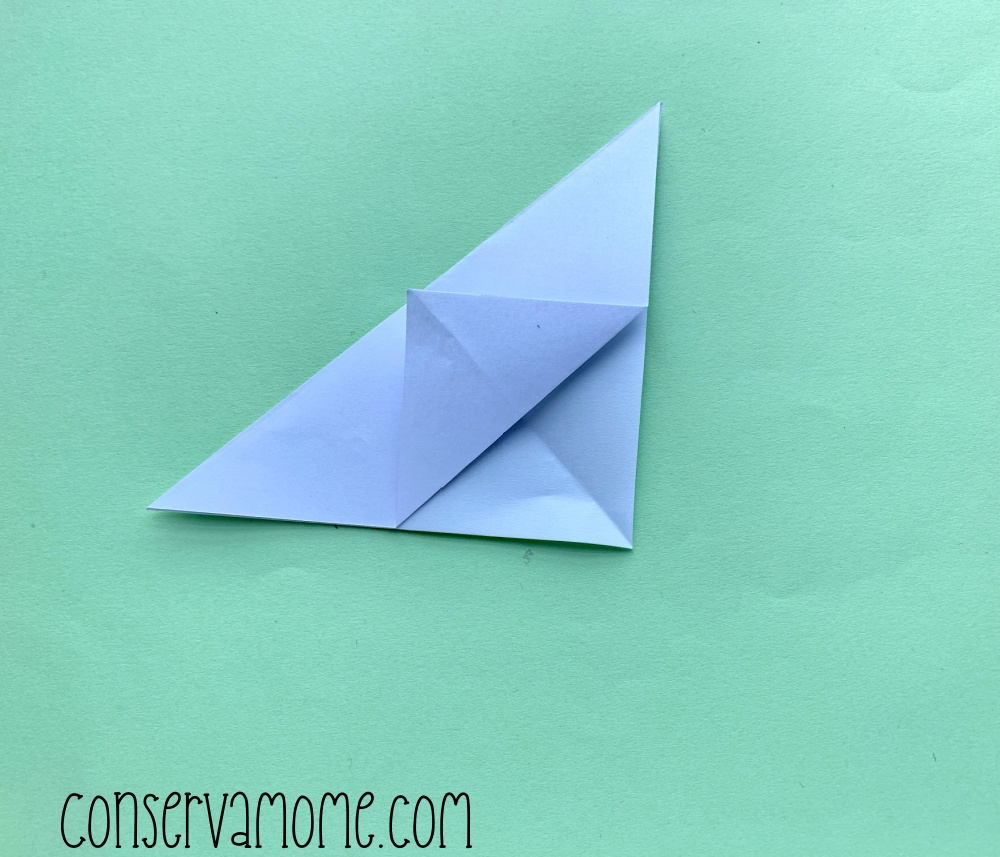
Take the upper flap of the triangle, and bring it upwards to the middle of the triangle’s base.
Fold it there.
Step 5:
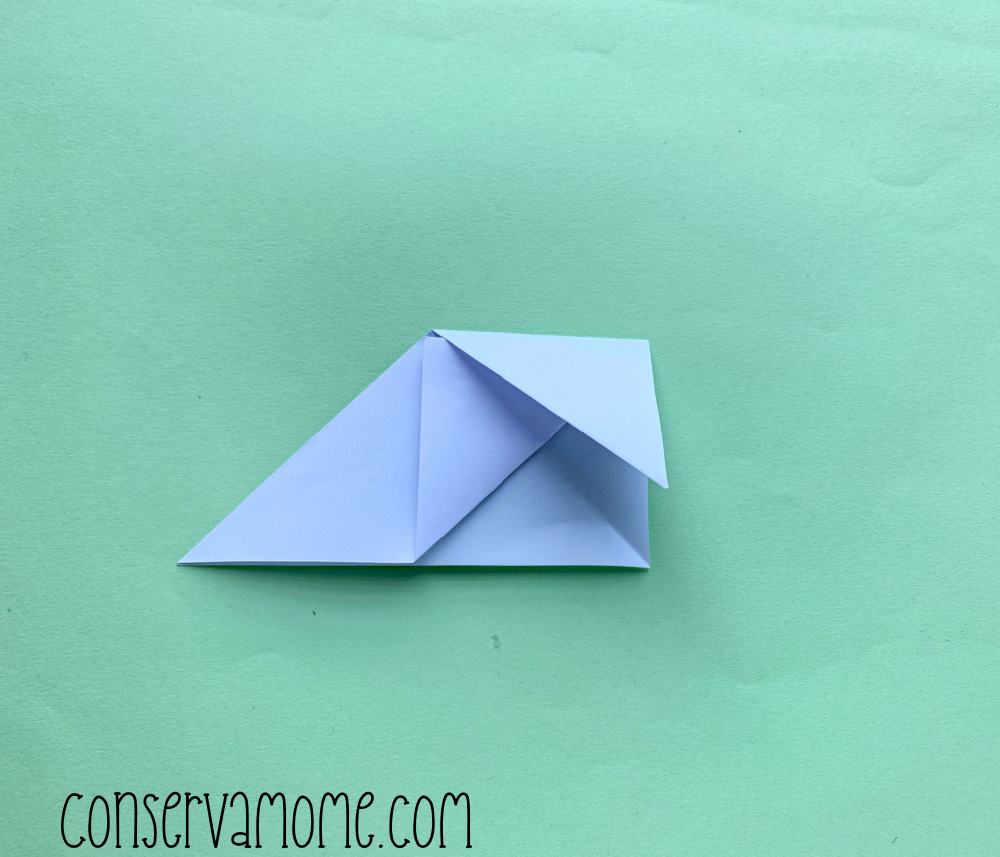
Take the right corner and bring it downwards to the bottom point of the triangle.
Step 6:
Similarly, bring the left corner downwards and olf it there.
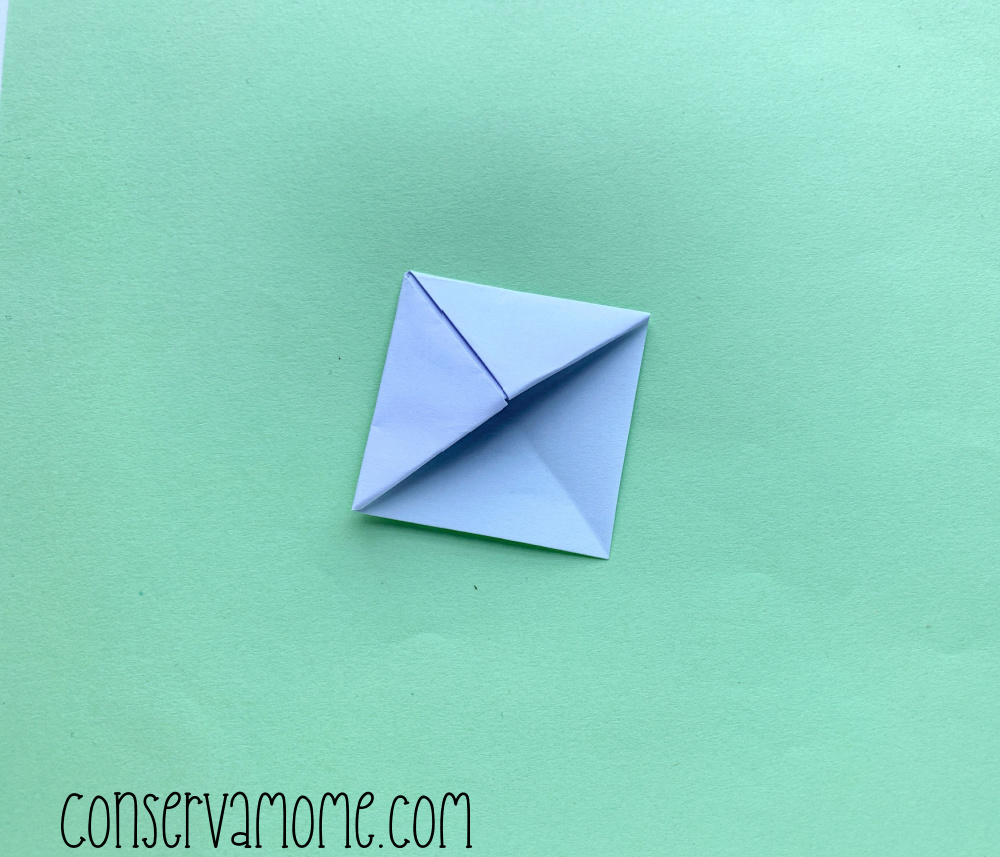
This will create a diamond shape.
Step 7:
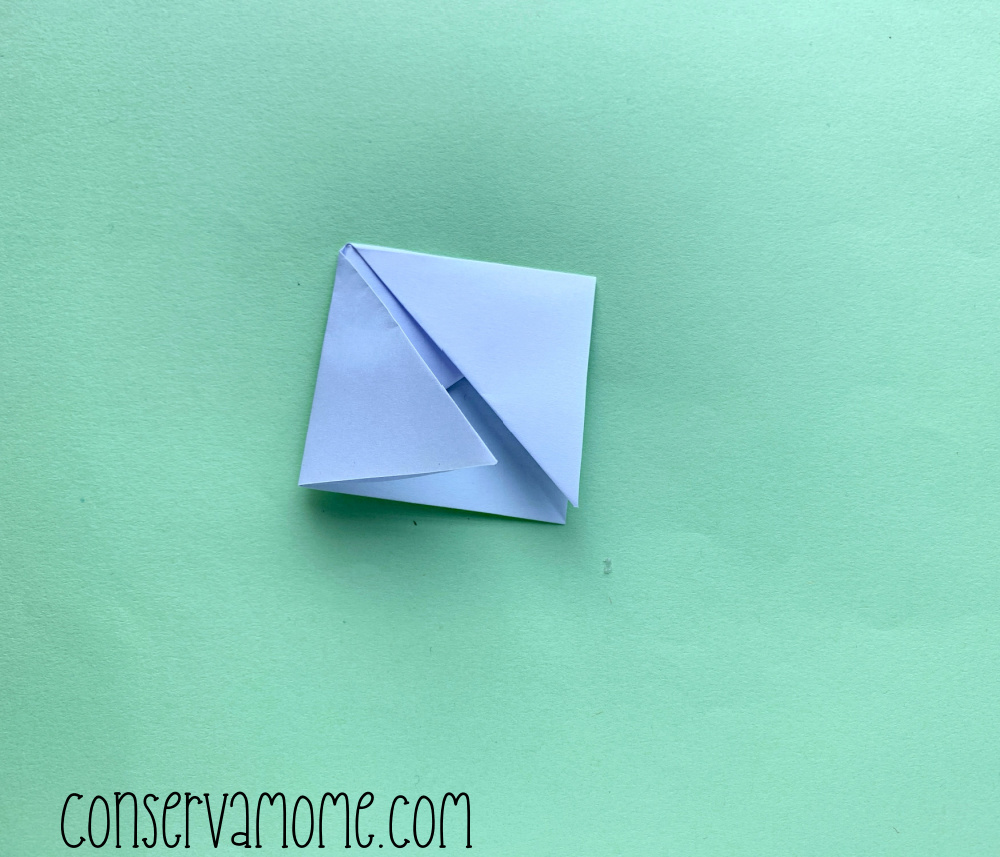
Fold up both corners inside the pocket we created
Finals Steps
Step 8:
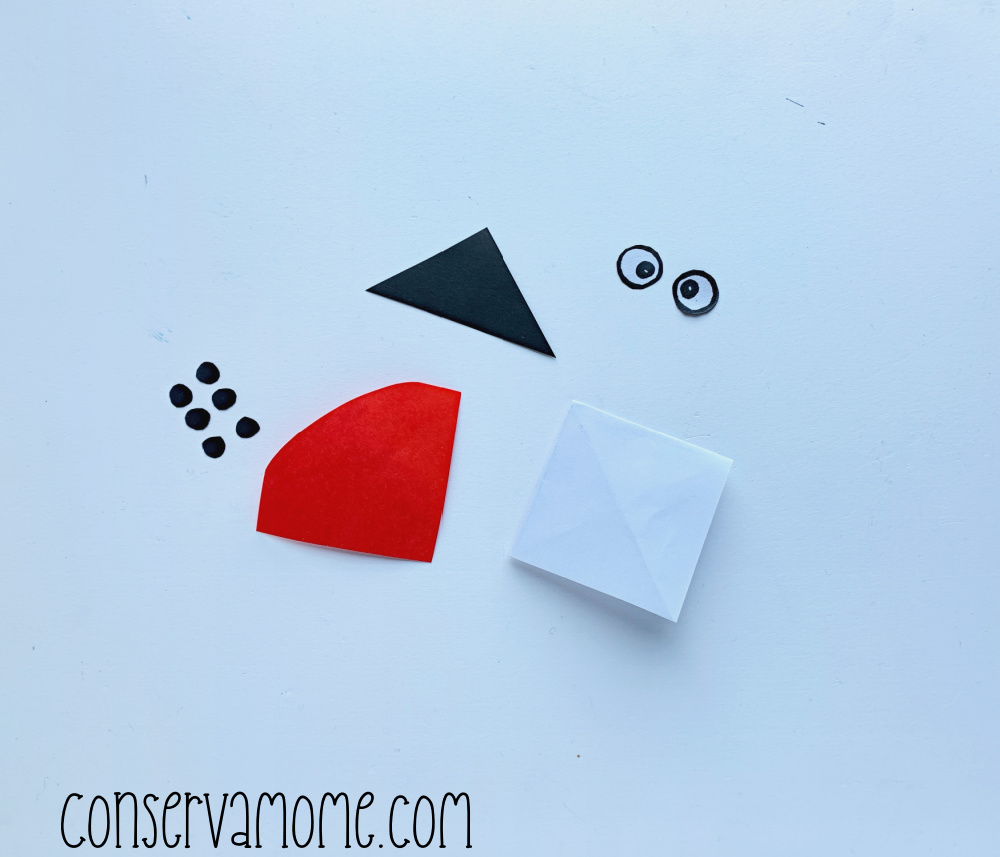
Cut out the pieces for the ladybug using the PDF templates.
Begin by printing out the PDF. You can color the body of the ladybug red/purple or any color you like. Then color the spots and head black.
Step 9:
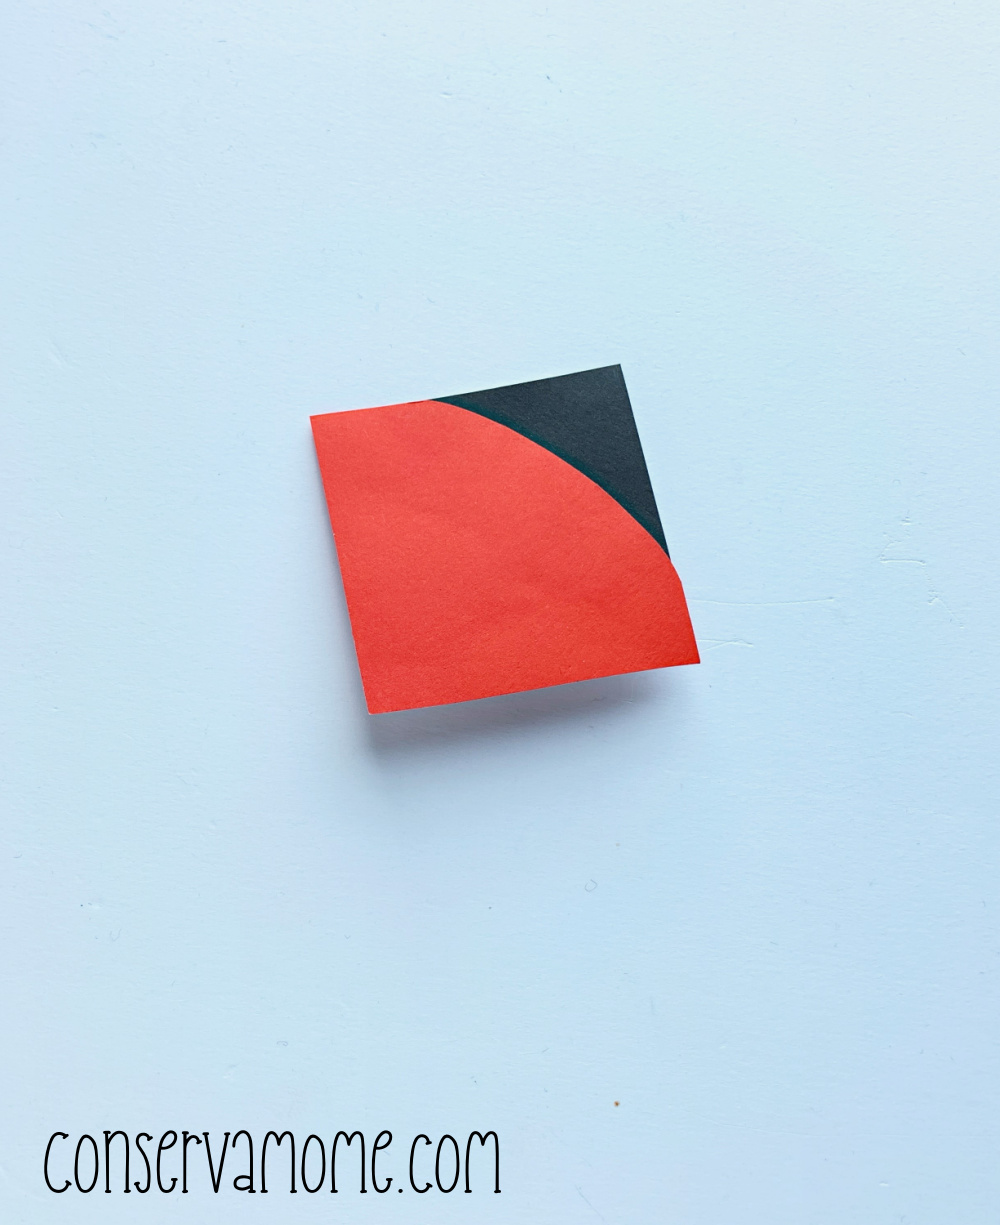
First, glue the black piece on one corner of the bookmark.
Then glue the red piece on the bottom side of the bookmark, slightly covering the black piece.
Step 10:
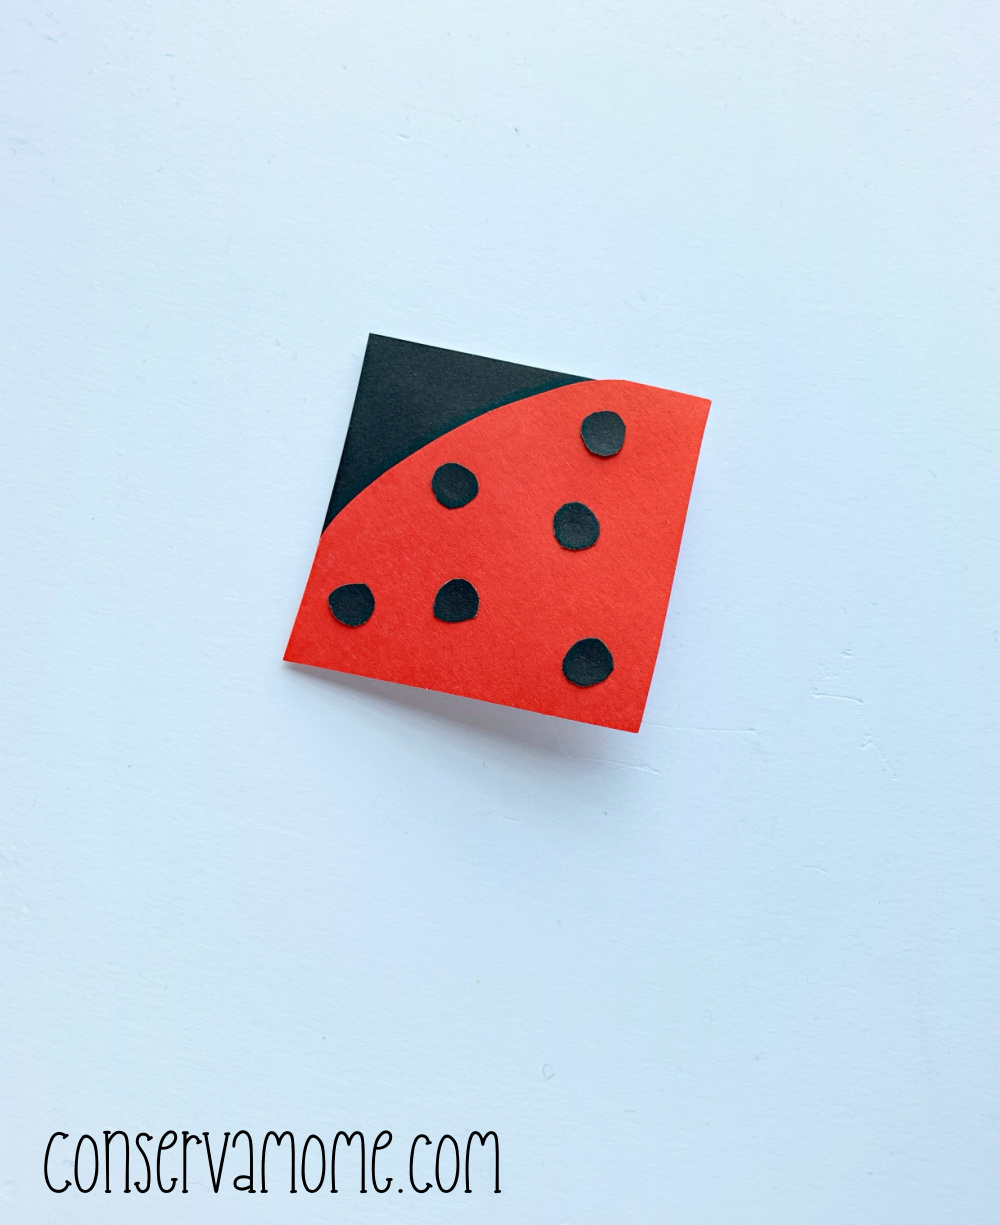
Glue on the ladybug’s spots on the red part of the bookmark.
Step 11:
Finish it off by glueing the eyes over the black part.
Looking for another fun Ladybug craft? Check out these adorable ladybug sewing craft pencil toppers! You can also try your hand at some delicious ladybug themed recipes like my Chocolate strawberry ladybugs!
Comments & Reviews
I’m here and can only say thanks for a great post. Let’s continue to do well.