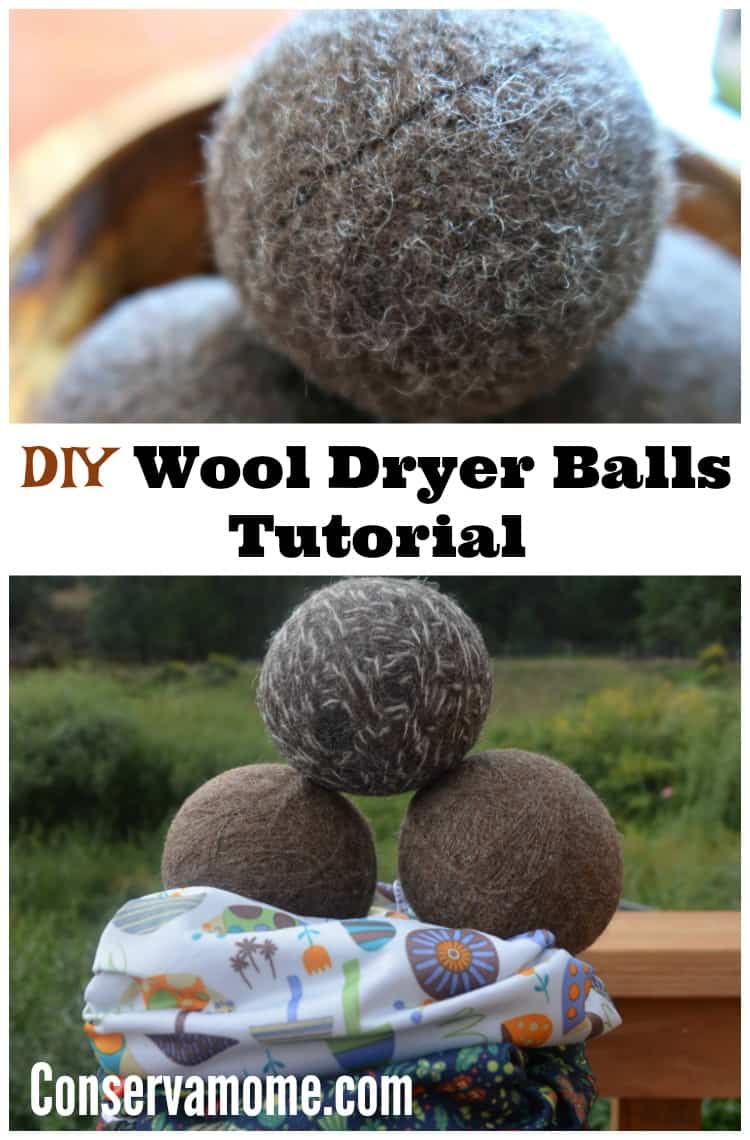
Do you love using Wool Dryer Balls but don’t want to pay the price? Check out how easy it is to make them with this DIY Wool Dryer Balls Tutorial.
Do you use Wool Dryer balls? If not you’re missing out! These fabulous wool wonders are perfect for helping you decrease the time it takes for your laundry to dry. Just put a bunch of these wooly wonders in your dryer and reap all the benefits. Wool dryer balls will take the static out of your clothes, taking the place of dryer sheets, and cut drying time as well. If you like for your laundry to be scented you can put a few drops of your favorite essential oil right on the ball and toss it in with your drying clothes. Wool dryer balls can cost you up to $10 each. If that’s more than you’re willing to spend then you can easily make your own for around $2.50 a piece using these simple instructions for DIY wool dryer balls.
So head below and check out how easy it is to make these wool wonders.
You will need:
100% Wool Yarn
Scissors
Yarn Needle
Nylon Stockings
Washing Machine
Laundry Soap
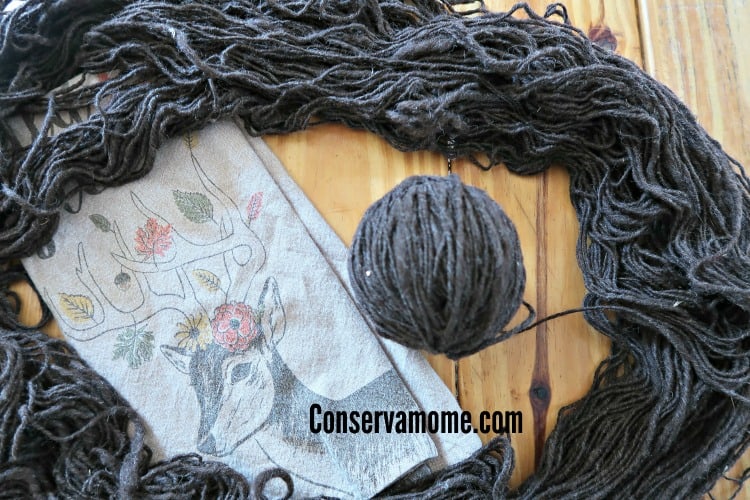
1. Loosely wind the yarn into large balls. It is very important to wind the balls loosely because that allows the fibers to felt more easily in the fourth step. The exact size of the ball is not important but you want to err on the large size because small wool balls can get lost in laundry much more easily than larger ones.
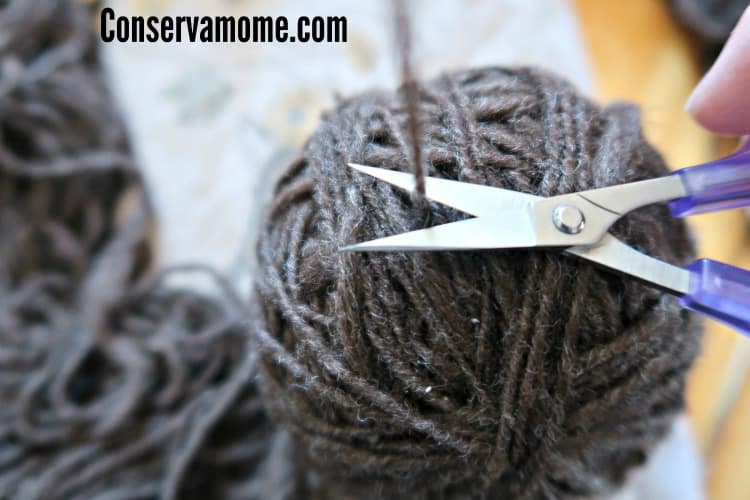
2. Once your yarn ball has reached a proper size cut the yarn leaving a tail that is a few inches long. Thread that tail onto your yarn needle and weave the tail back through the ball several times to lock the end in place. Cut any remaining tail yarn flush with the ball.
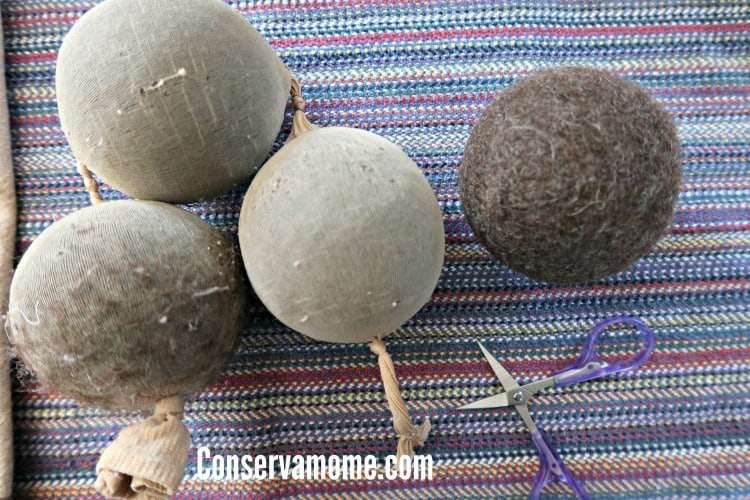
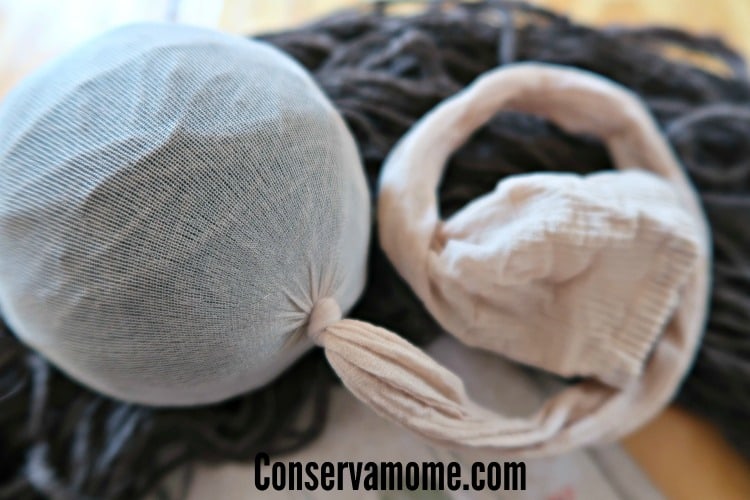
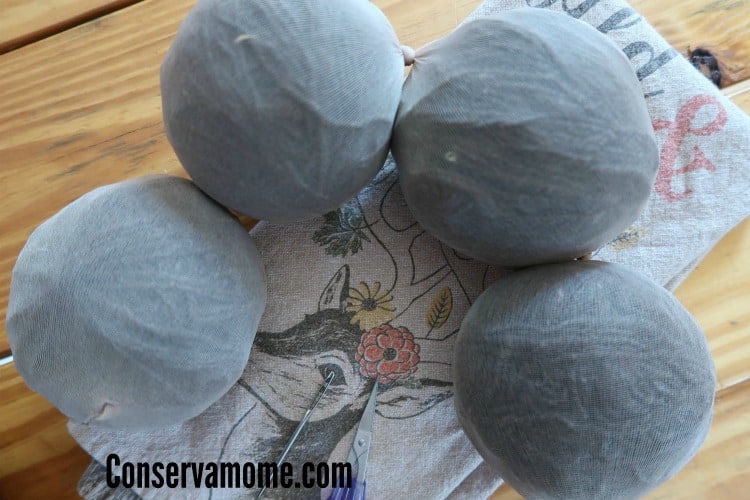
3. Slide the yarn ball all the way to the toe of the nylon stocking. Knot the stocking so that the first yarn ball is completely surrounded by stocking. Slide the next yarn ball in as far as it will go and tie another knot. Continue in this fashion until all yarn balls are in stocking cocoons.
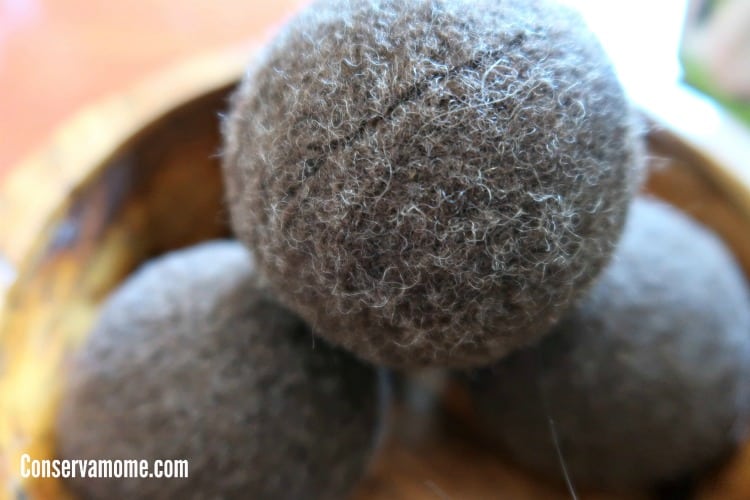
4. Wash the worm of wool balls in very hot water with your regular laundry soap. You can was the balls with your regular laundry so you’re not wasting water or electricity. Send the balls through several wash and dry cycles with your regular laundry for best results. The hot water and the soap will cause the wool to felt onto itself meaning that the yarn ball will not unravel.
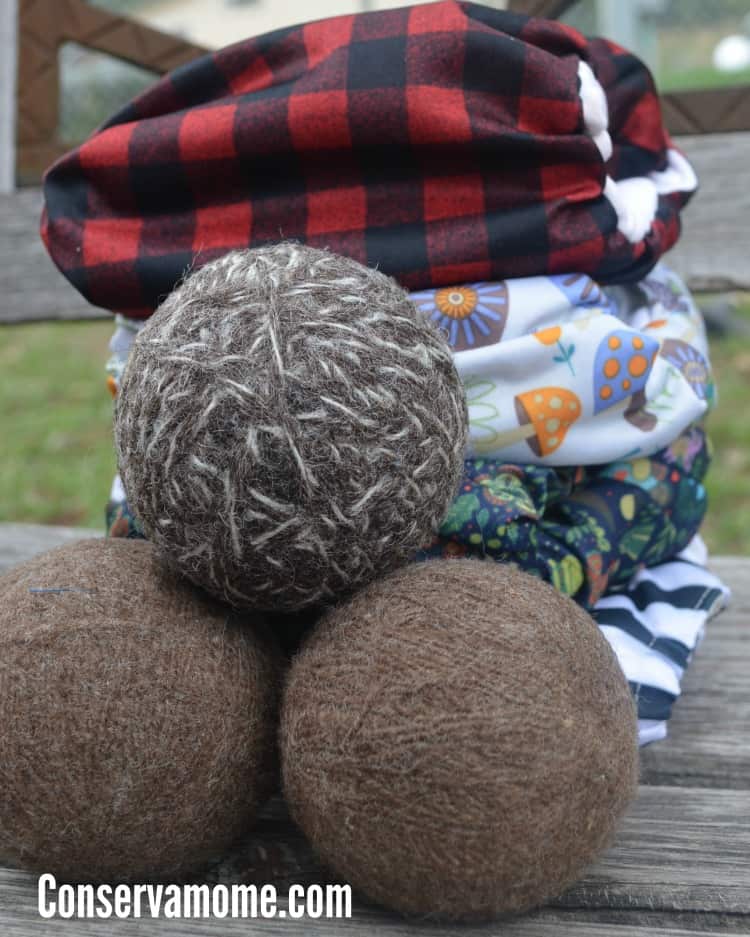
Not only can you use them to dry laundry but these are great for helping cut dryer time when drying cloth diapers. So easy to make you’ll never want to use a dryer sheet again!
Comments & Reviews
I have been wanting to try these but have not wanted to pay the price. Thank you for this great tutorial!
Love our wools balls! Would love to make more.
I have some that are getting worn out, so I should try to make my own soon!
I tried making some wool dryer balls a few years ago, but they didn’t felt right. Maybe another shot at it would work!
Oh my . Thanks for this. I love crafts, and i love my dryer balls. I need more but didnt want to spend the money .
Xx
Thanks for the clear cut tutorial! I’ve not used wool ones before but I had a cheap at of plastic dryer balls but wasn’t sure how gentle they would be with our cloth so I stopped using balls altogether. I’ll have to try making them! How many do you use in a load? 2-3?
WOW WHAT A GREAT IDEA.
Very cool. I never would’ve thought of this.
I love these. I have to share! What a good idea!
Thanks for sharing . I am excited to try this out 🙂
This sounds like a great idea. I like using dryer balls. I will give this a try. Thank you so much for sharing
I love love love my dryer balls but I havnt been brace enough to make my own!! Thank you for this tutorial!!!
Awesome !!! I learned something new and I love it !!!
I’d read about these before to replace dryer sheets (which I’m all in favor of) but I didn’t know they reduce drying time too. That makes it all the more important for me to get to making some. I have all the materials already and I’m saving the page, so it looks like I know what I’ll be doing soon. Thanks for the easy illustrated instructions. So glad I found this, I always love finding ways to cut my energy footprint.
Ok so I really wish I had seen this post the first time I made my own dryer balls, huge fan of these but definitely saved this post to my Pinterest board because the first time I tried this, it said to boil them in a pot on the stove. Um ya, not a good idea if your in early stages of pregnancy and have a very sensitive stomach to unattractive smells because my whole house smelled like wet dog. Not the most favorable smell especially if your super nauseous! I like the sound of this method way better than boiling wool balls! Definitely going to be doing it this way next time!
I always wondered how they were made. Thanks for the great information and tutorial!