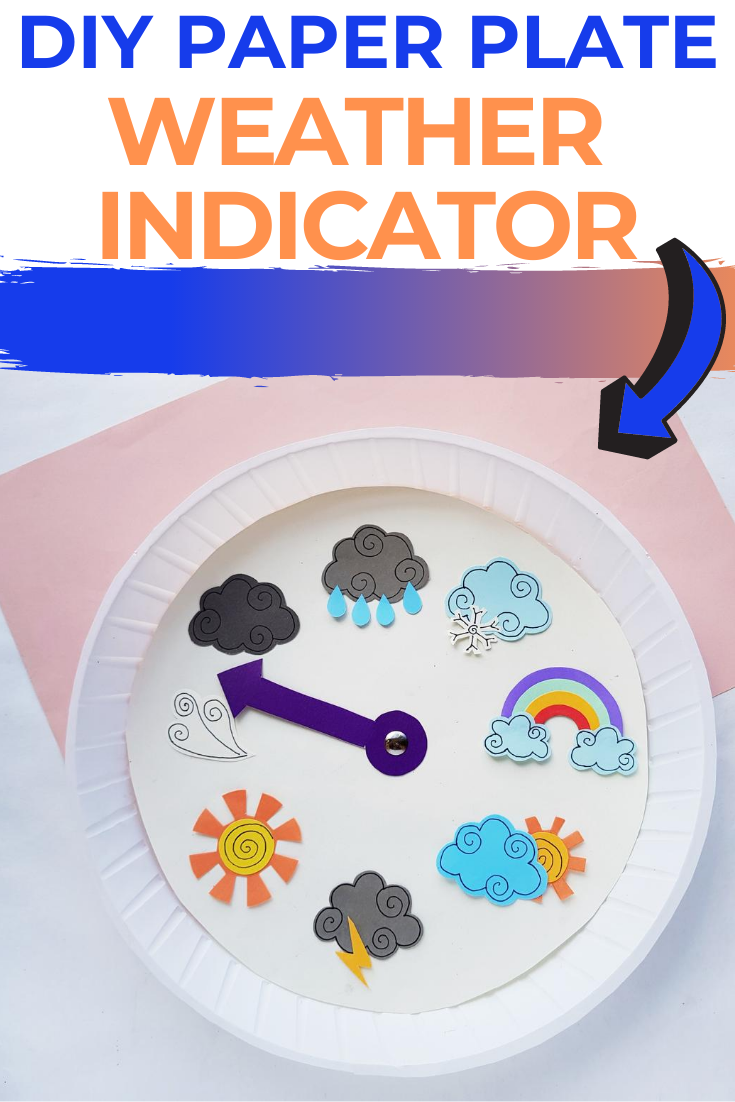
Have a little meteorologist in your life that loves all things weather-related? If so, this Weather Indicator Paper Plate Craft is perfect for them! They can help to theorize the weather just like a real weatherman does!
This post contains affiliate links. That means that if you make a purchase after clicking on a link I may earn a small commission at no extra cost to you.
Weather Indicator Paper Plate Craft
Using paper plates is a really fun way to create a simple DIY craft. All you need for this fun weather-related activity is some simple supplies to get started.
The fun part about this craft is that it gives your child the chance to take the facts that they know about the future weather forecast and make their own predictions on what they feel is going to happen. And what this means for you is that you’re going to have your own little future forecaster right under your own roof!
Looking for some more weather related fun? Check out this Magic Rainbow Coffee Filter Craft or Rock Cycle Worksheets
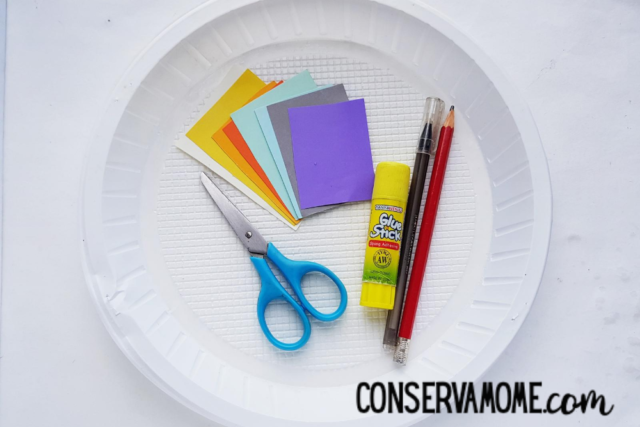
Supplies needed for this Weather Indicator Paper Plate Craft
- Paper plate
- Colored craft papers
- Thumb pin
- Pencil
- Marker pen
- Craft glue
- Scissors
- Weather PDF
How to make this easy paper plate craft
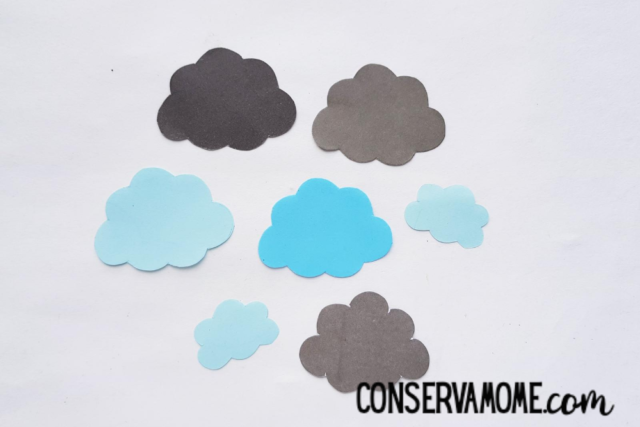
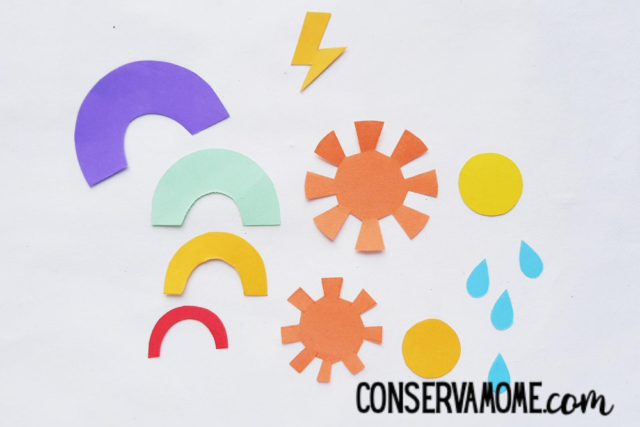
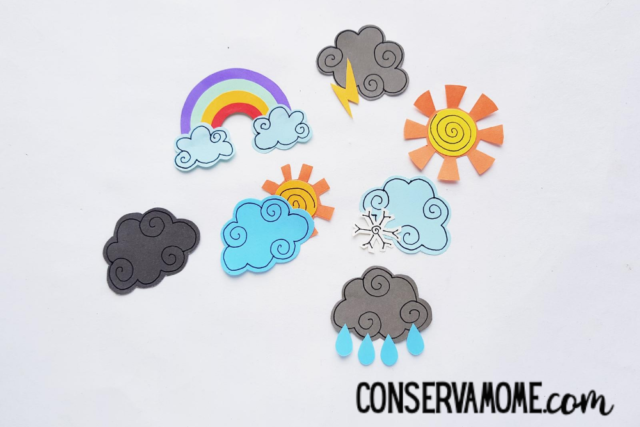
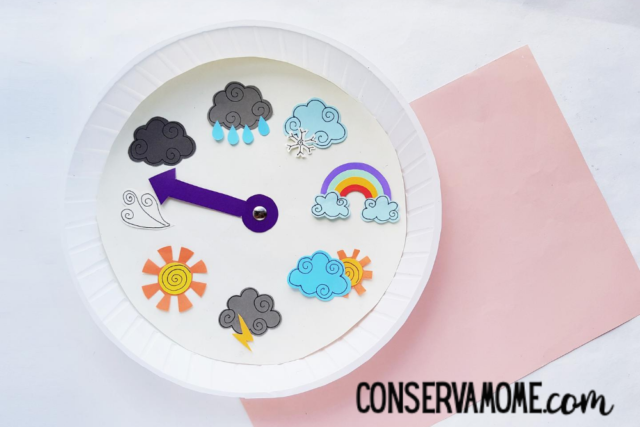
Select different colored craft papers for the weather signs. You could use grey or white or light blue for the clouds. Trace the cloud patterns on the selected papers and cut them out.
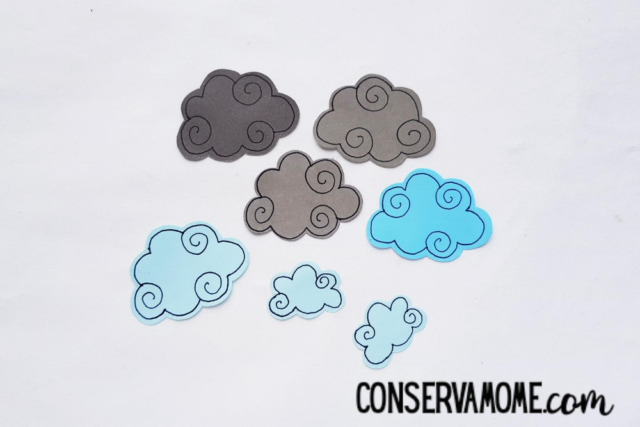
Use a marker pen to draw a border and simple patterns on the paper cloud patterns, they look nice with the small details.
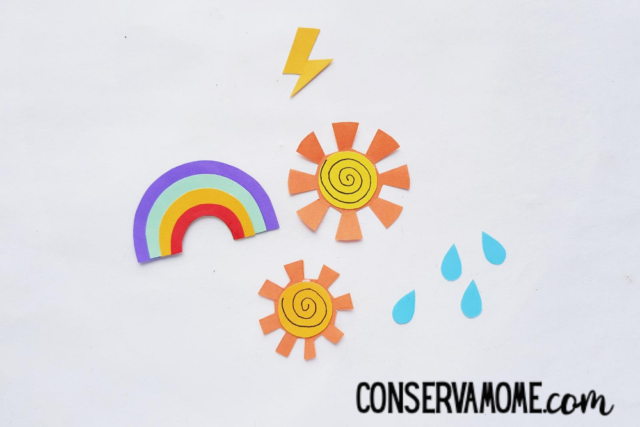
You can select yellow and orange craft papers for the sun craft and the rainbow colors (purple, blue, green, yellow, orange, and red) for the rainbow patterns; yellow for the thunder and blue for the raindrops. Once again, trace the patterns on the selected papers and cut them out nicely.
Join the traced cutouts to complete the weather sign pieces (sun, rainbow).
Grab a cloud pattern and stick the small sun pattern on the backside of it, with half of the sun visible from the front; this sign represents partially cloudy weather. Stick the raindrops on the bottom side of any one of the cloud patterns to make the rainy weather sign. Then, stick thunder sign on a cloud pattern; stick the 2 small cloud patterns on both ends of the rainbow pattern.
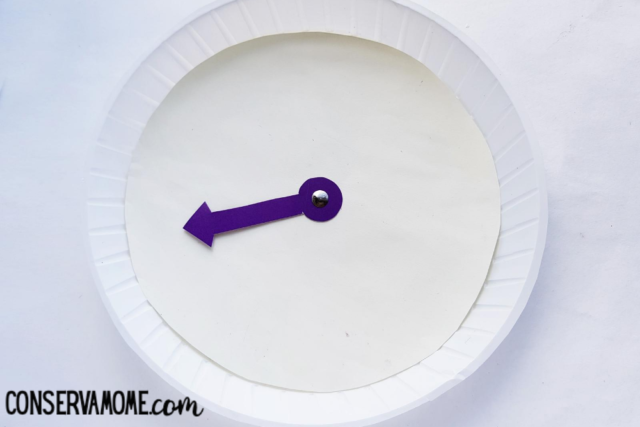
Take the paper plate and mark the center of the plate. Place the indicator’s straight end over the center part of the plate and use a thumb pin to attach the indicator with the plate. Insert a craft foam on the backside of the pin to make sure that it is safe.
Now attach the weather paper signs around the outer side of the paper plate to complete the craft.
Science weather learning activity
Isn’t this just the cutest paper plate activity, ever? It’s a fun way to let them create and then use it as well.
If you like this fun weather craft, make certain to check out these 40 Creative Nature Crafts For Kids! Once they predict the weather for the day, they can make a plan to either get outdoors or spend time indoors crafting, too
Leave A Reply!