Learn how to measure and plan for RTA kitchen cabinets to ensure a perfect fit in your kitchen remodeling project.
How to Measure and Plan for RTA Kitchen Cabinets
Planning and handling a kitchen remodeling project might seem daunting. With preparation, however, this process can be easier than you imagine. RTA kitchen cabinets are a convenient and versatile option for homeowners who want convenience and a stress-free kitchen building or remodeling experience. To start any installation project, proper planning and measurements are needed. The right approach guarantees that the new cabinets will fit correctly and work efficiently.
Understanding RTA Kitchen Cabinets
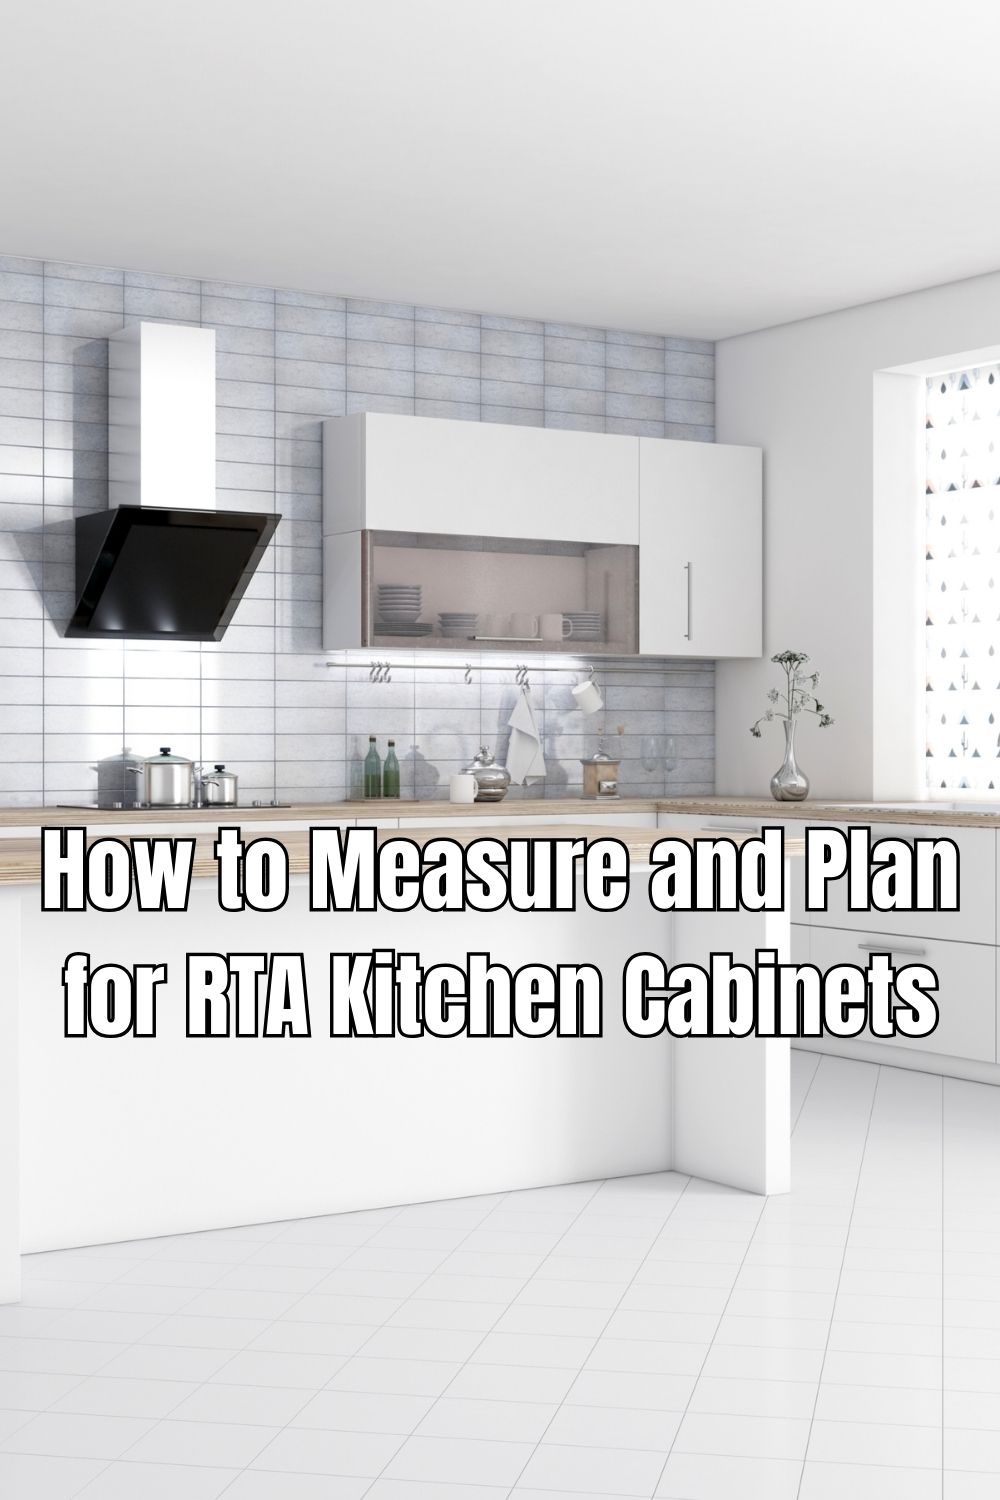
Ready-to-Assemble (RTA) kitchen cabinets are delivered unassembled, allowing buyers to choose between DIY installation and professional assembly. Different cabinet sizes and settings are available when you buy RTA kitchen cabinets online. Due to their modular features, they can be adapted to suit any kitchen design. People prefer RTA kitchen cabinets because of their versatility, and they work well in both big and small kitchens.
Gathering Essential Tools
A couple of simple tools make the planning and measurement process accurate. Tools such as a tape measure, pencil, notepad, and straightedge are essential. When it comes to plotting out the kitchen space, some people use graph paper. A spirit level helps with consistency while taking measurements and ensures proper alignment.
Measuring the Kitchen Space
Take measurements of your entire kitchen space. First, measure the size of the walls where the cabinets will be placed. Measure ceiling height to determine how tall the new cabinets should be. Take note of soffits, bulkheads, and/or beams that may affect the height of the cabinets. At this point, being precise helps avoid expensive mistakes down the line.
Identifying Obstacles and Features
Windows, doors, outlets, and ventilation impact the location of your cabinets. Take measurements from the floor and from the walls to these features. Identify where your plumbing, gas lines, and electrical outlets go. Mark heating or cooling vents that might need to be treated specially. Maintaining accurate records prevents issues at the time of installation.
Mapping Cabinet Placement
Create an outline for the kitchen, indicating the position of all devices and appliances. Start marking cabinets on the paper, and work with corner units first. Typically, base cabinets are installed first, and wall cabinets later. If required, consider fillers or spacers to fill in gaps between cabinets and walls. Seeing the layout helps identify potential problems.
Choosing Cabinet Sizes and Styles
Most kitchens conform to standard RTA cabinet sizes, but if you happen to own a unique home, custom-sized cabinets are available for your requirements. Space between walls and appliances can be tackled with custom fittings. If storage is your priority, consider tall pantry cupboards. Depending on your choice and what you want to store, use open shelves or go for closed cabinets.
Accounting for Appliances
Leave sufficient space for kitchen appliances like the refrigerator, dishwasher, and oven. Measure each appliance and check it in the context of the available space. Allow for door and vent clearances so that they do not interfere with the design. Consider the layout of the appliances that need special installation.
Allowing for Walkways and Clearances
Walkways should always be clear, and access to the kitchen must be free from obstruction. Allow a minimum of 36 inches in front of cabinets and large appliances. Areas between work zones should not be separated by islands and/or peninsulas, as this may restrict movement. An effective layout should be both easy to use and safe.
Double-Checking Measurements
Double-check every measurement before placing any order. Measure the lengths of all the walls, the height of the ceiling, and where you would like your appliances. You should look for consistency in notes and drawings. Mistakes at this point can cause holdups or add to your current costs. It is better to take your time to verify the measurements against every part of your kitchen than to have regrets later.
Ordering Cabinets and Accessories
When you feel confident with the measurements and layout, it is now time to select the cabinets. Select finishes and hardware that coordinate with the style and color palette of your kitchen. Online RTA suppliers often have tools to help you visualize what your kitchen will look like after completion. Optimize your storage by planning for accessories like pull-out shelves or built-in organizers.
Conclusion
A successful RTA kitchen cabinet project starts with careful measuring and planning, as everything must fit well to avoid future disappointment. By following the steps mentioned in this post, you can avoid installation mistakes. With good planning, homeowners can create a lovely, functional kitchen that matches their personal style and meets their needs. These steps ensure timely project completion and satisfaction.
Leave A Reply!