Learn the five signs your site is ready for hydroseeding. Ensure the best results for your grass coverage project.
Five Signs Your Site Is Ready for Hydroseeding—or Not
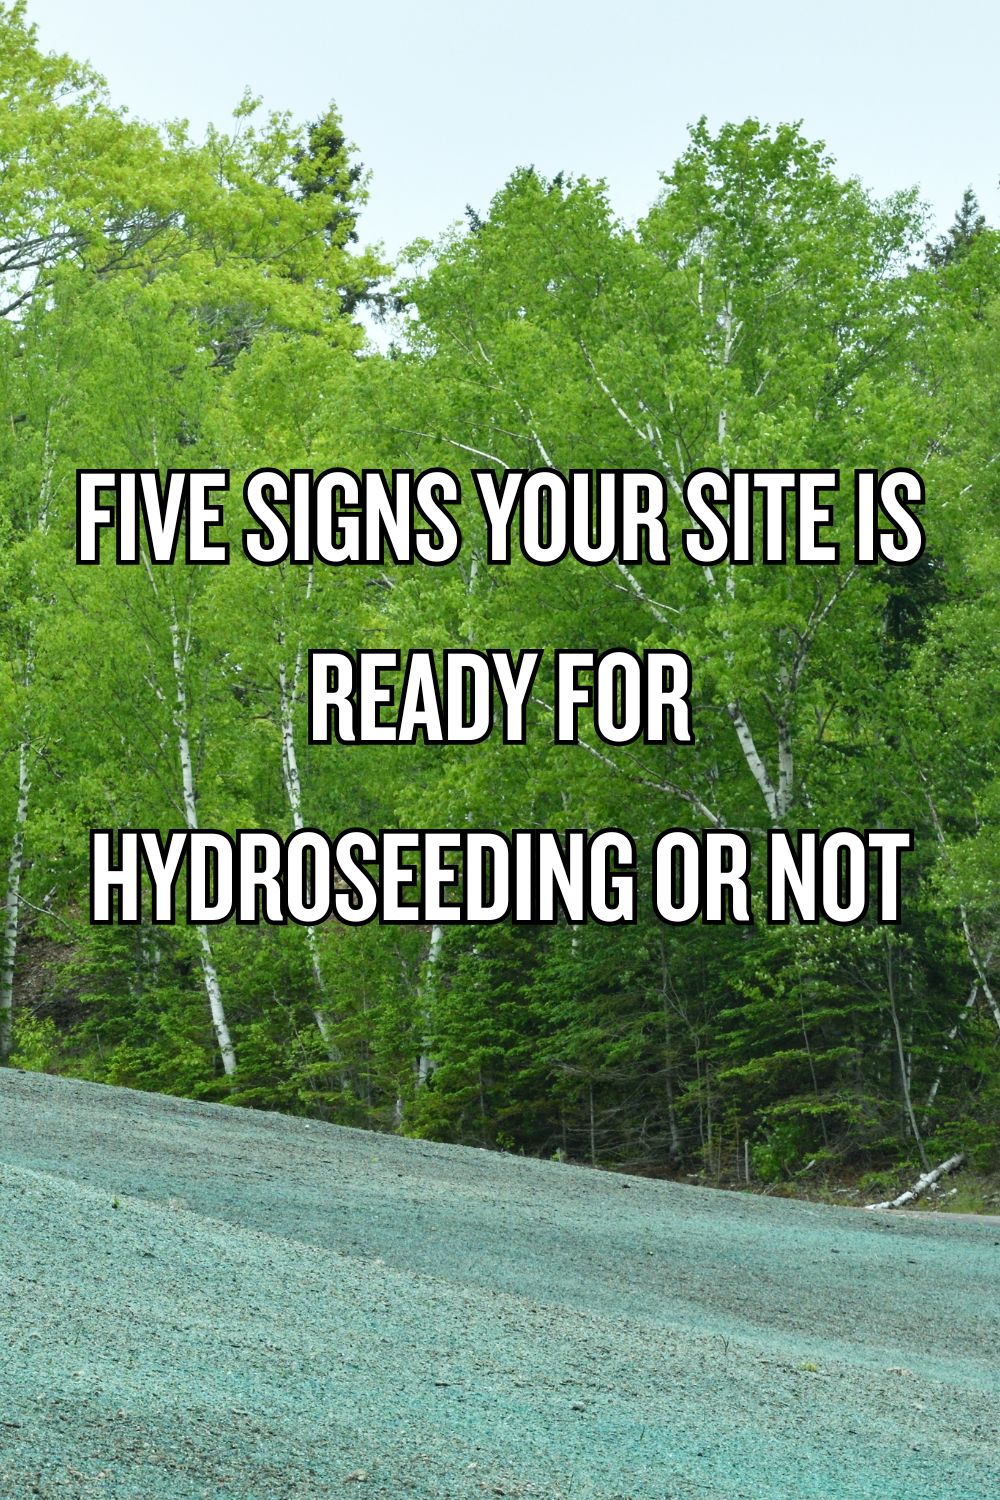
Bare soil and thin grass patches are a common sight after construction wraps up or an area sees heavy foot traffic. That’s why hydroseeding is often the go-to option for contractors and property managers who need grass to establish quickly, especially on large areas or sloped ground. It can speed up coverage and reduce erosion, but results depend heavily on what the site looks like before the first spray goes down.
Before scheduling work with a hydroseeding company, it helps to take a step back and confirm a few basics. Topsoil depth, grading, irrigation access, and weather timing all play a role in how evenly grass comes in and how much follow-up work is needed. A little planning up front—paired with clear responsibilities during the early growth phase—can save time, prevent patchy results, and set the site up for strong, durable turf.
Soil Is Properly Prepared
Topsoil at four to six inches promotes good seed to soil contact and steady germination. Finish grading should be complete so elevations and slopes are final, and all construction debris, rocks, and wood fragments must be removed to prevent gaps under the mulch. Aim for a consistent soil texture across the site to support even seed placement and moisture retention.
Compacted areas should be loosened with tilling or mechanical raking, paying attention to high traffic zones to improve seed penetration and root development. Light smoothing after loosening preserves texture and avoids sealing. Mark treated areas and move forward with hydroseeding once the surface feels friable and evenly prepared.
Grading and Drainage Are Final
Proper slope transitions keep runoff predictable and reduce erosion risks. Walk the site to confirm transitions between slopes are smooth, avoiding abrupt drops that could redirect runoff into seeded areas. Verify that cut-and-fill work has been signed off and protected so final grades won’t be disturbed after hydroseeding. Address minor low spots before proceeding.
Use erosion control measures such as straw wattles or silt fencing ahead of application to limit surface movement on slopes. Make sure curb lines and walkways are complete to prevent irrigation from channeling across seeded zones and test temporary diversion where runoff concentrates. Schedule a final grading inspection and install temporary controls before application.
Irrigation Is Operational
A reliable irrigation setup keeps the seed zone evenly moist, improving germination and reducing patchy growth. Conduct pressure tests on each irrigation zone to verify heads operate and provide uniform coverage, and adjust spacing and nozzle angles to prevent overspray onto non-seeded areas and dry gaps within seeded zones. Program controllers for short, repeated cycles to keep surface moisture without causing pooling.
During the establishment window assign a single responsible person to run daily checks, watch for low-pressure zones, clogged nozzles, or broken heads, and make quick adjustments to run times or coverage. Record any changes to the controller schedule and irrigation map so maintenance staff can follow up effectively.
Timing Matches Conditions
Matching the seed mix to local air and soil temperatures cuts the risk of poor germination and uneven coverage. Check soil readings and the seed label, and delay application if frost, prolonged heat, or strong drying winds are forecast within three days.
Start hydroseeding right after final preparations to limit surface drying and contamination. Coordinate access so crews can water and inspect without delays, assign one on-site contact for daily checks, and set a narrow start window for irrigation.
Post-Application Plan Exists
Clear post-application planning protects newly seeded areas and simplifies warranty documentation. Record the seed blend, mulch type, and application rates along with the application date and contractor contact in a single, labeled site file. Keep maps that show zones and rates so maintenance crews and warranty reviewers can match future work to what was installed.
Provide watering guidance that specifies frequency, run times, and staged reductions after germination to encourage deeper roots and avoid surface drying. Set mowing thresholds by grass height and verified root establishment, restrict foot traffic, pets, and equipment until growth is steady, and designate a site lead to adjust care and document progress.Taking a few minutes to check soil preparation, final grading, irrigation readiness, timing, and post-application planning can make a noticeable difference in how well hydroseeding performs. When these pieces are in place, grass establishes more evenly and maintenance stays manageable from the start. If any area still needs adjustment, addressing it before application helps avoid rework later. Use these five signs as a simple readiness check, then schedule corrections or a quick site walk-through as needed. A prepared site sets the stage for healthy turf that holds up over time.
Leave A Reply!